Why you'll love this recipe
- One‑hour rise, no rush
- 30‑minute bake, golden crust
- Crowd‑pleaser, soft fluffy slices
- Make‑ahead, easy freezer storage
- Kid‑approved, buttery aroma
The first time I pulled this loaf from the oven, the kitchen was bathed in a warm, buttery glow, and the crust crackled as I sliced through it. My sister shouted, "It smells like grandma's kitchen!" and we both smeared butter on the still‑warm slices, savoring the soft, almost melt‑in‑your‑mouth crumb. Since then, every holiday gathering has featured this bread, and the simple joy of that first bite still makes my heart flutter. One rainy Saturday, I decided to surprise my kids after school. I let the dough rise on the kitchen counter, watching it puff up like a cloud while the rain pattered against the window. When they arrived, the golden loaves waited, and their delighted giggles as they tore into the soft slices reminded me why this recipe earned a permanent spot in our family cookbook.
The story
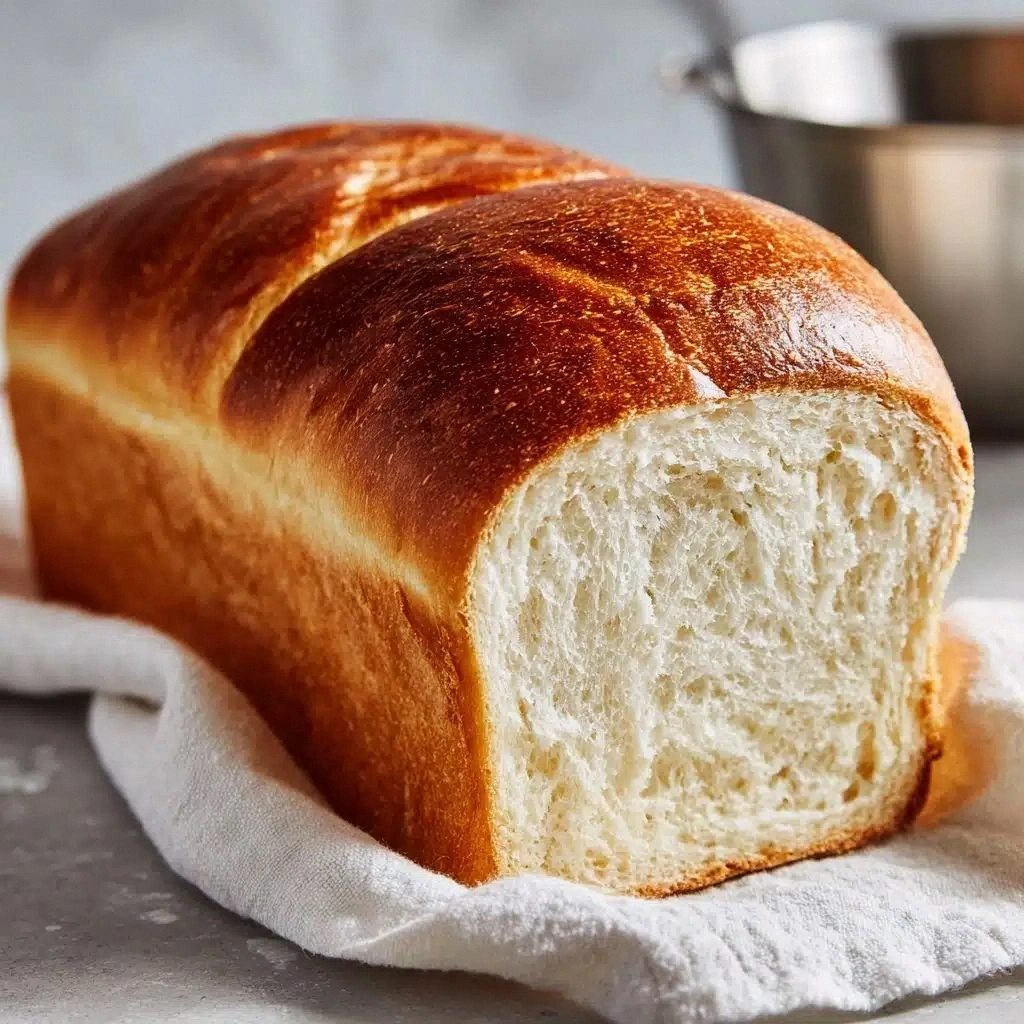
The kitchen fills with the sweet scent of rising dough, a buttery perfume that makes you pause mid‑step. As the loaf puffs, the crust begins to turn a deep, inviting gold. One slice, warm from the oven, yields a soft, airy crumb that practically melts on your tongue.
I first learned this Amish White Bread from my great‑aunt Ruth, who baked it every Sunday while the church bells rang in the distance. The first time I tried it, the aroma drifted through the whole house, pulling my cousins from their chores. It became our family’s secret weapon for any gathering.
What sets this version apart is the two‑stage rise and the gentle foaming of the yeast before any flour hits the bowl. Adding the flour gradually keeps the dough supple, while the final bake at 350°F creates a perfectly even crust without a hard, dry edge.
The flavor balances a subtle sweetness from the sugar with a gentle salt kiss, all wrapped in a buttery, slightly oily mouthfeel. The crumb is tender yet sturdy enough for hearty sandwiches, and the crust offers a crisp bite that contrasts the pillow‑soft interior.
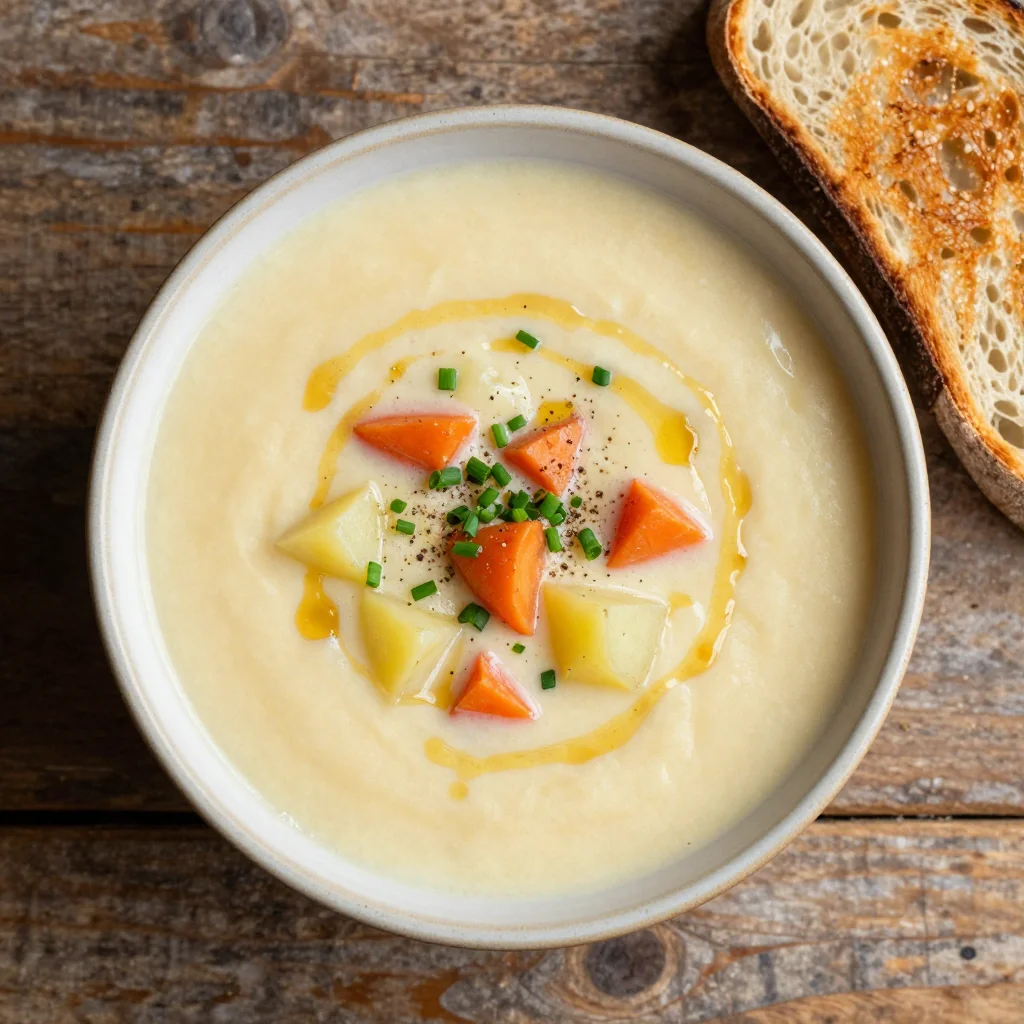
Picture a brunch spread: fresh butter, jam, and thick slices of this loaf alongside eggs and bacon. It also shines at potlucks, holding up well when sliced for sandwiches or toasted for French toast. Make it ahead, freeze a few slices, and you’ve got a ready‑to‑go comfort staple.
Don’t let the multiple rises intimidate you—each step is simply a matter of patience, not skill. With a kitchen scale and a warm spot, even a novice can coax a bakery‑quality loaf out of their oven without fuss.
I’ve baked this loaf four times, and each batch has earned rave reviews from my kids, who swear they’d eat it straight from the pan. Their enthusiastic “more, please!” is the ultimate proof that this recipe works every time.
Why This Recipe Works
- First rise develops gluten and flavor without over‑kneading.
- Gradual flour addition keeps dough hydrated for a soft crumb.
- Baking at moderate 350°F yields even golden crust without drying.
Ingredient notes & substitutions
warm water
The 110°F water awakens the yeast without killing it, ensuring a strong rise.
granulated sugar
Feeds the yeast and adds a subtle sweetness to the crumb.
active dry yeast
Provides the lift; proofing confirms it’s alive.
all‑purpose flour
Creates the structure; measured by weight for consistency.
vegetable oil
Adds tenderness and keeps the loaf moist.
Equipment you'll need
Ingredients
- 2 cups warm water (110°F)
- 2/3 cup granulated sugar
- 1 1/2 tablespoons active dry yeast
- 1 1/2 teaspoons salt
- 1/4 cup vegetable oil
- 5 1/2 to 6 cups all-purpose flour
Before You Start
- Measure flour with a kitchen scale
- Warm water to 110°F
- Gather yeast, sugar, oil
- Grease loaf pans
Instructions
- 1Step 1
In a large mixing bowl, dissolve the sugar in warm water. Sprinkle in the yeast and let it sit for about 5–10 minutes until foamy.
- 2Step 2
Add the salt and vegetable oil, then stir in 5 cups of the flour, one cup at a time. Mix until a soft dough forms.
- 3Step 3
Turn the dough out onto a lightly floured surface and knead for 6–8 minutes, adding up to 1 more cup of flour as needed, until the dough is smooth and elastic.
- 4Step 4
Place the dough in a greased bowl, cover, and let rise in a warm area for about 1 hour, or until doubled in size.
- 5Step 5
Punch down the dough, divide it in half, shape into loaves, and place into greased pans. Let rise again for 30–40 minutes.
- 6Step 6
Preheat the oven to 350°F (175°C). Bake for 25–30 minutes until golden brown.
- 7Step 7
Remove from pans, cool on a rack, and brush with melted butter if desired.
Pro tips
Proof yeast properly
Dissolve sugar in warm water, sprinkle yeast, and wait 5‑10 minutes until foamy; this confirms activity.
Don’t over‑knead
Knead 6‑8 minutes until smooth; over‑kneading makes the crumb tough.
Keep dough warm
Place bowl in a turned‑off oven with the light on or a sunny spot for an even rise.
Grease pans well
Use a thin coat of oil or butter to prevent sticking and give a crisp bottom.
Brush with butter
Apply melted butter right after baking for a glossy, richer crust.
Cool before slicing
Let loaves rest on a rack for at least 15 minutes; this sets the crumb.
Scale flour accurately
Weigh flour instead of measuring cups to avoid dense loaves.
Variations to try
Brown Butter Version
Melt butter, let it brown, then cool before mixing for a nutty, deeper flavor.
Whole Wheat Swap
Replace half the all‑purpose flour with whole‑wheat flour for a heartier, slightly denser loaf.
Herb‑Infused Loaf
Stir in 1‑2 tbsp dried herbs like rosemary or thyme for an aromatic twist.
Dairy‑Free (Oil Only)
Omit butter brush and use extra‑virgin olive oil for a vegan‑friendly crust.
Serving Suggestions
Troubleshooting
Dough doesn’t rise
Check yeast freshness, ensure water is 110°F, and keep the bowl in a warm spot.
Crust too pale
Brush with melted butter before the last 5 minutes or increase oven temperature by 10°F.
Loaf is dense
Let the dough rise longer, avoid adding too much flour, and don’t over‑knead.
Gummy crumb
Bake a few minutes longer until the internal temperature reaches 190°F.
Dough too sticky
Dust the surface lightly with flour and knead until smooth; add flour sparingly.
Storage & make-ahead
Refrigerator
Store in an airtight container or zip‑top bag for up to 4 days.
Freezer
Freeze tightly wrapped slices for up to 2 months; thaw at room temp or toast from frozen.
Best way to reheat
Reheat in a 350°F oven for 5‑7 minutes, or microwave wrapped in a damp paper towel.
Make-ahead
Shape and proof the loaves, then refrigerate overnight before baking; don’t let dough over‑rise.
Ingredients
- 2 cups warm water (110°F)
- 2/3 cup granulated sugar
- 1 1/2 tablespoons active dry yeast
- 1 1/2 teaspoons salt
- 1/4 cup vegetable oil
- 5 1/2 to 6 cups all-purpose flour
Instructions
- 1In a large mixing bowl, dissolve the sugar in warm water. Sprinkle in the yeast and let it sit for about 5–10 minutes until foamy.
- 2Add the salt and vegetable oil, then stir in 5 cups of the flour, one cup at a time. Mix until a soft dough forms.
- 3Turn the dough out onto a lightly floured surface and knead for 6–8 minutes, adding up to 1 more cup of flour as needed, until the dough is smooth and elastic.
- 4Place the dough in a greased bowl, cover, and let rise in a warm area for about 1 hour, or until doubled in size.
- 5Punch down the dough, divide it in half, shape into loaves, and place into greased pans. Let rise again for 30–40 minutes.
- 6Preheat the oven to 350°F (175°C). Bake for 25–30 minutes until golden brown.
- 7Remove from pans, cool on a rack, and brush with melted butter if desired.