Love this? Pin it for later! 📌
When my college roommate first introduced me to this unconventional "dessert" during our senior year finals week, I was skeptical. A sweet-savory bake made with canned chili? It sounded like a dare, not dinner. But one bite of the caramelized cornbread topping mingling with the subtly sweetened chili base, and I understood why her grandmother had been making this Depression-era masterpiece for decades. This recipe has become my go-to potluck contribution, budget meal prep savior, and the dish my kids request for "backwards dinner night" when we serve dessert first. The magic happens when the cornbread absorbs the spiced syrup from the chili, creating pockets of pudding-like texture that remind me of bread pudding, while the edges crisp into candy-like shards. It's comfort food that costs less than $8 to make an entire 9x13 pan, feeds a crowd, and uses pantry staples you'll likely already have on hand.
Why This Recipe Works
- Pantry Perfect: Uses canned goods and dry ingredients you probably have right now
- One-Bowl Wonder: The cornbread topping mixes directly in the baking dish
- Sweet-Savory Balance: The brown sugar in the chili creates a molasses-like depth
- Texture Play: Creamy base meets crispy edges in every bite
- Meal Prep Hero: Tastes even better the next day, freezes beautifully
- Kid-Approved: The familiar flavors make it a stealth way to introduce new spices
- Budget Victory: Costs less than $1 per generous serving
Ingredients You'll Need

This recipe celebrates humble ingredients that transform into something extraordinary through technique and time. The canned chili provides a complex base that's been slow-simmered by professionals, while the cornbread topping acts as both a textural contrast and a sweet counterpoint to the spiced base.
For the Chili Base:
2 cans (15 oz each) original or mild chili with beans - I prefer Hormel or Wolf Brand for their balanced seasoning. Avoid "hot" varieties as they'll overpower the sweet elements. If you're feeling ambitious, you can certainly use homemade chili, but the canned version has that nostalgic cafeteria quality that makes this dish special.
1 can (8.75 oz) whole kernel corn - Drain it well, but don't rinse. The starchy liquid helps thicken the base. Fresh or frozen corn works too, but canned gives that authentic texture.
1/4 cup packed light brown sugar - This is the secret weapon that transforms savory chili into dessert territory. Dark brown sugar works in a pinch, but the molasses notes can be too aggressive.
1 teaspoon ground cinnamon - Just enough to whisper "dessert" without screaming "breakfast." Vietnamese cinnamon is particularly lovely here.
1/2 teaspoon vanilla extract - Trust me on this. It bridges the gap between savory and sweet beautifully.
For the Cornbread Topping:
1 cup yellow cornmeal - Medium grind gives the best texture. Avoid stone-ground varieties as they'll be too coarse for this application.
1/2 cup all-purpose flour - Provides structure to keep the topping from crumbling completely.
1/3 cup granulated sugar - This creates the crackly top that shatters like crème brûlée.
1 tablespoon baking powder - Freshness matters! Test by adding to hot water; it should fizz enthusiastically.
1/2 teaspoon salt - Enhances the sweet notes and balances the richness.
1 cup whole milk - The fat helps create tender crumbs. In a pinch, 2% works, but avoid skim.
1/4 cup vegetable oil - Creates a moister crumb than butter in this application.
1 large egg - Room temperature for better incorporation.
Optional Garnishes:
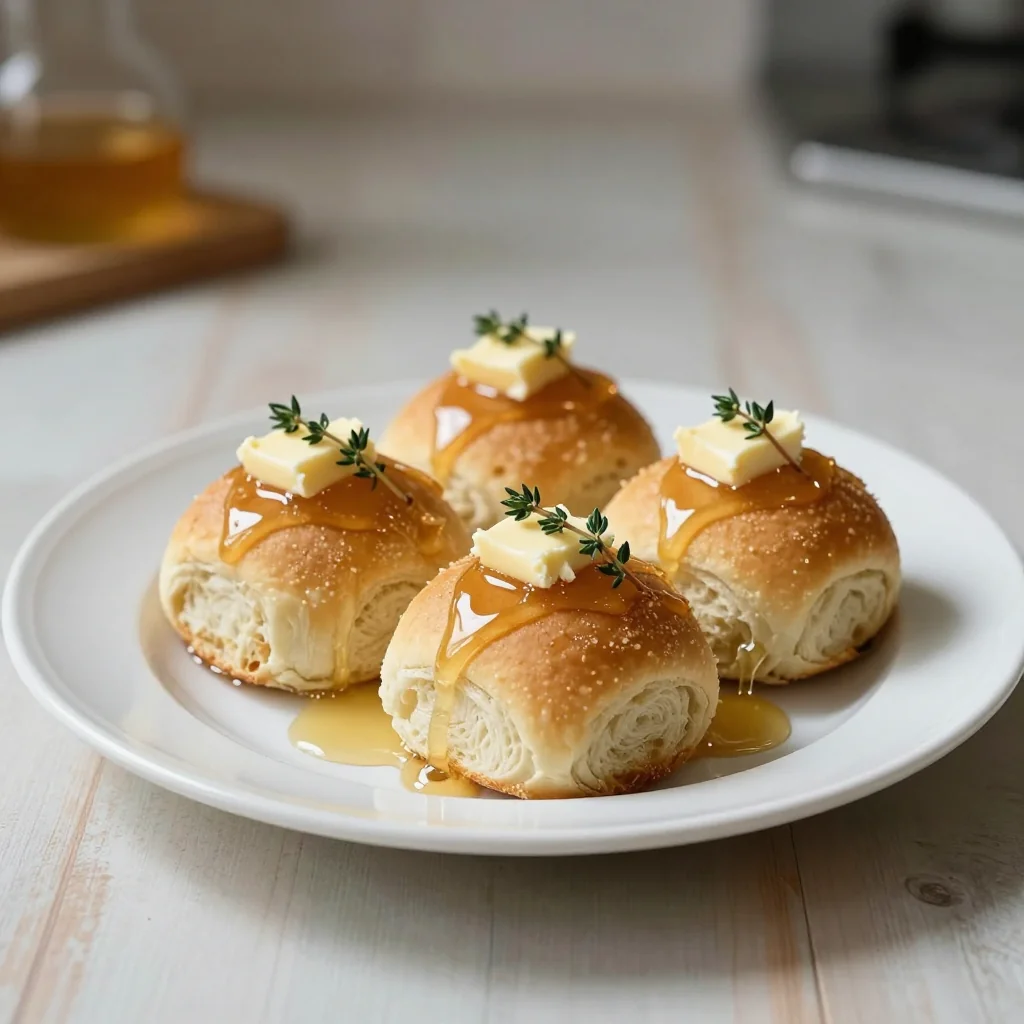
While this is delicious plain, a dollop of honey butter, a drizzle of maple syrup, or even a scoop of vanilla ice cream takes it into full dessert territory. For a savory-sweet contrast, try a sprinkle of sharp cheddar.
How to Make Budget-Friendly Canned Chili and Cornbread Bake
Prep the Pan and Preheat
Position your oven rack in the center and preheat to 375°F (190°C). Generously butter a 9x13-inch baking dish, making sure to get into the corners where the cornbread loves to stick. For extra insurance, dust with cornmeal after buttering. This creates a toasty base that prevents sticking and adds flavor.
Create the Sweet Chili Base
In a medium bowl, combine the canned chili, drained corn, brown sugar, cinnamon, and vanilla. Stir gently with a rubber spatula to avoid breaking the beans. The mixture should look glossy and smell like autumn. Pour this into your prepared pan, spreading into an even layer. Don't press down - you want some texture.
Mix the Dry Ingredients
In a large bowl (yes, you can use the same one - no need to waste dishes!), whisk together cornmeal, flour, sugar, baking powder, and salt. Create a well in the center. The key here is to aerate the mixture well; this prevents dense cornbread.
Combine the Wet Ingredients
In a measuring cup or small bowl, whisk together milk, oil, and egg until homogenous. The mixture should be pale yellow and slightly frothy. This ensures even distribution and prevents pockets of oil in the finished product.
Bring It Together
Pour the wet ingredients into the dry ingredients' well. Using a rubber spatula, fold gently with just 8-10 strokes. The batter should be lumpy with dry spots - resist overmixing! This is crucial for tender cornbread. Small lumps are your friends.
Layer and Create Texture
Dollop the cornbread batter over the chili base in 8-9 large spoonfuls. Using the back of your spoon, gently spread and connect the dollops, leaving some gaps for the chili to bubble through. This creates those coveted crispy edges and prevents the topping from becoming soggy.
Bake to Golden Perfection
Slide the pan into the oven and bake for 35-40 minutes. You'll know it's done when the cornbread is deep golden brown, the edges are bubbling and caramelized, and a toothpick inserted into the thickest part comes out with just a few moist crumbs. The top should be cracked and glossy in spots.
The Crucial Rest
This is where patience pays off. Let the bake rest for at least 15 minutes before serving. During this time, the cornbread finishes cooking from residual heat, the flavors meld, and the texture sets into that perfect custardy consistency. Serve warm or at room temperature.
Expert Tips
Temperature Matters
Ensure all your refrigerated ingredients are at room temperature. Cold milk and eggs can cause the oil to seize, creating an uneven texture. Set them out 30 minutes before baking for best results.
Moisture Control
If your chili seems watery, don't drain it completely. Instead, pour it into a fine-mesh strainer and let it drain for 2-3 minutes. You want some moisture, but not soup.
Make-Ahead Magic
Assemble the entire dish, cover tightly with foil, and refrigerate up to 24 hours. Add 10-15 minutes to the baking time if starting from cold. Perfect for busy weeknights!
Scaling Success
This recipe doubles beautifully for a crowd. Use two 9x13 pans rather than trying to fit it all in one deep dish. The increased surface area creates more of those coveted crispy edges.
Crust Control
For an ultra-crispy top, broil for the final 2-3 minutes. Watch it like a hawk - it goes from perfect to burnt in seconds. The sugar creates a brûlée effect that's absolutely addictive.
Flavor Boosters
Add 1/4 teaspoon of ground cloves or a pinch of nutmeg to the cornbread for warmth. A tablespoon of honey in the batter creates deeper browning and adds floral notes.
Variations to Try
Tex-Mex Twist
Replace the cinnamon with 1 teaspoon of cocoa powder and add a diced chipotle pepper in adobo sauce to the chili. The chocolate notes pair beautifully with the sweet cornbread.
Autumn Harvest
Fold in 1 cup of diced apples or pears to the chili base. The fruit adds natural sweetness and creates delightful pockets of soft texture throughout.
Morning-After Makeover
Serve leftover squares warmed with a fried egg on top and a drizzle of maple syrup. The sweet-savory combination makes an indulgent breakfast that's surprisingly balanced.
Campfire Version
Make in a cast-iron Dutch oven while camping. Place coals on top of the lid for even heating. The smoke adds incredible depth, and the presentation is unforgettable.
Storage Tips
This bake is a meal prep champion. Once completely cooled, cut into squares and store in an airtight container in the refrigerator for up to 5 days. The flavors actually improve after 24 hours as the spices meld and the cornbread absorbs the sweet-savory sauce. For longer storage, wrap individual squares in plastic wrap, then aluminum foil, and freeze for up to 3 months. Thaw overnight in the refrigerator and reheat in a 350°F oven for 15-20 minutes, or microwave individual portions for 60-90 seconds. The cornbread will be softer after microwaving but still delicious.
If you find yourself with stale leftovers (though this rarely happens), cube them and toast in a 300°F oven for 20 minutes to make incredible croutons for chili or salad. You can also crumble them over ice cream for a sweet-savory sundae topping that will blow your mind.
Frequently Asked Questions

Budget-Friendly Canned Chili and Cornbread Bake
Ingredients
Instructions
- Preheat and prep: Heat oven to 375°F. Butter a 9x13-inch baking dish.
- Make chili base: Combine chili, corn, brown sugar, cinnamon, and vanilla. Spread in prepared dish.
- Mix dry ingredients: Whisk cornmeal, flour, sugar, baking powder, and salt in a bowl.
- Add wet ingredients: Stir in milk, oil, and egg just until combined. Don't overmix.
- Assemble: Dollop cornbread batter over chili. Spread gently, leaving some gaps.
- Bake: Bake 35-40 minutes until golden and a toothpick comes out clean.
- Rest: Let stand 15 minutes before serving for best texture.
Recipe Notes
For dessert service, top warm squares with vanilla ice cream. The sweet-savory combination is unforgettable! Leftovers keep refrigerated for 5 days or frozen for 3 months.