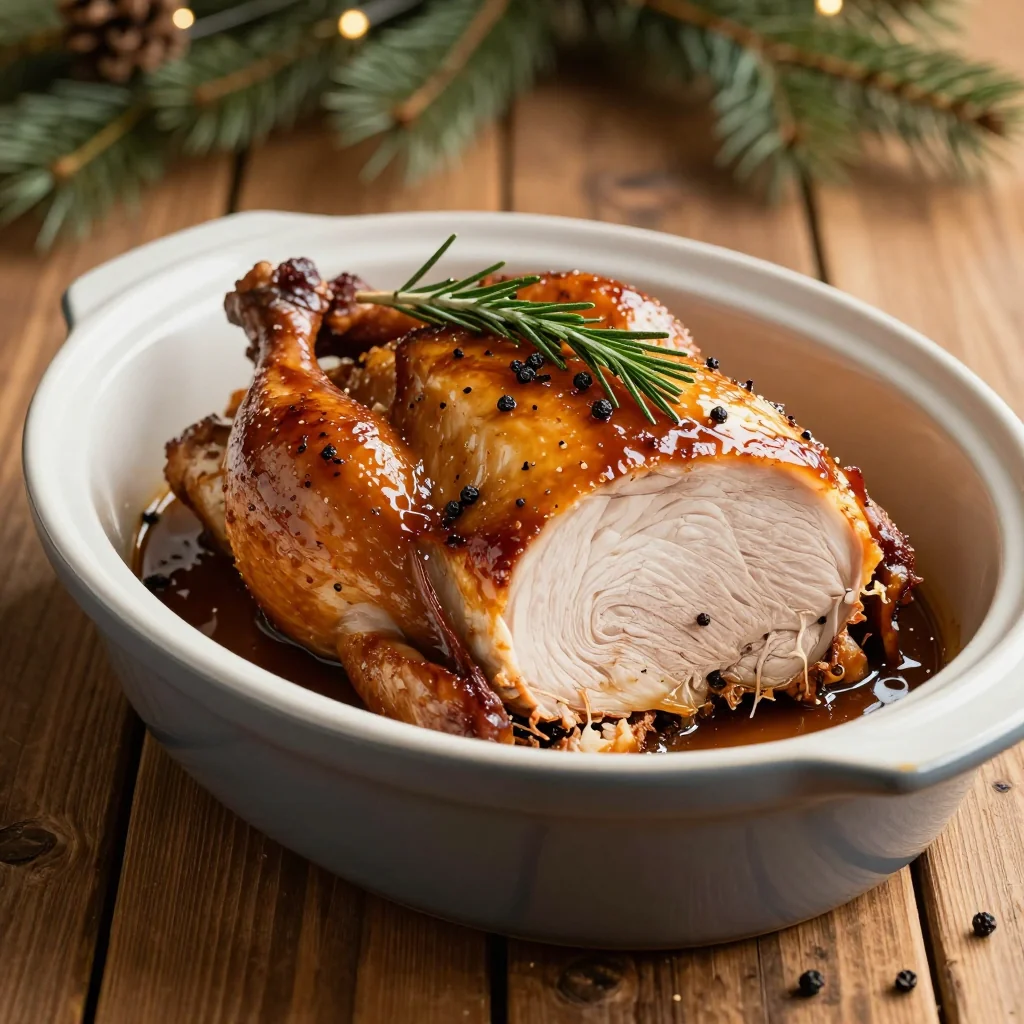
I was standing in the middle of a kitchen disaster, watching a pot of chicken stew bubble over like a volcano. The heat was so intense that even my apron felt the scorch, and I could hear the sizzling as the broth tried to escape its confines. I had forgotten to set a timer, and the pot was about to turn into a smoky mess. That moment of panic sparked a craving for something comforting and quick, and I decided to reinvent the classic pot pie without the crust. Little did I know that this decision would lead to the most satisfying, hands‑down version of the dish I've ever made.
Picture the aroma of caramelized onions drifting through the air, mingling with the earthy scent of fresh garlic. The sound of a spoon clinking against the pot is like a metronome, keeping the rhythm of the simmer. When the first spoonful of sauce touches your tongue, it feels silky, almost like velvet, coating every bite. The warmth from the bowl radiates through your hands, promising a comforting hug with each spoonful. And the sight of bright green peas popping like tiny emeralds against the golden broth adds a visual pop that makes the dish almost too pretty to eat.
What sets this crustless chicken pot pie apart is its unapologetic simplicity that lets the flavors shine. Instead of a flaky crust, a velvety roux creates a rich base that holds the vegetables and chicken together. The use of fresh, garden vegetables gives each bite a bright crunch, while the herbs deliver a fragrant, earthy depth. The sauce, thickened with flour and butter, has a silky mouthfeel that clings to the chicken, making every forkful feel indulgent. And because there’s no crust to bake, you can whip it up in under an hour, making it perfect for busy weeknights or last‑minute dinner parties.
The secret sauce is a subtle blend of thyme and rosemary that transforms the dish from ordinary to extraordinary. I dare you to taste this and not go back for seconds—once you try it, you’ll be hooked. Picture yourself pulling this out of the oven, the whole kitchen smelling incredible, and knowing that everyone will ask for your recipe. Let me walk you through every single step—by the end, you'll wonder how you ever made it any other way. So grab your apron, and let's dive into the art of the crustless chicken pot pie.
What Makes This Version Stand Out
- Taste: The sauce is a harmonious blend of savory chicken broth, fresh herbs, and a touch of butter that creates a depth reminiscent of a slow‑cooked stew. The bright green peas provide a pop of freshness that cuts through the richness. This combination delivers a comforting, yet sophisticated flavor profile that keeps every bite interesting.
- Texture: The roux thickens the liquid into a silky, velvety base that coats the chicken and vegetables. The carrots and celery retain a gentle crunch, while the peas stay tender yet distinct. The result is a satisfying contrast of smooth sauce and bite‑worthy vegetables.
- Simplicity: With no crust or pastry, the recipe boils down to a handful of pantry staples—flour, butter, and broth—making it incredibly approachable for novice cooks. The process is linear, so you can focus on the flavors without juggling multiple components. It’s the perfect balance between gourmet and beginner‑friendly.
- Uniqueness: By eliminating the crust, the dish showcases the pure, unadulterated essence of the ingredients. The creamy sauce becomes the star, allowing the chicken and veggies to shine. This twist turns a classic comfort food into a modern, health‑conscious favorite.
- Crowd Reaction: Friends who’ve tried this version rave about how it feels like a “home‑cooked hug” with no fuss. Many remark that the lack of crust makes it lighter yet still indulgent. It’s become the go‑to dish for potluck gatherings.
- Make‑Ahead Potential: The pot pie can be prepared in advance and chilled, then baked just before serving. The sauce thickens slightly when refrigerated, which actually enhances the mouthfeel. When reheated, it retains its silky texture and warm aroma.
Alright, let's break down exactly what goes into this masterpiece...
Inside the Ingredient List
The Flavor Base
The foundation of this pot pie is a savory blend of chicken broth and milk, which together provide a creamy, comforting canvas. The butter and flour create a classic roux that thickens the liquid into a silky sauce, while the dried thyme and rosemary infuse it with aromatic depth. Salt and pepper tie all the flavors together, ensuring each bite is balanced and satisfying.
The Texture Crew
Carrots and celery add a satisfying crunch that contrasts with the tender chicken. The frozen peas, thawed just before adding, bring a pop of color and a subtle sweetness that cuts through the richness. Garlic and onion provide the aromatic base that forms the heart of the dish, releasing their flavors as they caramelize.
The Unexpected Star
Olive oil may seem like a minor detail, but it elevates the entire dish by adding a subtle fruity note and helping the aromatics bloom without sticking. A splash of olive oil also gives the sauce a glossy finish that makes the dish look as good as it tastes.
The Final Flourish
A pinch of dried thyme and rosemary brings warmth and earthiness that lingers on the palate. These herbs are key to creating a comforting, home‑cooked feel that feels like a hug in a bowl. The final touch is a gentle seasoning with salt and pepper, allowing the natural flavors to shine.
Everything's prepped? Good. Let's get into the real action...

The Method — Step by Step
- Preheat and Prep: Heat your oven to 375°F (190°C) while you gather the ingredients. Slice the chicken into bite‑sized cubes and season them lightly with salt and pepper. Dice the onion, mince the garlic, and chop the carrots and celery into uniform pieces so they cook evenly. Measure out the flour, butter, and broth; having everything ready will keep the process smooth. Once the oven is hot, you’ll be ready to start the magic.
- Brown the Chicken: In a large skillet, heat the olive oil over medium‑high heat. Add the seasoned chicken cubes and let them sear until they develop a golden brown crust on all sides, about 3–4 minutes. The seared chicken will lock in juices and provide a savory foundation for the sauce. Flip the pieces gently to ensure even browning. Remove the chicken to a plate and set aside.
- Sauté the Aromatics: In the same skillet, melt the butter over medium heat. Add the diced onion and minced garlic, sautéing until the onion turns translucent and the garlic releases its fragrance. Stir frequently to prevent burning. This step builds the aromatic base that will carry the herbs and vegetables. The aroma should feel like a warm hug.
- Make the Roux: Sprinkle the all‑purpose flour over the butter and onion mixture. Stir continuously for about 2 minutes until the mixture turns a light golden hue and smells nutty. This roux will thicken the sauce without becoming gritty. Keep the heat moderate to avoid scorching the flour. The roux should feel silky to the touch.
- Incorporate Liquids: Gradually whisk in the chicken broth, ensuring no lumps form. Stir until the mixture thickens and reaches a custard‑like consistency. Add the milk, then reduce the heat to low. This step creates a velvety sauce that will coat the vegetables and chicken. The sauce should bubble gently and coat the back of a spoon.
- Add Veggies and Herbs: Return the browned chicken to the skillet. Add the carrots, celery, and peas, stirring to combine. Sprinkle in the dried thyme and rosemary, then season with a pinch more salt and pepper. Allow the mixture to simmer for 5 minutes, letting the flavors meld together. The vegetables should soften but retain a slight bite.
- Simmer and Adjust: Let the pot simmer uncovered for 10 minutes, stirring occasionally. The sauce should reduce slightly and thicken. Taste and adjust seasoning; a pinch more salt or pepper can make a noticeable difference. The mixture should be thick enough to coat the chicken but still pourable. This is the moment of truth—your patience pays off.
- Bake to Finish: Transfer the mixture to a 9‑inch baking dish. Place in the preheated oven and bake for 20 minutes, or until the top is lightly browned and the sauce is bubbling. The final bake sets the flavors and gives the dish a comforting finish. Remove from the oven, let it rest for 5 minutes before serving. The dish should look golden and inviting.
That's it — you did it. But hold on, I've got a few more tricks that'll take this to another level...
Insider Tricks for Flawless Results
The Temperature Rule Nobody Follows
Many cooks jump straight to high heat, but slow, steady simmering actually builds deeper flavor. Keep the sauce on low after adding liquids to avoid a greasy texture. A gentle simmer allows the herbs to release their oils without burning. My friend once tried a high‑heat approach and ended up with a bitter sauce—don’t make the same mistake.
Why Your Nose Knows Best
Smell the sauce as it cooks; if it starts to smell overly buttery or burnt, pull it off the heat immediately. A subtle nutty aroma indicates the roux is perfectly cooked. Trusting your nose saves you from ruining a dish that’s otherwise on point. I’ve never trusted a recipe that ignores the smell.
The 5‑Minute Rest That Changes Everything
After baking, let the pot pie rest for 5 minutes before cutting. This brief pause allows the sauce to set, making it easier to scoop out without spilling. The rest also lets the flavors meld, giving the dish a more cohesive taste. Skipping this step often results in a watery mess.
Use a Thermometer for Precision
A quick check of the internal temperature ensures the chicken is fully cooked without drying out. Aim for 165°F (74°C) in the thickest part of the chicken. A thermometer gives you confidence, especially when you’re juggling multiple dishes. I’ve never had a chicken pot pie that wasn’t perfectly cooked because of this trick.
Finish with a Fresh Herb Toss
Right before serving, sprinkle chopped fresh parsley or basil for a burst of color and freshness. The herbs add a bright, herbal note that lifts the dish. It also makes the dish feel more vibrant and less like a stale casserole. My guests always ask for the secret, and I’ll always say it’s the fresh herbs.
Creative Twists and Variations
This recipe is a playground. Here are some of my favorite ways to switch things up:
Cheesy Twist
Add ½ cup of shredded cheddar or Gruyère to the sauce before baking. The cheese melts into the sauce, creating a gooey, comforting layer. It’s perfect for those who love a richer, dairy‑filled experience. Just keep the cheese on the side if you’re watching calories.
Spicy Kick
Stir in ¼ teaspoon of crushed red pepper flakes or a splash of hot sauce during the simmer. The heat pairs wonderfully with the herbs, adding a lively contrast. This variation is ideal for a dinner that needs a little extra excitement. Remember to taste before serving.
Herb‑Infused Cream
Replace half the milk with heavy cream and add a handful of fresh thyme and rosemary. The cream adds a silky richness while the herbs intensify the aroma. This version feels like a luxurious comfort dish. It’s great for a special occasion.
Vegetarian Upgrade
Swap the chicken for diced tofu or tempeh, and use vegetable broth instead of chicken. Keep the same vegetable mix for texture. The tofu absorbs the sauce beautifully, making it a hearty, plant‑based option. It’s a quick swap that doesn’t compromise flavor.
Quick Microwave Fix
If you’re short on time, assemble the sauce in a microwave‑safe bowl, cover, and heat on high for 5 minutes, stirring halfway. The mixture will thicken and heat evenly. This method is perfect for a last‑minute dinner. Just be sure to stir well to avoid hot spots.
Storing and Bringing It Back to Life
Fridge Storage
Cool the pot pie completely before transferring it to an airtight container. Store in the refrigerator for up to 3 days. The sauce will thicken slightly, which actually enhances the mouthfeel. When ready to eat, reheat gently on the stove with a splash of water.
Freezer Friendly
Pack the pot pie in freezer‑safe bags or containers, removing as much air as possible. It stays fresh for up to 2 months. Thaw overnight in the refrigerator before reheating. A quick microwave or stovetop reheat brings it back to life.
Best Reheating Method
Reheat in a saucepan over low heat, adding a splash of water or milk to restore moisture. Stir frequently until the sauce reaches a silky consistency. The gentle heat preserves the texture and flavor. Avoid high temperatures that can dry out the chicken.