Picture this: I’m standing in my kitchen, a bag of pears in one hand, a can of maple syrup in the other, and a stubborn oven timer that refuses to cooperate. The last time I tried a pear dessert, the result was a soggy mess that looked more like a fruit salad than a bake. I was determined to turn that disappointment into a triumph, and I discovered the ultimate version of a cinnamon pear dessert that will leave you begging for seconds. I dare you to taste this and not go back for seconds.
From the moment the pears hit the cutting board, the kitchen filled with a sweet, earthy aroma that makes your mouth water before you even take a bite. The sound of the knife slicing through the flesh is a rhythmic drumbeat, and the pear’s glossy skin glistens like a fresh coat of paint. When the first slice hits the skillet, you hear a gentle sizzle that signals the beginning of something delicious. The first bite is a burst of juicy sweetness, balanced by the warm spice of cinnamon and the subtle tang of lemon juice, creating a flavor profile that feels like a cozy hug.
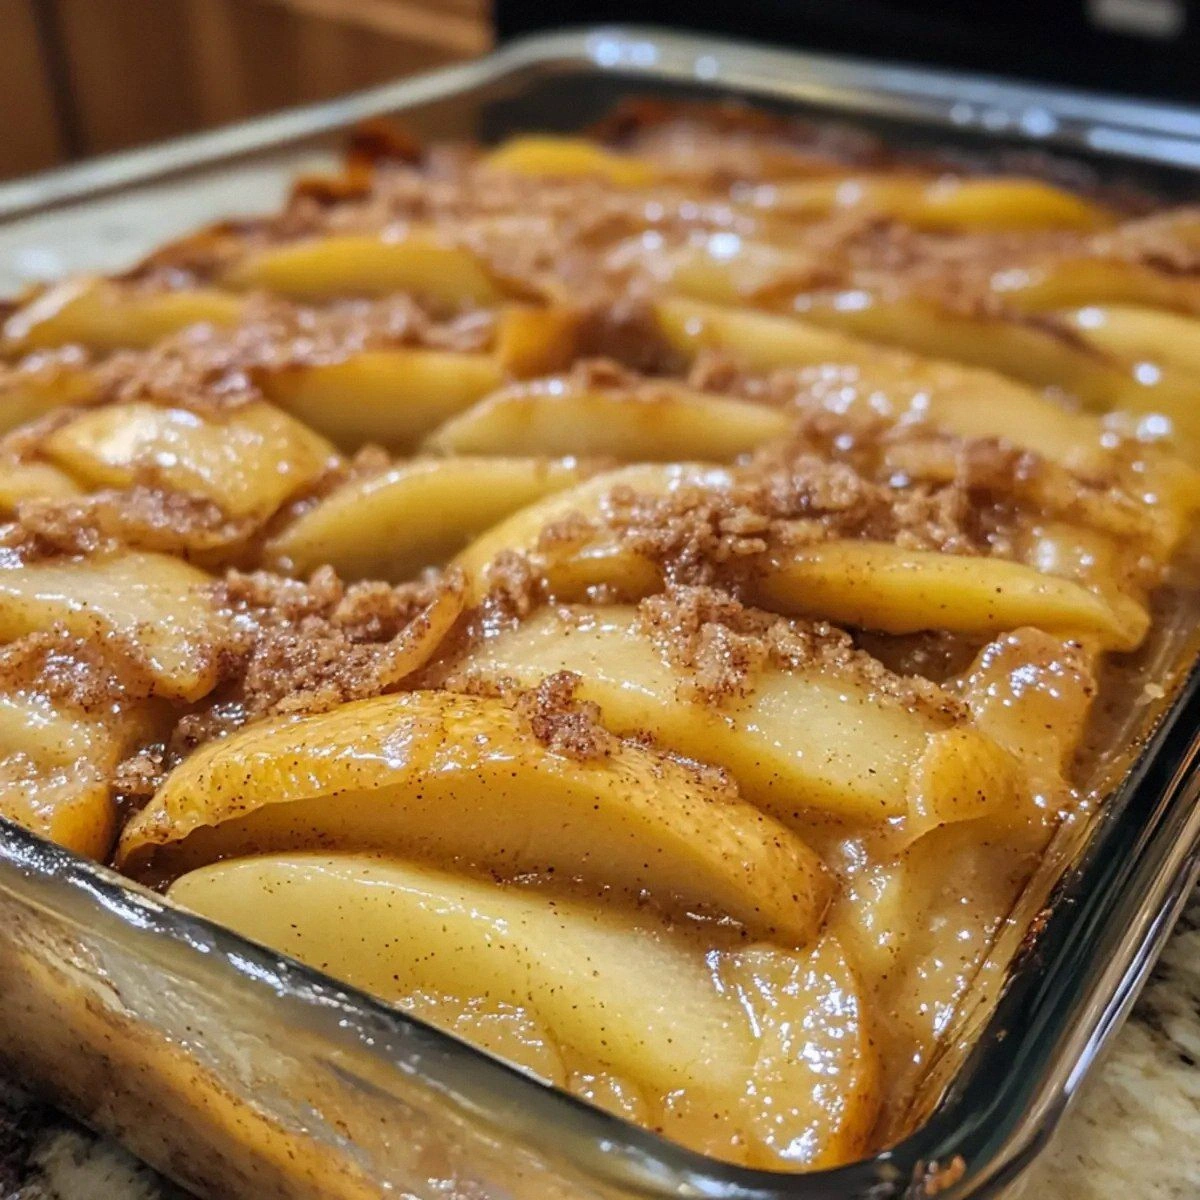
What makes this version stand out is that it’s not just about flavor; it’s about texture, convenience, and a touch of culinary magic. The oat topping crisps to a golden brown that shatters like thin ice when you bite into it, while the buttery crust remains tender and melt‑in‑your‑mouth. The maple glaze coats the pears like velvet, adding a glossy sheen that’s as pleasing to the eye as it is to the palate. Most recipes get this completely wrong by over‑baking the pears or using too much liquid, resulting in a mushy mess. Here, the pears stay firm yet tender, and the batter doesn’t sink.
Picture yourself pulling this out of the oven, the whole kitchen smelling incredible, and a plate of golden, fragrant dessert sitting on a rustic wooden table. The steam rises, carrying the scent of cinnamon and maple that lingers long after the last bite. I’ll be honest — I ate half the batch before anyone else got to try it. The rest of the family begged for the recipe, and I was proud to share the secret. Stay with me here — this is worth it.
What Makes This Version Stand Out
- Taste: The combination of sweet pears, buttery crust, and maple glaze creates a layered flavor experience that’s both comforting and indulgent. The cinnamon provides a warm, spicy kick that cuts through the sweetness, while the lemon juice adds a bright, citrusy note that balances the richness.
- Texture: The oat topping adds a satisfying crunch that contrasts with the soft, caramelized pears. The crust remains tender and flaky, thanks to the right ratio of butter and flour, and the pears stay juicy without becoming soggy.
- Simple Ingredients: This recipe uses only ten ingredients, most of which you probably already have in your pantry. No need for exotic spices or hard‑to‑find items; just pears, cinnamon, and a few pantry staples.
- Uniqueness: The glaze of maple syrup or honey on top of the baked pears is a twist that elevates the dessert from ordinary to extraordinary. The result is a dish that feels like a holiday treat but can be made any time of year.
- Crowd Reaction: Friends and family rave about the caramelized pears and the crunchy oat topping. Many say it’s “hands down the best version you’ll ever make at home,” and they keep asking for a recipe card.
- Ingredient Quality: Using ripe, medium pears ensures maximum sweetness and juiciness. A good quality butter and maple syrup make a noticeable difference in flavor and texture.
- Cooking Method: The method is straightforward: bake, glaze, and top with oats. The process is quick and requires minimal hands‑on time, making it perfect for busy evenings.
- Make‑Ahead Potential: You can assemble the dessert a day ahead, cover it, and bake it fresh when you’re ready. The flavors meld beautifully, and the crust stays crisp.
Inside the Ingredient List
The Flavor Base
At the heart of this dessert are the pears, which provide the natural sweetness and juiciness that carry the dish. Choosing medium, ripe pears ensures they release enough juice during baking without turning into a puree. If you’re out of pears, apples or nectarines can be a suitable substitute, though the flavor profile will shift slightly.
The lemon juice is a subtle but essential component. It brightens the overall taste, preventing the maple glaze from becoming cloying. A splash of lemon also helps preserve the pears’ vibrant color, keeping the dessert visually appealing. If you prefer a sweeter glaze, reduce the lemon juice to half a tablespoon.
The Texture Crew
The rolled oats are the unsung hero that delivers a delightful crunch. They absorb moisture from the pears and the glaze, creating a caramelized crust that feels like a mini crunchy cookie. If you’re gluten‑free, substitute the rolled oats with gluten‑free oats or finely ground almonds.
The butter is the backbone of the crust. It melts into the flour, creating a tender, flaky base that supports the pears. Use unsalted butter to control the salt level, and keep it cold before mixing to achieve the best texture.
The Unexpected Star
The maple syrup or honey acts as a glaze that binds the pears, oats, and crust together. Its natural sugars caramelize during baking, giving the dessert a glossy finish that’s as beautiful as it is tasty. If you’re avoiding honey, maple syrup is the perfect alternative, and vice versa.
Ground cinnamon is the aromatic spice that transforms the dish. It brings warmth and depth, complementing the pears’ natural flavor. If you’re not a fan of cinnamon, try nutmeg or allspice for a different twist.
The Final Flourish
The all‑purpose flour provides the structure for the crust. It’s essential for achieving a tender base that holds the pears in place. If you want a lighter texture, replace half the flour with whole wheat flour for added fiber.
Vanilla extract adds a subtle sweetness that rounds out the flavors. A teaspoon is enough to lift the entire dish, and it pairs wonderfully with the maple glaze. If you’re vegan, use a plant‑based vanilla flavoring.
Everything’s prepped? Good. Let’s get into the real action.
The Method — Step by Step
- Preheat your oven to 375°F (190°C). Line a 9‑inch pie dish with parchment paper to prevent sticking. This step ensures a smooth release of the baked pears. The parchment also adds a subtle texture that’s easy to clean up.
- Slice the pears in half, then core and dice them into bite‑size pieces. The uniform size ensures even cooking and caramelization. Keep the peels on for extra color and nutrition; they’re edible and add a nice visual contrast.
- In a small bowl, whisk together the lemon juice, maple syrup (or honey), vanilla extract, and ground cinnamon until well combined. The mixture should be smooth and glossy, ready to coat the pears. This glaze will caramelize beautifully in the oven.
- Toss the diced pears with the glaze, ensuring each piece is evenly coated. The pears should look glossy and slightly translucent. This step locks in moisture and flavor, preventing the pears from drying out.
- Arrange the glazed pears in the prepared pie dish, spreading them out in an even layer. This helps the pears cook uniformly and creates a beautiful, caramelized surface. If you notice any gaps, fill them with additional pears.
- In a separate bowl, combine the all‑purpose flour, rolled oats, and a pinch of sea salt. Mix until the oats are evenly coated with flour. This mixture will form the crunchy topping.
- Add the cold, cubed butter to the oat mixture. Use a pastry cutter or your fingers to cut the butter into the oats until the mixture resembles coarse crumbs. The cold butter creates steam pockets that make the topping flaky.
- Sprinkle the oat mixture evenly over the pears, pressing lightly to ensure it adheres. The oats will caramelize during baking, forming a golden crust. The mixture should look like a thick, crumbly layer on top of the pears.
- Bake for 25–30 minutes, or until the pears are tender and the oat topping is golden brown. The edges of the crust should pull away slightly from the dish, indicating doneness. The aroma during this time is intoxicating, reminiscent of a bakery on a crisp autumn morning.
- Remove the dish from the oven and let it cool for 10 minutes before serving. The glaze will set, creating a glossy finish that’s perfect for a photo‑ready dessert. The aroma will linger, making the kitchen feel cozy and inviting.
- Serve warm, optionally drizzled with a splash of extra maple syrup or a dusting of powdered sugar for an extra touch of sweetness. If you’re feeling adventurous, add a scoop of vanilla ice cream on top for a decadent finish.
That’s it — you did it. But hold on, I’ve got a few more tricks that will take this to another level.
Insider Tricks for Flawless Results
The Temperature Rule Nobody Follows
Many bakers bake at a high temperature and then lower it, but the best results come from starting at 375°F (190°C) and keeping it steady. A consistent temperature allows the oats to caramelize evenly without burning, and the pears stay juicy. If you’re using a convection oven, reduce the temperature by 25°F to avoid over‑browning.
Why Your Nose Knows Best
Before you open the oven door, pause and sniff the air. If you smell a faint, sweet, buttery aroma, you’re close to perfection. If it’s too dry or metallic, give it a few more minutes. Trust your senses; they’re the most reliable guide.
The 5‑Minute Rest That Changes Everything
Letting the dessert rest for five minutes after baking allows the glaze to set, creating a glossy finish that’s irresistible. During this time, the residual heat continues to cook the pears gently, ensuring they’re tender without becoming mushy.
Using a Parchment Paper Trick
Lining the dish with parchment paper not only prevents sticking but also adds a subtle, caramelized edge to the crust. The paper’s slight heat resistance ensures the bottom stays crisp, giving the dessert a professional finish.
Adding a Touch of Citrus Zest
Grate a teaspoon of fresh lemon zest over the pears before baking. The zest infuses the dish with bright, citrusy notes that cut through the sweetness, creating a well‑balanced flavor profile. This simple addition transforms a good dessert into a great one.
Creative Twists and Variations
This recipe is a playground. Here are some of my favorite ways to switch things up:
Maple‑Honey Fusion
Swap the maple syrup for an equal mix of honey and maple. The honey adds a floral undertone that complements the pears’ natural sweetness, while the maple provides depth.
Nutty Crunch Upgrade
Replace the rolled oats with a mixture of toasted walnuts and pecans. The nuts add a buttery, earthy flavor and a satisfying crunch that pairs beautifully with the pears.
Spiced Pears
Introduce a pinch of ground ginger and cardamom into the glaze. These spices add warmth and complexity, turning the dessert into a fragrant, exotic treat.
Almond Flour Twist
Use almond flour instead of all‑purpose flour for a gluten‑free version. The almond flour gives the crust a subtle nutty flavor that enhances the overall taste.
Berry‑Pear Fusion
Add a handful of fresh blueberries or raspberries to the pear mixture before baking. The berries burst with juice during cooking, adding a tart contrast to the sweet pears.
Storing and Bringing It Back to Life
Fridge Storage
Store the cooled dessert in an airtight container in the refrigerator for up to three days. The glaze will firm up, making the texture even more enjoyable. When ready to serve, let it sit at room temperature for 10 minutes for a softer bite.
Freezer Friendly
Wrap the dessert tightly in plastic wrap and then in foil before freezing. It stays good for up to two weeks. Thaw overnight in the refrigerator, then reheat in a 350°F oven for 10 minutes to restore the crispness.
Best Reheating Method
Reheat the dessert in a preheated oven at 350°F (175°C) for 8–10 minutes, or until warmed through. Add a splash of water to the dish before reheating; the steam helps keep the pears moist and the crust crisp.