The kitchen was a battlefield that morning, my oven alarm blaring like a rogue metronome, and the smell of burnt sugar wafting from the counter. I had been chasing the perfect bite of mini cheesecake for years, and every attempt ended in a sad, soggy disappointment that left me questioning my culinary destiny. I swore to myself that tonight would be different, that I would finally crack the code to a silky, bite‑size cheesecake that melts on the tongue like a secret whispered in velvet. That night, armed with a handful of gluten‑free crumbs and a heart full of hope, I discovered a recipe that feels like a personal revelation.
Picture this: the first time a spoon dips into the batter, you hear a gentle sizzle that promises a golden crust. The aroma that follows is a warm hug—sweet vanilla, faint citrus, and the comforting whisper of toasted crumbs. Your eyes catch the glossy sheen on the tops as they set, and your fingers feel the coolness of the chilled mini cakes in the fridge. When you finally break the crust, a light, airy center spills out, creamy and unapologetically rich. The experience is a symphony of textures: crisp edges, velvety interior, and a hint of buttery crunch that sings in your mouth.
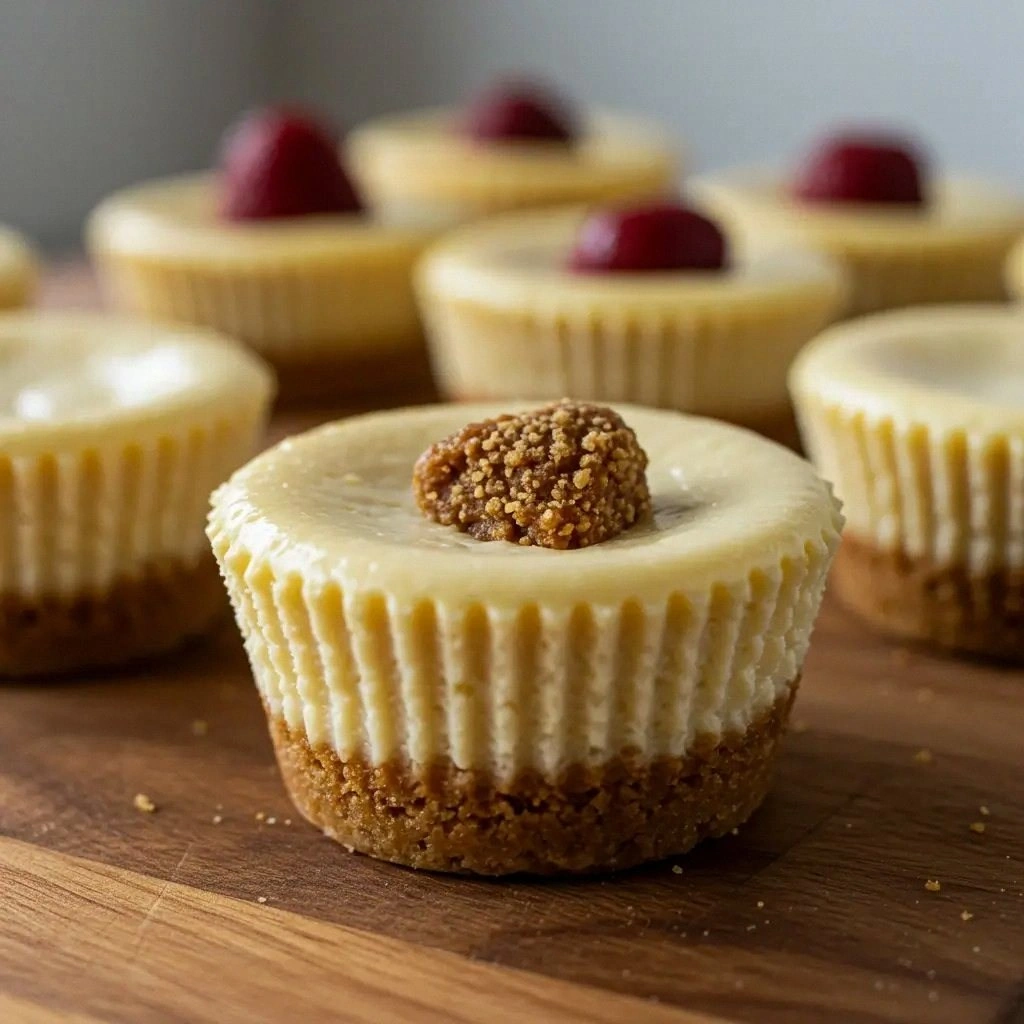
What makes this version stand out is not just the gluten‑free base; it’s the meticulous attention to temperature, the subtle balance of sweet and tang, and the way the batter behaves in the oven. The batter stays smooth because the cream cheese and eggs are left at room temperature for 30 minutes, a trick that eliminates the dreaded grainy texture. The crust is made from a blend of gluten‑free graham crackers and almond flour, giving a firm yet delicate bite that crumbles just enough to let the filling shine. And the finish? A glossy, almost glass‑like top that invites you to cut straight through, revealing the creamy heart inside. I dare you to taste this and not go back for seconds; the first bite will convince you that this is hands down the best version you'll ever make at home.
If you've ever struggled with mini cheesecakes that fall apart or taste like a stale sandwich, you're not alone—and I've got the fix. This recipe is a game‑changer, a simple yet elegant dessert that will wow your friends and family. Picture yourself pulling these out of the oven, the whole kitchen smelling incredible, and the moment when you plate them—each mini cheesecake a perfect little dome of joy. Let me walk you through every single step—by the end, you'll wonder how you ever made it any other way.
What Makes This Version Stand Out
- Room Temperature: Allowing the cream cheese and eggs to sit out for about 30 minutes eliminates uneven mixing and ensures a silky batter.
- Gluten‑Free Crust: A blend of gluten‑free graham crackers and almond flour creates a crunchy yet tender base that complements the filling.
- Balanced Sweetness: A careful ratio of sugar to lemon juice yields a sweet‑tang harmony that keeps the cheesecake from feeling heavy.
- Minimal Ingredients: Only a handful of pantry staples are needed, making this a quick yet impressive dessert.
- Make‑Ahead Friendly: These mini cheesecakes can be assembled ahead of time, refrigerated, and baked just before serving.
- Scalable: The recipe scales neatly, so whether you need 4 or 48 mini cakes, the proportions stay consistent.
Inside the Ingredient List
The Flavor Base
Cream cheese is the soul of any cheesecake; it provides that rich, tangy backdrop that balances the sweetness. Use full‑fat cream cheese for maximum creaminess—low‑fat versions tend to curdle or become too thin. If you’re on a budget, a good brand of regular cream cheese will still deliver a smooth texture. Skipping cream cheese would turn the dessert into a plain custard, losing that signature mouthfeel.
Vanilla extract is the unsung hero that ties all the flavors together. A splash of pure vanilla elevates the sweetness without overpowering the tang of the lemon. If you prefer a hint of citrus, substitute a teaspoon of orange extract for half of the vanilla. Remember, the vanilla should be fresh; old extracts lose potency and can taste flat.
The Texture Crew
Eggs act as a binding agent, giving the cheesecake structure while keeping it silky. The key is to whisk them until they’re light and airy before folding them into the batter. If you’re short on time, use a hand mixer; the extra effort pays off in the final product. Skipping eggs will result in a watery, unstructured filling that collapses during baking.
Lemon juice adds brightness and a subtle tartness that cuts through the richness. It also helps set the batter slightly, giving the cheesecake a firmer bite. A good rule of thumb is one tablespoon of lemon juice per cup of cream cheese. If you’re not a fan of lemon, try a splash of lime for a different citrus profile.
The Unexpected Star
Gluten‑free graham cracker crumbs are the foundation of the crust, offering a delicate crunch that contrasts the creamy interior. Mix them with almond flour for a nutty undertone and a firmer texture. If you’re gluten‑free but not nut‑free, swap almond flour for sunflower seed flour for a neutral flavor. Skipping the crust altogether turns the dish into a no‑crust cheesecake, which many consider a lesser experience.
The Final Flourish
Brown sugar or maple syrup can be used instead of white sugar for a deeper flavor and a slightly caramelized finish. The choice between the two depends on your personal preference: brown sugar gives a subtle molasses note, while maple syrup offers a smoother sweetness. If you’re watching your sugar intake, consider a sugar substitute like stevia or monk fruit, but be mindful that the texture may change slightly. Skipping the sweetener will produce a bland, unappealing cheesecake.
Everything's prepped? Good. Let's get into the real action...
The Method — Step by Step
- Preheat your oven to 325°F (165°C). Line a mini muffin tin with paper liners or grease it lightly with butter. This ensures easy removal and prevents sticking. The oven temperature is critical; too high and the tops will brown too quickly, too low and the center will remain runny.
- In a medium bowl, combine the gluten‑free graham cracker crumbs with 2 tablespoons of melted butter and 1 tablespoon of brown sugar. Stir until the mixture resembles wet sand. Press the crumb mixture into the bottom of each muffin cup, forming an even layer about 1 inch thick. This creates the crunchy foundation that holds the cheesecake together.
- Let the crust set while you prepare the filling. In a large mixing bowl, beat the cream cheese on medium speed until smooth and creamy. If you notice lumps, continue beating or use a hand mixer for a minute or two. Smooth cream cheese is key to preventing a lumpy texture.
- Add the sugar, vanilla extract, and lemon juice to the cream cheese. Beat on low speed until combined, then gradually increase to medium. This step incorporates air into the batter, giving the cheesecake a light, airy feel. The lemon juice should be added slowly to avoid curdling.
- Whisk in the eggs, one at a time, ensuring each is fully incorporated before adding the next. Over‑beating can cause the batter to split, so stop as soon as the mixture is smooth. The eggs provide structure, so don't skip them or the cheesecake will collapse.
- Carefully pour the batter over the crust, filling each cup about three‑quarters full. Tap the pan gently on the counter to release any air bubbles. This ensures even baking and prevents cracks in the tops.
- Place the tin in the preheated oven and bake for 25 minutes. After 25 minutes, remove the tin from the oven and gently tap it on the counter to check for a slight wobble. The center should still be slightly jiggly, which will set as the cheesecakes cool. This is the moment of truth.
- Turn the oven off and leave the cheesecakes inside for an additional 15 minutes with the door slightly ajar. This gradual cooling prevents cracks from forming. Once the oven has cooled to room temperature, transfer the mini cheesecakes to a wire rack to cool completely.
- Refrigerate for at least 4 hours, preferably overnight, before serving. Chilling allows the flavors to meld and the texture to firm up. When ready to serve, run a knife around the edges to loosen them, then lift with a paper towel if needed.
That's it — you did it. But hold on, I've got a few more tricks that'll take this to another level. Stay tuned for insider tips that will elevate every bite.
Insider Tricks for Flawless Results
The Temperature Rule Nobody Follows
Temperature control is the secret weapon. A preheated oven at 325°F ensures the cheesecake sets evenly without scorching the edges. If your oven runs hot, reduce the temperature by 25°F. This small adjustment can prevent a cracked top and a perfectly smooth finish. I’ve seen many people bake at 350°F and end up with a dry, uneven texture.
Why Your Nose Knows Best
During baking, trust your senses. When the edges begin to pull away from the paper liner, it’s a sign the cheesecake is done. The aroma should be warm, buttery, with a hint of vanilla. If you smell a sharp, burnt scent, the oven is too hot. Adjusting the heat or the baking time can save the day.
The 5-Minute Rest That Changes Everything
After removing the cheesecakes from the oven, leave them in the warm oven for 15 minutes. This slow cooling process prevents the center from collapsing. The residual heat continues to set the filling, giving a silky texture. Skipping this step often results in a wobble that looks unprofessional.
The No‑Touch Trick
Avoid opening the oven door frequently. Each time you do, the temperature drops, causing the cheesecake to rise too quickly and then fall. This can create a hollow center. Keep the door closed until the timer goes off, then let it cool inside. It’s a simple habit that pays off.
The Final Chill
Chilling the mini cheesecakes for at least 4 hours, preferably overnight, allows the flavors to meld. If you’re in a rush, a 2‑hour chill will still work, but the texture may not be as firm. The refrigerator’s steady temperature ensures the cheesecake remains smooth. A quick dip in the freezer for 30 minutes can set the filling faster, but watch out for ice crystals.
Creative Twists and Variations
This recipe is a playground. Here are some of my favorite ways to switch things up:
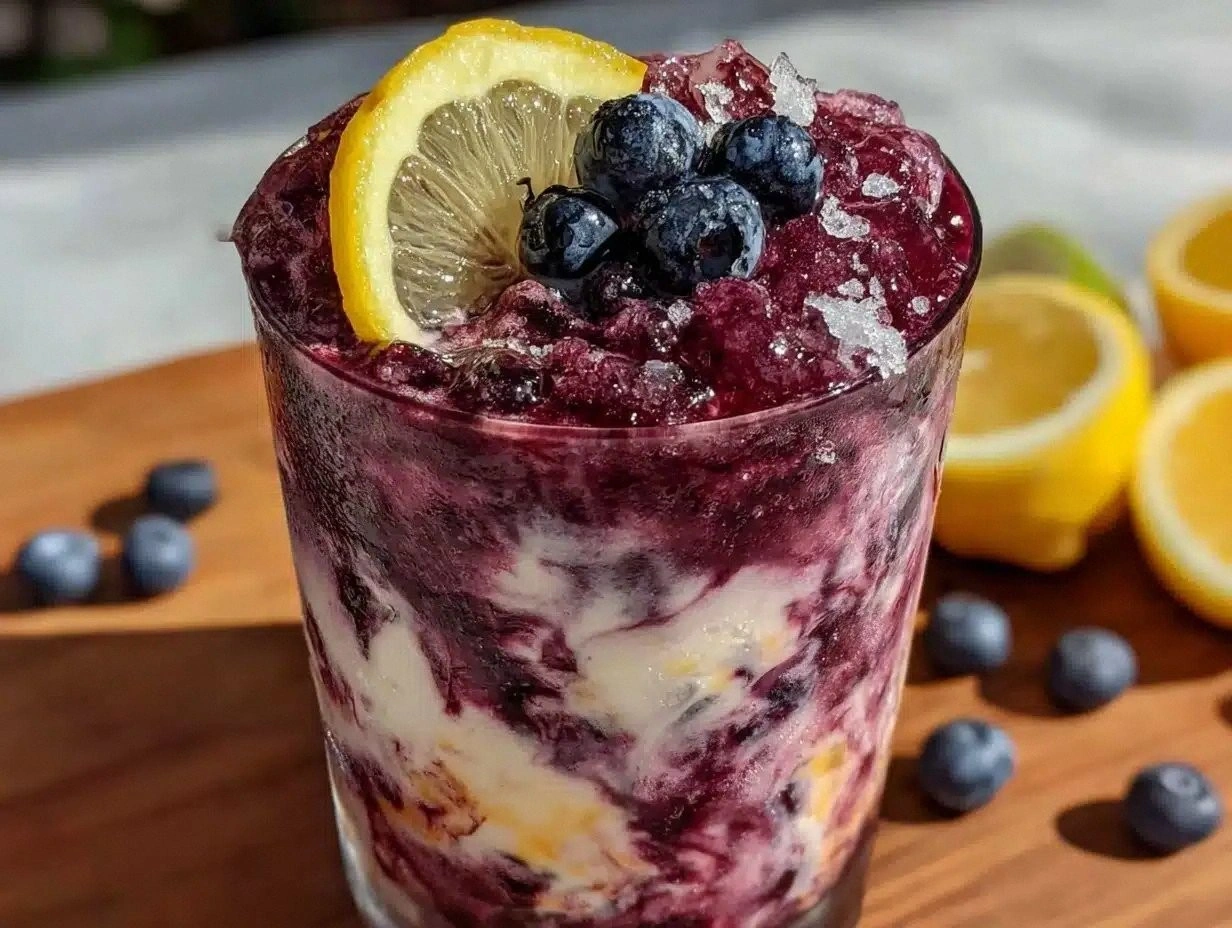
Berry Burst
Add a handful of fresh blueberries to the batter before baking. The berries release juice during baking, creating a subtle swirl of color and flavor. Top with a drizzle of raspberry coulis for an extra pop. This variation is perfect for a summer gathering.
Chocolate Swirl
Fold a few spoonfuls of melted dark chocolate into the batter after the eggs. The chocolate creates a marbled effect that looks as good as it tastes. Use a chocolate glaze on top to finish. Chocolate lovers will find this irresistible.
Citrus Zest
Incorporate zest from an orange or a grapefruit into the batter. The zest adds a bright, aromatic note that complements the lemon. Sprinkle a pinch of sea salt on top to balance the sweetness. This variation works well for brunch or afternoon tea.
Nutty Crunch
Add chopped toasted pecans or walnuts to the crust. The nuts give a delightful crunch and nutty flavor that pairs with the creamy filling. A dusting of powdered sugar on top adds a sweet finish. Great for a holiday dessert.
Mango Mousse
Blend ripe mango into the batter for a tropical twist. The mango puree adds natural sweetness and a silky texture. Top with a dollop of coconut whipped cream for an extra indulgent touch. Ideal for a beachside gathering.
Espresso Infusion
Stir a tablespoon of instant espresso powder into the batter. The espresso adds depth and a subtle bitterness that balances the sweetness. Pair with a dusting of cocoa powder on top. Coffee lovers will adore this version.
Storing and Bringing It Back to Life
Fridge Storage
Store the mini cheesecakes in an airtight container in the refrigerator for up to 5 days. The chilled environment keeps the texture firm and prevents the filling from becoming runny. When you’re ready to serve, let them sit at room temperature for 10–15 minutes for optimal flavor.
Freezer Friendly
Wrap each cheesecake individually in plastic wrap and then place them in a freezer bag. Freeze for up to 3 months. When you want to enjoy a frozen treat, thaw in the refrigerator overnight. The texture remains silky, though it may be slightly denser.
Best Reheating Method
To reheat, place the cheesecake on a microwave-safe plate and heat on medium power for 15–20 seconds. Add a splash of water to the bottom of the plate; the steam helps restore moisture and prevents drying. Alternatively, reheat in a low‑heat oven (250°F) for 10 minutes. Avoid high heat, which can cause the cheesecake to brown too quickly.