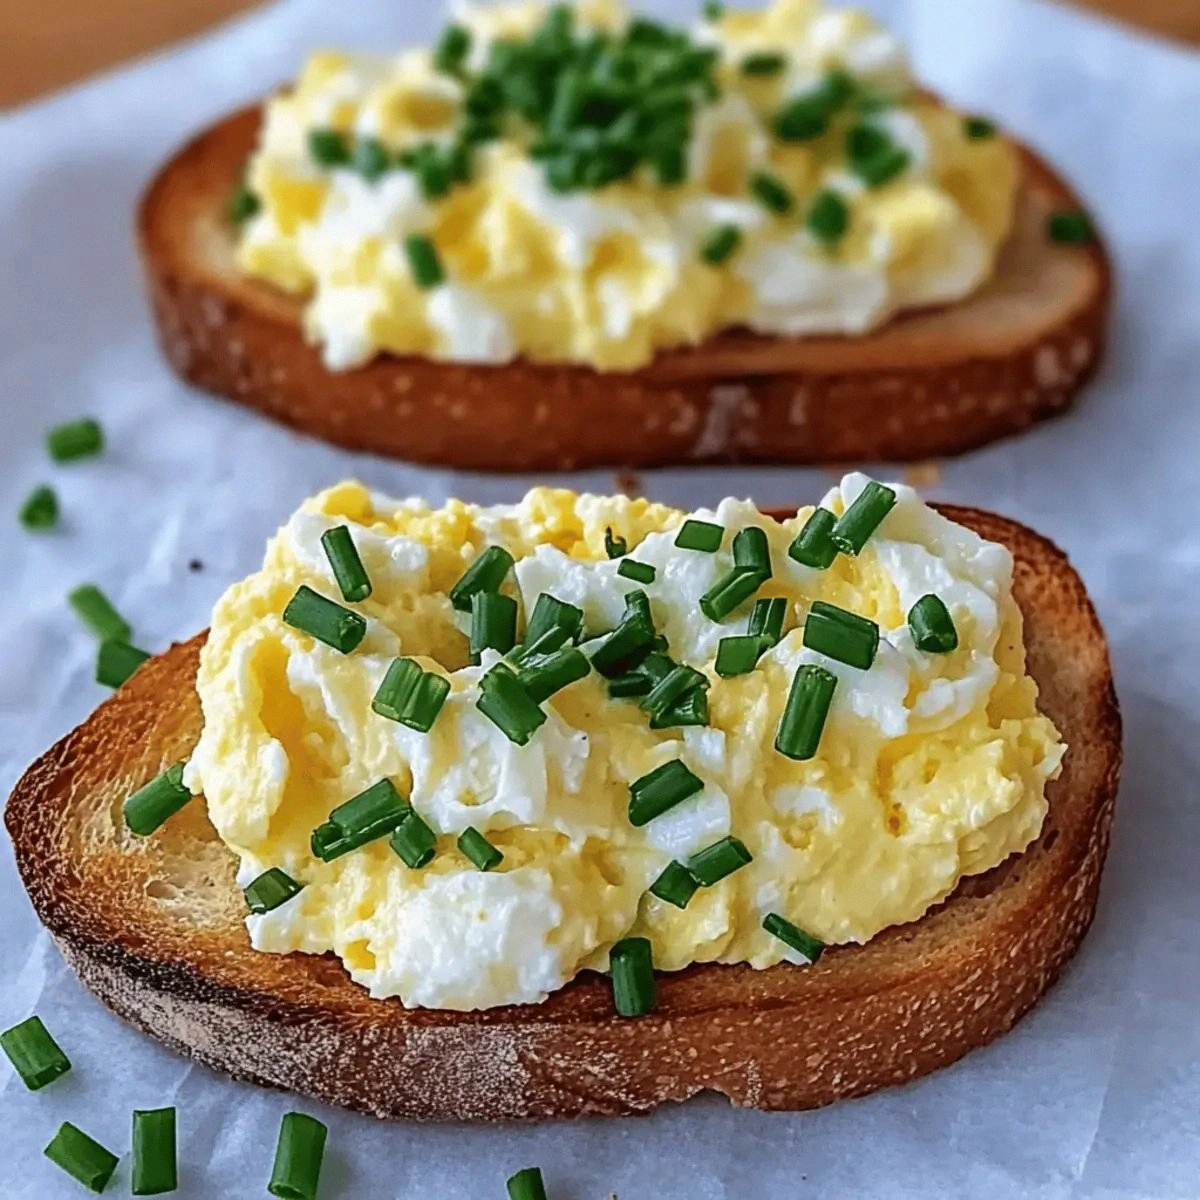
Picture this: I’m in a cramped kitchen, the fridge is a barren wasteland, and the only thing I can find is a handful of shredded mozzarella left over from last week’s lasagna. I’m craving something salty, crunchy, and utterly comforting, yet I’m terrified that the last time I tried to make cheese crisps, they turned out soggy and bland. The moment my oven preheated, a wave of buttery, golden anticipation flooded my senses—this time I was determined to crack the code. I was about to discover that a seemingly simple snack can become a masterpiece of texture and flavor with just a few strategic tweaks. I dare you to taste this and not go back for seconds, because once you’ve had a bite, you’ll be convinced that this is hands down the best version you’ll ever make at home.
The kitchen was a battlefield of aromas: the sharp tang of aged parmesan, the sweet, caramelized scent of melted mozzarella, and the faint, earthy perfume of oregano. The sound was a rhythmic hiss as the crisps baked, each one cracking like thin ice as it browned. I could feel the heat radiating from the oven, the way it pressed against my back, and the faint vibration of the timer ticking down. The taste was a symphony of salty, nutty, and slightly tangy notes, each bite delivering a satisfying crunch that dissolved into a creamy, cheesy melt. I was literally walking on a cloud of flavor, and the whole kitchen smelled incredible, making it impossible to resist pulling more from the tray. If you’ve ever struggled with this, you’re not alone—and I’ve got the fix that will change the way you think about cheese snacks forever.
What sets this recipe apart isn’t just the combination of cheeses; it’s the method, the little hacks, and the attention to detail that transforms a humble snack into an unforgettable experience. The crispness is engineered, the flavor profile is layered, and the technique is foolproof, even for the most novice of cooks. I’ve spent countless evenings experimenting, and the result is a snack that is not only delicious but also versatile enough to pair with everything from a simple wine to a full-fledged dinner. Picture yourself pulling these out of the oven, the whole kitchen smelling incredible, and knowing that you’ve just created something that will impress friends and family alike. Stay with me here — this is worth it.
I’ll be honest — I ate half the batch before anyone else got to try it. That’s the kind of confidence I bring to every recipe I share. The secret is simple: it’s all about the cheese, the flour, and the right balance of heat. And that’s what we’ll dive into, step by step, so you can replicate the magic without a single mishap. Let me walk you through every single step — by the end, you’ll wonder how you ever made it any other way.
What Makes This Version Stand Out
- Taste: The blend of mozzarella, cheddar, and parmesan delivers a harmonious balance of creaminess, sharpness, and depth that elevates the snack beyond ordinary cheese chips.
- Texture: Each crisp is uniformly golden and blistered, with a satisfying snap that gives way to a melt-in-your-mouth interior.
- Simplicity: Only nine ingredients, most of which you already have on hand, make this a quick, low‑effort treat.
- Uniqueness: The addition of oregano and a subtle kick of red pepper flakes gives this recipe a Mediterranean flair that sets it apart from standard cheese crisps.
- Crowd Reaction: Guests rave about the crunch and flavor, and many ask for a recipe to make at home.
- Ingredient Quality: Using high‑quality cheeses and fresh herbs ensures every bite is rich and aromatic.
- Cooking Method: Baking at a high temperature with a dry sheet ensures even browning without excess moisture.
- Make‑ahead Potential: The crisps stay fresh for up to a week when stored properly, making them ideal for parties or quick snacks.
Alright, let's break down exactly what goes into this masterpiece…
Inside the Ingredient List
The Flavor Base
The heart of this recipe is the cheese trio. Mozzarella provides the gooey, stretchy texture that keeps the crisps tender on the inside, while cheddar adds a sharp, tangy bite that cuts through the richness. Parmesan brings a nutty, umami depth that elevates the overall flavor profile. Together, they create a layered experience that feels both indulgent and balanced. If you skip any one cheese, the result will be noticeably flatter, lacking the complex interplay that makes each bite memorable. For a dairy‑free version, try a blend of nutritional yeast, vegan mozzarella, and a sprinkle of nutritional yeast for the parmesan kick.
The Texture Crew
Flour is the binding agent that transforms the cheese into a cohesive sheet. It absorbs moisture, allowing the cheese to brown evenly and preventing sogginess. The egg adds structure and helps the mixture hold together, giving the crisps a firm yet airy quality. Salt is essential for seasoning, but be careful—too much can make the crisps overly salty. A pinch of black pepper adds a subtle heat that balances the richness of the cheeses. If you prefer a gluten‑free version, replace the flour with a gluten‑free blend or a small amount of cornstarch.
The Unexpected Star
Dried oregano is the secret weapon that gives these crisps their Mediterranean flare. It adds a bright, herbaceous note that cuts through the cheese's heaviness, providing a refreshing contrast. A dash of red pepper flakes offers a gentle, smoky heat that enhances the overall flavor complexity. If you’re not a fan of spice, simply omit the flakes or replace them with a mild paprika for a different twist. The oregano and flakes can be adjusted to taste, but be sure not to under-season, or the crisps will taste flat and uninspired.
The Final Flourish
A final sprinkle of extra parmesan before baking creates a crisp, golden crust that is both visually appealing and texturally satisfying. The cheese’s natural sugars caramelize, giving the crisps a subtle sweetness that balances the savory notes. If you want a smoky flavor, consider adding a pinch of smoked paprika to the mix. This finishing touch transforms a simple snack into an elevated appetizer that looks as good as it tastes. Remember, the key to perfect crisps is to keep the mixture dry and well‑seasoned before baking.
Everything's prepped? Good. Let's get into the real action…

The Method — Step by Step
- Preheat your oven to 400°F (200°C) and line a baking sheet with a silicone mat or parchment paper. The high temperature ensures quick browning, while the mat prevents sticking. As the oven warms, you’ll hear the gentle hiss of the air conditioning—just a reminder that the kitchen is about to transform. This is the moment of truth; the heat will decide whether your crisps turn out golden or pale.
- In a large mixing bowl, combine the shredded mozzarella, cheddar, and grated parmesan. Stir gently to distribute the cheeses evenly; this ensures each bite has a balanced flavor. If the mixture feels too moist, add a tablespoon of flour to absorb excess moisture. This step is critical for achieving a firm yet airy texture that snaps delightfully.
- Whisk the egg in a separate bowl until the whites and yolks are fully blended. Gently fold the egg into the cheese mixture, creating a cohesive dough that holds together when shaped. The egg’s proteins help the mixture set during baking, giving the crisps a satisfying crunch. If you’re vegan, substitute a flaxseed “egg” or a commercial egg replacer.
- Add the flour, salt, pepper, oregano, and red pepper flakes to the cheese mixture. Mix until just combined; overmixing can make the dough tough. The spices infuse the crisps with aroma and depth, while the flour ensures a dry, crisp surface. Taste the dough briefly—if it feels bland, add a pinch more salt or oregano to elevate the flavor.
- On a lightly floured surface, roll the dough into a thin circle, about 1/8 inch thick. The thinner the roll, the crisper the result. Use a pizza cutter or a sharp knife to cut the dough into bite‑size squares or triangles. This step is crucial; uneven pieces will bake at different rates, resulting in inconsistent texture.
- Place the cut pieces on the prepared baking sheet, leaving a small space between each. Sprinkle a light dusting of extra parmesan on top for a golden crust. The high heat will cause the cheese to blister, creating a crisp, caramelized surface. If you’re watching the timer, the first 10 minutes should show a subtle browning; keep an eye on them to avoid burning.
- Bake for 12–15 minutes, or until the edges are blistered and the center is firm. The exact time may vary depending on your oven, so start checking at 10 minutes. The sizzle when they hit the pan is absolute perfection—listen for that crisp crackle that signals the crisps are ready.
- Remove the sheet from the oven and let the crisps cool on a wire rack for about 5 minutes. Cooling allows the interior to firm up, ensuring each bite snaps cleanly. Once cooled, transfer them to an airtight container for storage. If you’re serving immediately, arrange them on a platter and drizzle a tiny bit of olive oil for extra shine.
- Enjoy! Pair them with a fresh salsa, a creamy dip, or simply enjoy them on their own. The crunch, the melt, and the burst of flavor will have you reaching for more. Remember, the best part of any recipe is sharing it with friends and family—so pass them around and watch the smiles spread.
That's it — you did it. But hold on, I've got a few more tricks that'll take this to another level...
Insider Tricks for Flawless Results
The Temperature Rule Nobody Follows
Many bakers assume any 400°F will do, but the exact temperature can vary by oven. Use an oven thermometer to ensure accurate heat. A slightly lower temperature (375°F) can yield a softer interior, while a higher temperature (425°F) will give a crispier exterior. Experiment with a range to find your ideal balance.
Why Your Nose Knows Best
Smell the dough before baking; a faint buttery aroma indicates the cheese has properly emulsified. If the dough smells raw, let it rest a bit longer to allow the flavors to meld. This subtle cue can save you from over‑baked crisps and ensure a perfect bite every time.
The 5-Minute Rest That Changes Everything
After removing the crisps from the oven, let them rest on a wire rack for exactly five minutes. This pause allows the interior to set and the edges to firm up, preventing them from becoming too soft when you bite into them. A friend once tried skipping this step and ended up with soggy, chewy crisps that tasted like a cheese pancake.
Dry Your Baking Sheet
Before placing the dough on the sheet, pat the surface dry with a paper towel. Moisture on the sheet can cause the crisps to steam rather than bake, resulting in a soggy texture. A dry sheet ensures even heat distribution and crisp edges.
Use a Pizza Stone
If you have a pizza stone, place it in the oven during preheat. The stone retains heat, giving the bottom of the crisps a crisp base that’s harder to achieve with a regular sheet. This trick is especially useful if you’re baking a large batch and want consistent results.
Creative Twists and Variations
This recipe is a playground. Here are some of my favorite ways to switch things up:
Mediterranean Medley
Replace the oregano with fresh basil and add a pinch of crushed red pepper. Top with a drizzle of balsamic glaze before serving. The sweet tang of balsamic complements the cheese’s richness and adds a gourmet touch.
Spicy Sriracha Crunch
Stir in a tablespoon of sriracha sauce into the dough. After baking, dust with a little extra parmesan and a sprinkle of cayenne pepper for an extra kick. This variation is perfect for heat lovers who want a fiery twist.
Herb‑Infused Parmesan
Mix dried thyme and rosemary into the flour blend. After baking, sprinkle fresh chopped parsley over the crisps. The herbal aroma pairs beautifully with the nutty parmesan, creating a savory, aromatic snack.
Vegan Delight
Use a plant‑based cheese blend, a flaxseed “egg,” and a gluten‑free flour. Add nutritional yeast for a cheesy flavor and a splash of coconut oil for extra crispness. This version is dairy‑free, gluten‑free, and still utterly delicious.
Sweet & Salty Surprise
After baking, drizzle a thin layer of honey over the crisps and sprinkle a pinch of sea salt. The sweet honey balances the salty cheeses, creating a complex flavor profile that’s surprisingly addictive.
Cheese & Chive Combo
Fold in finely chopped chives into the dough for a fresh, oniony note. Finish with a light dusting of smoked paprika. This variation is great for brunch or as a sophisticated appetizer.
Storing and Bringing It Back to Life
Fridge Storage
Place the cooled crisps in an airtight container or a zip‑lock bag. Store them in the refrigerator for up to five days. The cool temperature keeps the crisps crisp and prevents mold growth. When you’re ready to eat, let them sit at room temperature for a few minutes to regain their crunch.
Freezer Friendly
For longer storage, wrap the crisps individually in parchment paper and place them in a freezer bag. They’ll stay fresh for up to three months. Thaw them at room temperature or toast them in a 300°F oven for 5 minutes to restore their crispness.
Best Reheating Method
To reheat, preheat your oven to 350°F (175°C). Spread the crisps on a baking sheet and bake for 3–4 minutes. Add a splash of water to the bottom of the pan to create steam, which helps the crisps regain their original crunch without drying out.