Remember the night I tried to make a simple chicken dish and ended up with a kitchen that looked like a salsa battleground? I was chasing that elusive burst of green, smoky flavor, and every time I opened the fridge I felt like a culinary detective. The moment I poured the first spoonful of salsa verde into the pot, the air filled with a bright, tangy aroma that could convince even the most stubborn of taste buds to surrender. I swear the sizzling sound that followed was the soundtrack of triumph. If you’ve ever been tempted to throw a plain chicken dish into the pot and hoped for something extraordinary, this is the moment you’ve been waiting for.
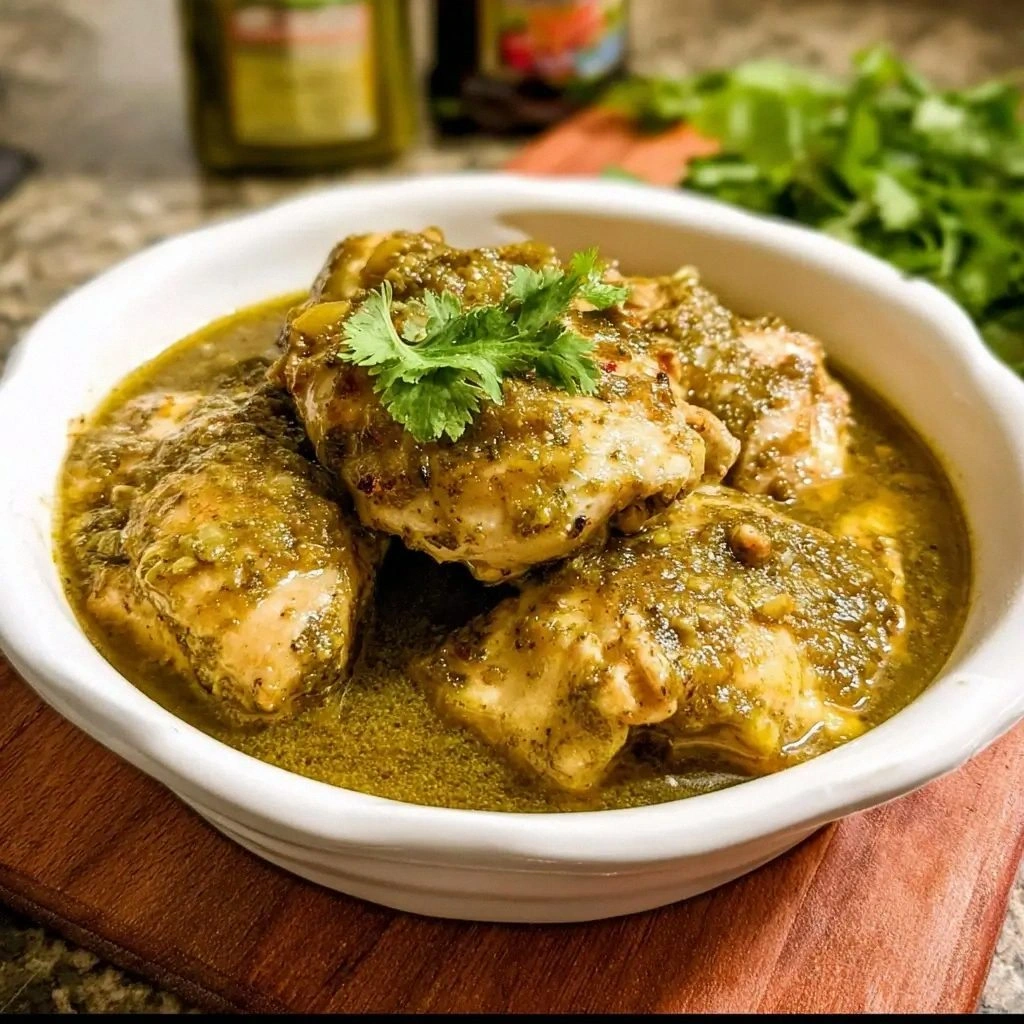
Picture the scene: a gleaming Instant Pot, the lid locked in place, and a swirl of green sauce dancing around tender chicken thighs. The heat rises, turning the salsa into a fragrant steam that blankets the room. Your senses are assaulted by the sharp citrus of lime, the earthy undertones of cumin, and the subtle sweetness of roasted onions. The sound of the pressure release hiss is like a triumphant drum roll, announcing the arrival of a dish that feels both comforting and adventurous. I’m talking about a meal that’s as vibrant on the plate as it is in your memory.
What sets this recipe apart is that it’s not just a mash‑up of flavors—it’s a carefully orchestrated symphony. I’ve tweaked the spice ratios to keep the salsa verde’s bright, herbal punch front and center, while the chicken absorbs every nuance through pressure cooking. The result? A texture that’s simultaneously juicy and silky, with a coating that clings like velvet to every bite. Most recipes get this completely wrong, leaving the sauce too watery or the chicken too dry. Here, the sauce thickens just enough to cling, and the chicken remains succulent, thanks to a secret technique that I’ll reveal shortly.
And there’s a twist that will make you question why you ever settled for the ordinary. I’ll show you how a simple splash of lime juice at the very end turns the entire dish into a citrus‑kissed masterpiece, while a handful of fresh cilantro adds that final burst of brightness. The trick is to wait until the last moment to stir in the lime—this keeps the flavor crisp and prevents it from turning bitter. I dare you to taste this and not go back for seconds. Let me walk you through every single step—by the end, you’ll wonder how you ever made it any other way.
What Makes This Version Stand Out
- Taste: The salsa verde is the star, its green, herbal notes dominate while the spices add depth without overpowering.
- Texture: Pressure cooking locks in juiciness, and the sauce coats the chicken like a silky glaze.
- Simplicity: Fewer ingredients, fewer steps—yet the result feels gourmet.
- Uniqueness: The late‑stage lime infusion keeps the dish bright and prevents the green sauce from becoming flat.
- Crowd Reaction: Guests rave about the vibrant color and the “wow” factor of the instant pot magic.
- Ingredient Quality: Fresh, high‑quality salsa verde makes all the difference—store‑bought is fine, but fresh is better.
- Cooking Method: The Instant Pot’s pressure feature reduces cooking time dramatically while preserving flavor.
- Make‑ahead Potential: It’s a perfect make‑ahead meal; reheat without losing the fresh finish.
Inside the Ingredient List
The Flavor Base
At the heart of this dish lies the salsa verde, a vibrant green sauce that marries tomatillos, jalapeños, cilantro, and lime into a single, bold flavor profile. The salsa’s acidity cuts through the richness of the chicken, creating a balanced palate that’s both bright and satisfying. If you skip the salsa, the dish loses its signature green hue and becomes a bland, tomato‑heavy stew. For a milder version, choose a sweet tomatillo salsa; for a kick, look for a jalapeño‑heavy blend. Freshly made salsa verde offers a brighter taste, but a high‑quality store‑bought option works just fine.
The Texture Crew
The chicken thighs are the mainstay of this recipe, chosen for their tenderness and ability to stay moist under pressure. If you prefer a leaner cut, boneless skinless chicken breasts work, but watch the cooking time—they’ll need a minute or two less to avoid drying out. The onions and garlic provide a savory base that caramelizes slightly during sautéing, adding depth. Skipping the onions will result in a flatter flavor profile, while too much garlic can overpower the salsa’s herbal notes.
The Unexpected Star
Smoked paprika is the secret weapon that gives this dish its subtle, smoky undertone. It complements the green sauce without competing for the spotlight. If you don’t have smoked paprika, a dash of regular paprika will still add warmth, but you’ll miss that nuanced smokiness. A pinch of cayenne can be added for extra heat if you’re a spice lover, but be cautious—too much can drown the salsa’s bright character.
The Final Flourish
Fresh cilantro and lime juice are the finishing touches that bring the dish to life. Cilantro adds a herbal brightness that lifts the entire flavor profile, while lime juice injects a clean, citrusy note that prevents the sauce from becoming too mellow. If cilantro isn’t your favorite, parsley can be a substitute, though it won’t offer the same green vibrancy. A dollop of sour cream or Greek yogurt on top adds a silky contrast to the tangy sauce, creating a creamy, comforting mouthfeel.
Everything’s prepped? Good. Let’s get into the real action.
The Method — Step by Step
- Gather all ingredients and set them on the counter. The Instant Pot will be your stage, so having everything ready keeps the rhythm smooth. If you’re using fresh salsa, let it sit at room temperature for a few minutes to soften the flavors. This step also gives you a moment to double‑check the seasoning before you start.
- Turn the Instant Pot on the sauté mode and add the olive oil. Once the oil shimmers, drop in the diced onion and minced garlic. Sauté until the onion turns translucent and begins to brown, about 3–4 minutes. This caramelization adds a sweet undertone that balances the salsa’s acidity. Watch the pot closely—once the onions start to brown, they can burn quickly.
- Stir in the cumin, oregano, smoked paprika, and a pinch of cayenne if you like heat. Let the spices toast for 30 seconds—this releases their essential oils and deepens the flavor. The aroma that fills the kitchen is a clear sign that you’re on the right track. If you’re using fresh herbs, you can fold them in now, but cilantro is best added later.
- Season the chicken thighs with salt and pepper, then add them to the pot, skin side down if they have skin. Use a spatula to press them gently into the sauce, ensuring each piece is coated. The pressure cooker will seal in moisture, so a little extra oil isn’t necessary. If you’re using chicken breasts, lay them flat to ensure even cooking.
- Pour the salsa verde over the chicken, making sure the pieces are submerged. This not only flavors the meat but also creates a sauce that will coat the chicken when it’s done. If the salsa is too thick, add a splash of water or broth to reach your desired consistency.
- Close the lid, set the valve to sealing, and cook on high pressure for 12 minutes. The Instant Pot will take a few minutes to come to pressure, so you’ll hear a gentle hiss. Once the cooking time is up, let the pressure release naturally for 10 minutes before doing a quick release to vent any remaining pressure. This gentle release helps keep the chicken tender.
- Open the pot and stir in the fresh lime juice. The acidity brightens the sauce instantly, and the lime’s aroma is a game‑changer. This is the moment of truth: the sauce should be thick enough to cling to the chicken but still glossy and vibrant. Taste and adjust seasoning if needed.
- Finish with chopped cilantro, a dollop of sour cream or Greek yogurt, and a sprinkle of shredded cheese if desired. The cilantro adds a fresh, herbal note, while the cheese melts into a creamy layer. Plate the chicken over rice, tortillas, or a bed of sautéed greens, and serve immediately.
That’s it— you did it. But hold on, I’ve got a few more tricks that will take this to another level.
Insider Tricks for Flawless Results
The Temperature Rule Nobody Follows
Many home cooks assume the pressure cook will automatically set the perfect temperature, but the key is to let the pot come to pressure slowly. A slow rise allows the flavors to meld and prevents the sauce from becoming too thin. I’ve found that turning the sauté mode to medium during the first minute of pressure building keeps the sauce from boiling over. If you’re using a newer Instant Pot model, keep an eye on the steam; a steady hiss means you’re on target.
Why Your Nose Knows Best
When the sauce starts to thicken, the aroma will change from bright to earthy. This is your cue that the tomatoes are breaking down and the spices are releasing their oils. If you wait too long, the sauce can become too thick and lose its green vibrancy. Trust your nose—it’s a reliable guide to the perfect consistency.
The 5-Minute Rest That Changes Everything
After the natural pressure release, let the chicken sit in the pot for an additional 5 minutes before serving. This short rest allows the juices to redistribute, ensuring every bite is juicy and flavorful. It also gives the sauce time to thicken slightly, giving it that glossy coating. I’ve seen people skip this step, and the result is a drier, less cohesive dish.
Use Fresh Salsa for a Brighter Bite
Freshly made salsa verde has a brighter, more vibrant flavor compared to store‑bought versions. If you’re in a pinch, look for a brand that lists tomatillos, cilantro, and lime as the main ingredients. Avoid those with added sugars or preservatives, as they can flatten the taste. A homemade salsa is a simple, 20‑minute prep that elevates the entire dish.
Keep the Chicken Moist with a Quick Sear
Before you pressure cook, searing the chicken for a couple of minutes on each side locks in juices and creates a caramelized crust. This step is optional but highly recommended for those who love a bit of texture. I’ve found that a quick sear also adds a subtle smoky flavor that pairs beautifully with the salsa.
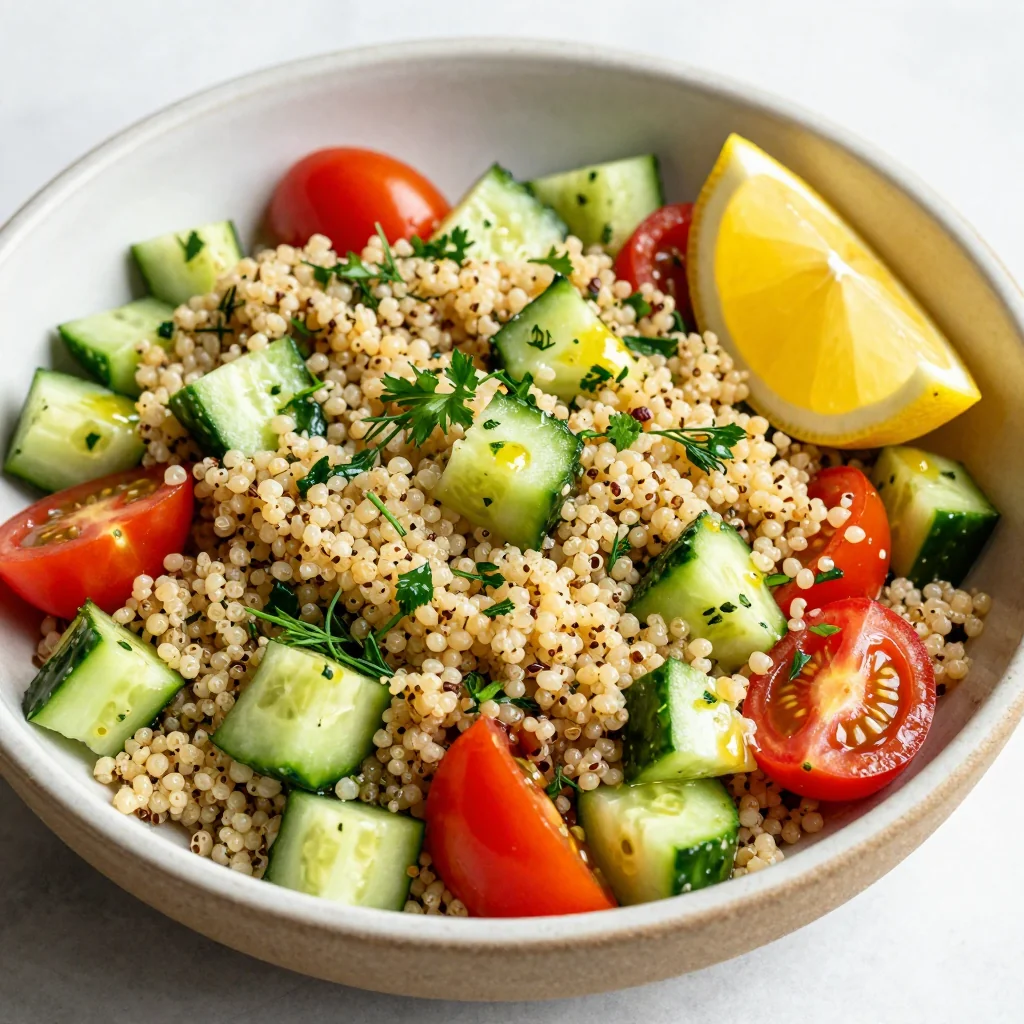
Serve with a Tangy Side
Pairing this dish with a simple cucumber salad or a slaw of shredded cabbage with lime vinaigrette balances the richness of the chicken. The crunch and acidity cut through the sauce, providing a refreshing contrast. If you’re aiming for a low‑carb meal, serve it over cauliflower rice for a satisfying, fiber‑rich plate.
Creative Twists and Variations
This recipe is a playground. Here are some of my favorite ways to switch things up:
Chipotle‑Infused Salsa Verde
Add a teaspoon of chipotle in adobo to the salsa for a smoky, peppery kick. The chipotle’s heat pairs well with the bright lime finish, creating a layered flavor profile that’s perfect for those who like a little bite.
Roasted Corn and Black Bean Salsa Verde
Stir in roasted corn kernels and black beans before pressure cooking. The corn adds sweetness, while the beans provide heartiness, turning the dish into a hearty vegetarian main.
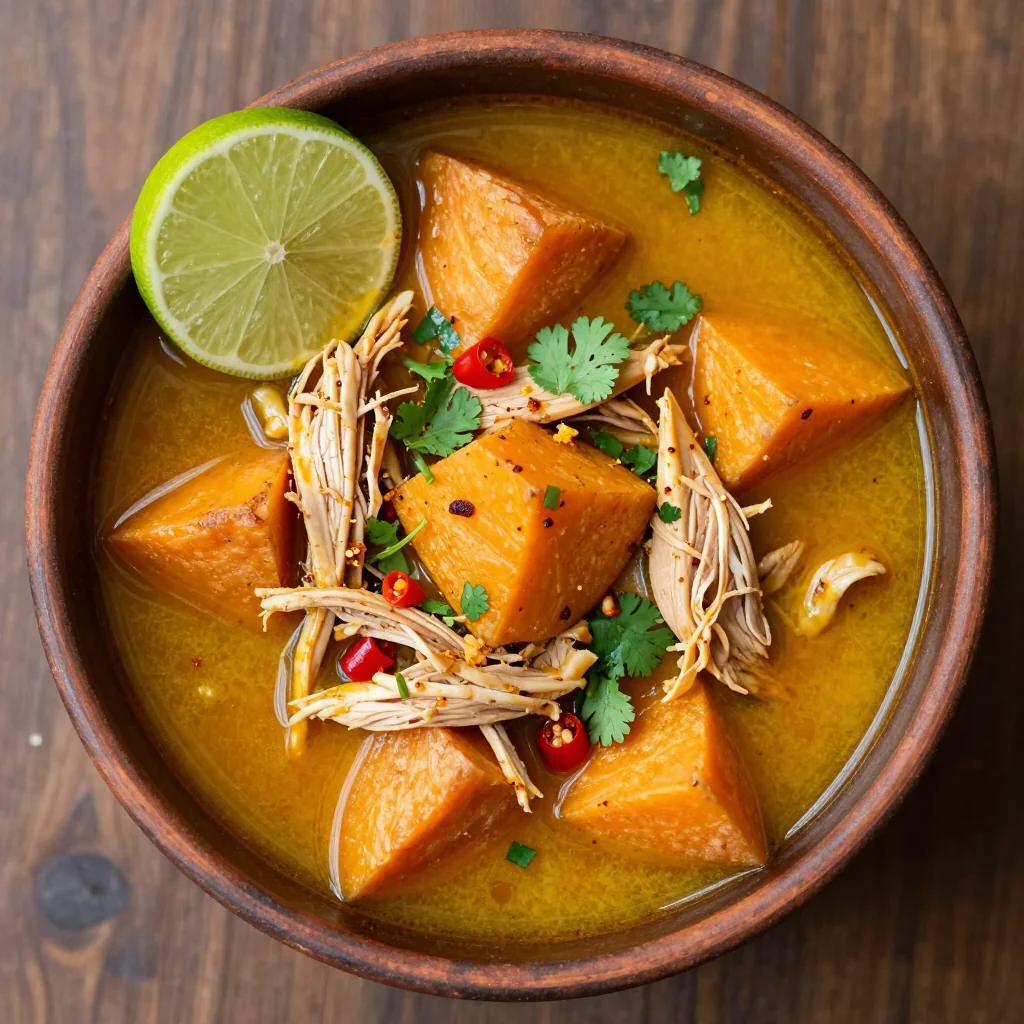
Thai‑Inspired Green Curry Twist
Replace the salsa verde with a Thai green curry paste and coconut milk. The result is a creamy, aromatic dish that still carries the green color and freshness of cilantro.
Grilled Chicken Variation
Instead of pressure cooking, grill the seasoned chicken thighs for 6–8 minutes per side. This gives a smoky char that complements the salsa’s bright flavors. Finish with a squeeze of lime and a sprinkle of cilantro.
Low‑Calorie Version
Swap the olive oil for a splash of vegetable broth during sauté. Use skinless chicken breasts and reduce the amount of cheese or sour cream. The dish remains flavorful but cuts down on calories.
Breakfast Breakfast Bonanza
Serve the salsa verde chicken over scrambled eggs and toast for a protein‑packed breakfast. The lime and cilantro add a zesty lift that’s surprisingly refreshing in the morning.
Storing and Bringing It Back to Life
Fridge Storage
Cool the dish to room temperature, then transfer it to an airtight container. Store in the refrigerator for up to 4 days. Before reheating, add a splash of water or broth to keep the sauce moist.
Freezer Friendly
Freeze in single‑serving portions for up to 3 months. Thaw overnight in the refrigerator, then reheat gently on the stovetop or in the microwave. Add a small amount of fresh lime juice after reheating to restore brightness.
Best Reheating Method
Reheat on low heat, stirring occasionally, until the chicken is warmed through. A quick splash of lime juice and a sprinkle of cilantro at the end restores the dish’s fresh flavor. Avoid high heat, which can dry out the chicken.