
A bright, tangy lemon filling crowned with fluffy, golden meringue—comfort in every bite.

There’s something magical about the first bite of a lemon meringue pie—the bright citrus zing, the buttery crumb, and the airy, caramel‑kissed clouds of meringue. I still remember the first time I tasted a slice at my grandmother’s kitchen, the way the lemon curd sang against the sweet, slightly toasted meringue. It was love at first bite, and the memory has lingered in my mind ever since.
This classic French‑American dessert dates back to the early 19th century, when pioneering bakers first experimented with stabilising egg whites with sugar to create a light topping that would hold its shape under a broiler. Over the decades, the pie has become a staple at holiday tables, picnics, and anytime you need a burst of sunshine on a plate.
In this article, I’ll walk you through a fool‑proof method that balances simplicity with the elegance of a professional bakery. You’ll learn how to craft a perfectly flaky crust, a silky lemon curd that never curdles, and a glossy meringue that browns evenly without turning rubbery.
Grab your whisk, preheat the oven, and let’s embark on a journey that will turn a humble kitchen into a patisserie of your own making.
🌟 Why This Recipe Will Captivate You
From the first aroma to the final golden peak, this lemon meringue pie delivers a harmonious blend of textures and flavors that will impress both casual diners and seasoned foodies.
- ✨ Foolproof Crust: The butter‑cutting technique yields a tender, melt‑in‑your‑mouth pastry that stays crisp even after the juicy filling.
- ✨ Bright, Balanced Lemon Curd: Using both lemon juice and zest ensures a vibrant tang while the cornstarch prevents curdling, giving you a silky, glossy center.
- ✨ Cloud‑like Meringue: Whipping egg whites with cream of tartar stabilises the foam, producing peaks that hold their shape during the final broil.
- ✨ Minimal Equipment: No need for a stand mixer; a sturdy hand‑whisk and a sturdy bowl do the trick, making it accessible for any home cook.
- ✨ Visual Appeal: The contrast between the buttery crust, sunny curd, and caramelised peaks creates a stunning visual that looks as good as it tastes.
- ✨ Versatile Serving: Perfect on its own, paired with fresh berries, or alongside a scoop of vanilla ice cream for an extra indulgent finish.
🥗 The Ingredients
📝 Complete Ingredient List
For the Crust:
For the Lemon Filling:
For the Meringue:

🔍 Focus on Key Ingredients
Fresh Lemons
Lemon juice provides the bright acidity that defines this pie, while the zest contributes essential oils that give depth and aroma. Choose lemons that are heavy for their size and have a glossy skin—signs of juiciness. When zesting, avoid the bitter white pith; a microplane yields fine, fragrant zest that integrates seamlessly into the curd.
Unsalted Butter
Butter is the backbone of both the crust and the filling. Unsalted butter lets you control the overall salt level, ensuring the lemon curd isn’t overly salty. For the crust, keep the butter cold; the tiny ice crystals create steam during baking, which lifts the layers and yields flakiness.
Cream of Tartar
This acid salt stabilises egg whites, increasing their volume and preventing collapse during the high heat of the broiler. If you don’t have cream of tartar, a pinch of lemon juice works as a substitute, but the texture may be slightly less stable.
🔄 Quick Substitutions
| If you don’t have… | Use instead… |
|---|---|
| Cream of tartar | 1/4 tsp lemon juice |
| All‑purpose flour | Pastry flour (for an even softer crust) |
| Fresh lemons | Bottle lemon juice (use 2 tbsp, but add extra zest from lemon peel) |
👨🍳 Step‑by‑Step Instructions
Follow these detailed steps to create a flawless lemon meringue pie that looks as impressive as it tastes.
📋 Phase 1: Preparation and Mise en Place
Gather all tools and ingredients before you start to ensure a smooth workflow.
Prepare the Crust
In a large bowl, whisk together flour, sugar, and salt. Add the cold butter cubes and, using a pastry cutter or your fingertips, blend until the mixture resembles coarse crumbs with pea‑sized pieces of butter. Drizzle ice water, one tablespoon at a time, mixing just until the dough comes together. Form the dough into a disc, wrap in plastic, and chill for at least 30 minutes.
Pre‑heat the Oven
Set your oven to 190°C (375°F). While it heats, line a 23‑cm (9‑inch) pie dish with parchment and lightly grease the sides. This will prevent the crust from sticking and make removal easier.
🔥 Phase 2: Baking the Crust & Cooking the Filling
Create a sturdy base and a silky lemon curd.
Bake the Blind‑Baked Crust
Roll the chilled dough to a 3‑mm thickness and gently fit it into the prepared pie dish, trimming excess. Prick the bottom with a fork, line with parchment, and fill with pie weights or dried beans. Bake for 12‑15 minutes, then remove the weights and parchment and bake an additional 5‑7 minutes until lightly golden.
Make the Lemon Curd
In a medium saucepan, whisk together sugar, cornstarch, and salt. Gradually whisk in water until smooth. Place over medium heat, stirring constantly, until the mixture thickens and begins to boil—about 5 minutes. Reduce heat to low, whisk in egg yolks one at a time, then stir in lemon juice, butter, and zest. Cook for another 2 minutes, then remove from heat and pour the hot curd into the baked crust.
✨ Phase 3: Finishing the Meringue and Serving
Create the airy crown and achieve that perfect golden finish.
Whip the Meringue
In a clean, dry bowl, combine egg whites and cream of tartar. Using a hand whisk or electric mixer, beat on medium speed until soft peaks form. Gradually add the 75 g of sugar, a tablespoon at a time, increasing to high speed until stiff, glossy peaks appear. The meringue should hold its shape when the whisk is lifted.
Spread and Brown the Meringue
Spread the meringue over the lemon filling, ensuring it touches the crust all around to seal in moisture. Use a spatula to create peaks or swirls. Place the pie under a pre‑heated broiler for 2‑3 minutes, watching closely, until the meringue turns a deep golden‑brown. Alternatively, use a kitchen torch for a more controlled caramelisation.
Cool and Set
Allow the pie to cool on a wire rack for 30 minutes, then refrigerate for at least 2 hours. This chilling period lets the lemon curd fully set and the meringue firm up, making slicing easier.
Serve and Garnish
Slice with a sharp, hot knife dipped in hot water for clean cuts. Garnish each slice with a light dusting of powdered sugar or a few fresh berries for a pop of color.
💡 Expert Tips and Tricks
🛒 Choosing the Best Ingredients
When shopping, look for lemons that feel heavy for their size and have a smooth, unblemished rind. This indicates a high juice content and essential oils. For butter, opt for European‑style butter with a higher fat content (82 %+) for a richer crust. If you can, purchase a small amount of fresh eggs rather than pre‑separated whites, as the membrane around fresh whites helps achieve more stable peaks.
🔪 Preparation Techniques
Keep all ingredients for the crust cold—flour, butter, and water. Chill the bowl and whisk for the meringue as well. Cold temperatures inhibit gluten development in the crust and promote air retention in the meringue. When rolling the dough, use light, even pressure to avoid compressing the butter, which would lead to a dense crust.
🌡️ Mastering the Cooking Process
Watch the curd closely as it thickens; once it reaches a boil, it will set quickly. Removing the pan from heat a few seconds early prevents over‑cooking, which can cause a grainy texture. For the meringue, a brief broil is sufficient—over‑browning can make the peaks hard and dry.
🍽️ Presentation and Service
Before serving, lightly dust the meringue with powdered sugar for an elegant finish. A few fresh raspberries or a sprig of mint add color contrast. Serve the pie chilled on a white porcelain plate to highlight the golden peaks and bright lemon hue.
🏆 Pro Tips
Elevate your pie from home‑cooked to restaurant‑quality with these professional insights.
- 🎯 Use a Water Bath for the Curd: Placing the saucepan in a simmering water bath (bain‑marie) ensures gentle, even heating, preventing the curd from scorching and guaranteeing a silky texture.
- 🎯 Salted Butter for Flavor Depth: While the recipe calls for unsalted butter to control salt, a pinch of fine sea salt in the crust enhances caramelisation and balances the tartness of the lemon.
- 🎯 Pre‑Whisk Egg Whites: Before adding sugar, whisk the egg whites until they become foamy. This creates a stable matrix that can hold more air, resulting in a lighter meringue.
- 🎯 Use a Silicone Spatula for Meringue: A flexible silicone spatula spreads the meringue without deflating the peaks, preserving the airy structure.
- 🎯 Chill the Pie Before Slicing: A firm, cold pie slices cleanly, while a warm pie can cause the meringue to slide and the curd to ooze.
- 🎯 Finish with a Torch for Uniform Browning: If your broiler has hot spots, a kitchen torch gives you control over each peak, ensuring an even golden color without over‑cooking.
"A perfect meringue is the result of patience, precision, and the right balance of acidity." — Jacques Pépin
🔄 Variations and Adaptations
The basic framework of this pie is flexible—feel free to experiment with flavors, dietary needs, and seasonal twists.
🥬 Vegetarian/Vegan Version
Replace the egg yolks with 3 tbsp of silken tofu blended smooth, and use aquafaba (the liquid from canned chickpeas) in place of egg whites for the meringue. Whisk the aquafaba with a pinch of cream of tartar until stiff peaks form, then add sugar gradually.
- Silken tofu adds creaminess without altering flavor.
- Aquafaba provides a plant‑based foam that mimics traditional meringue.
🌶️ Flavor Variations
Play with complementary flavors to create unique twists on the classic lemon profile.
Spicy Lime Meringue:
Add ½ tsp of finely grated ginger and a splash of lime juice to the curd; finish the meringue with a pinch of cayenne for a subtle heat.
Mediterranean Herb Infusion:
Stir a teaspoon of finely chopped fresh basil into the lemon curd for an herbaceous note that pairs beautifully with the sweet meringue.
Asian Matcha Twist:
Blend 1 tsp of high‑quality matcha powder into the meringue before whipping for a vibrant green hue and earthy undertone.
⚠️ Dietary Adaptations
Gluten‑Free:
Swap all‑purpose flour for a 1‑to‑1 gluten‑free flour blend that includes rice flour, potato starch, and xanthan gum. The crust will remain tender.
Lactose‑Free:
Use a plant‑based butter (such as a high‑fat coconut oil butter) and dairy‑free margarine for the crust; replace regular butter in the filling with a lactose‑free alternative.
Low‑Calorie:
Reduce sugar in the filling by 25 % and use a sugar substitute like erythritol. For the meringue, replace half of the sugar with a low‑calorie sweetener that tolerates heat.
👶 Family/Children Friendly Version
Kids love the sweet meringue, so you can add a thin layer of vanilla custard beneath the lemon curd for extra creaminess. Serve with a drizzle of chocolate sauce to turn the dessert into a fun “pie‑a‑la‑mode” experience.
📦 Storage and Reheating
🧊 Conservation
Refrigerator:
- Duration: 3‑4 days
- Recommended container: airtight pie dish or a large Tupperware
- Tip: Place a sheet of parchment between the meringue and the lid to prevent condensation.
Freezer:
- Duration: 2 months
- Method: Freeze the baked crust and lemon curd separately, then assemble with freshly whipped meringue when ready to serve.
- Defrosting: Thaw overnight in the refrigerator, then re‑bake the meringue for 5‑7 minutes.
💡 For best texture, avoid freezing the assembled meringue, as it can become soggy upon thawing.
♨️ Reheating
🔥 Oven (Recommended):
- Preheat to 160°C (325°F).
- Cover the pie loosely with foil to protect the meringue.
- Heat for 10‑12 minutes until the filling is warm.
- Remove foil and broil for 1‑2 minutes to re‑crisp the meringue.
⚡ Microwave (Quick):
- Place a slice on a microwave‑safe plate.
- Cover with a microwave‑safe lid.
- Heat on medium power for 30‑45 seconds.
- Check and repeat in 10‑second bursts if needed.
🍳 Stovetop:
If you prefer a skillet, warm a slice over low heat, covered, for 2‑3 minutes, then uncover briefly to crisp the meringue.
🍷 Perfect Pairings
🥗 Side Dishes
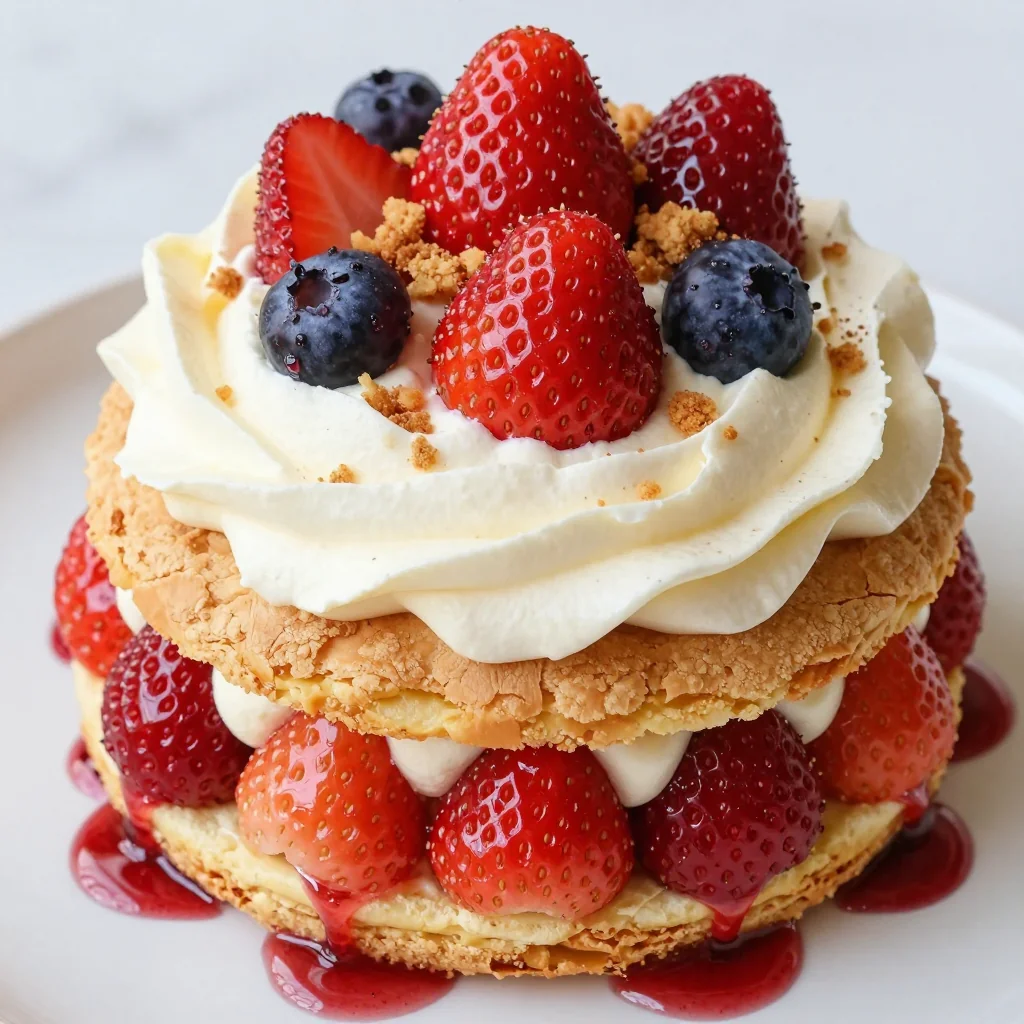
- Mixed Berry Salad: Fresh strawberries, blueberries, and mint drizzle a light vinaigrette, offering a refreshing counterpoint.
- Light Citrus Sorbet: A scoop of orange or grapefruit sorbet cleanses the palate between bites.
- Shortbread Cookies: Their buttery crunch adds texture without competing with the pie’s flavors.
🍷 Wine & Beverage Pairings
- Riesling (off‑dry): The subtle sweetness mirrors the meringue while its acidity matches the lemon.
- Champagne Brut: Bubbles lift the richness and add celebratory flair.
- Non‑Alcoholic: Sparkling lemon water with a sprig of rosemary enhances the citrus theme.
🍰 Complementary Courses
Begin with a light arugula and pear salad, followed by the lemon meringue pie as a dessert, and finish with a small cheese plate featuring mild goat cheese and honey for a balanced progression of flavors.
❓ Frequently Asked Questions
Q: Can I make the crust ahead of time?
Absolutely. After chilling the dough, you can roll it out, fit it into the pie dish, and blind‑bake it up to 24 hours in advance. Store the baked crust in an airtight container at room temperature; reheat briefly before adding the filling.
Q: My meringue collapsed—what went wrong?
Common causes include residual fat on the bowl or whisk, under‑whipped egg whites, or adding sugar too quickly. Ensure the bowl and whisk are completely clean and dry, whip to stiff peaks before adding sugar, and incorporate the sugar gradually to stabilise the foam.
Q: How do I prevent the lemon curd from becoming grainy?
Graininess typically results from overheating or insufficient stirring. Use a gentle, constant stir while the mixture thickens, and remove it from heat as soon as it reaches a boil. Passing the hot curd through a fine‑mesh sieve before filling the crust also eliminates any lumps.
Q: Can I substitute lime for lemon?
Yes, lime provides a similar acidity with a slightly different aromatic profile. Use the same volume of lime juice and zest, but be aware the flavor will be more floral and less sweet, so you might want to increase the sugar by 10 % to balance.
Q: Is it possible to make a mini version for individual servings?
Definitely. Use a 6‑inch tart pan or silicone muffin cups. Adjust the ingredient quantities to roughly one‑third of the original and bake the crust for a slightly shorter time. The meringue will brown faster, so keep a close eye on it under the broiler.
Q: How far in advance can I prepare the pie?
The lemon curd can be made up to two days ahead and stored in the refrigerator. Assemble the pie with the meringue just before serving for optimal texture, or assemble and refrigerate for up to 12 hours; the meringue will stay stable if covered tightly.
🎉 To Your Oven!
There’s nothing quite like the bright, tangy snap of lemon paired with the sweet, airy kiss of meringue. This recipe brings together classic techniques and modern convenience, making it accessible for home cooks while delivering a result that feels restaurant‑worthy. Whether you’re preparing a family gathering, a festive celebration, or simply craving a slice of sunshine, this lemon meringue pie is the perfect answer.
Remember, the secret lies in temperature control, patience, and a dash of love. I hope you enjoy every step as much as the final bite. Share your creations, ask questions, and let the community celebrate your success together.
Have you tried this recipe?
Leave a comment and rating below! Share your photos on Instagram with #LemonMeringueMagic to be featured.
Lemon Meringue Pie Easy
A bright, tangy lemon curd topped with fluffy, caramelised meringue.
📝 Ingredients
Crust
Lemon Filling
Meringue
👨🍳 Instructions
- 1
Combine crust ingredients, chill, roll out, and blind‑bake.
- 2
Prepare lemon curd, whisk, thicken, and pour into crust.
- 3
Whip egg whites with cream of tartar, gradually add sugar, and achieve stiff peaks.
- 4
Spread meringue over curd, ensuring it seals the edges.
- 5
Broil for 2‑3 minutes until golden brown.
- 6
Cool, then refrigerate for at least 2 hours.
- 7
Slice with a hot, wet knife for clean cuts.
- 8
Serve with optional berries or a dusting of powdered sugar.
- 9
Store leftovers according to the storage guidelines.
- 10
Enjoy and share your masterpiece!
🥗 Nutritional Information (per serving)
*Values are estimates based on standard ingredient data.


💬 Comments & Reviews
LLeave a Comment
Comments will appear here once readers share their thoughts.