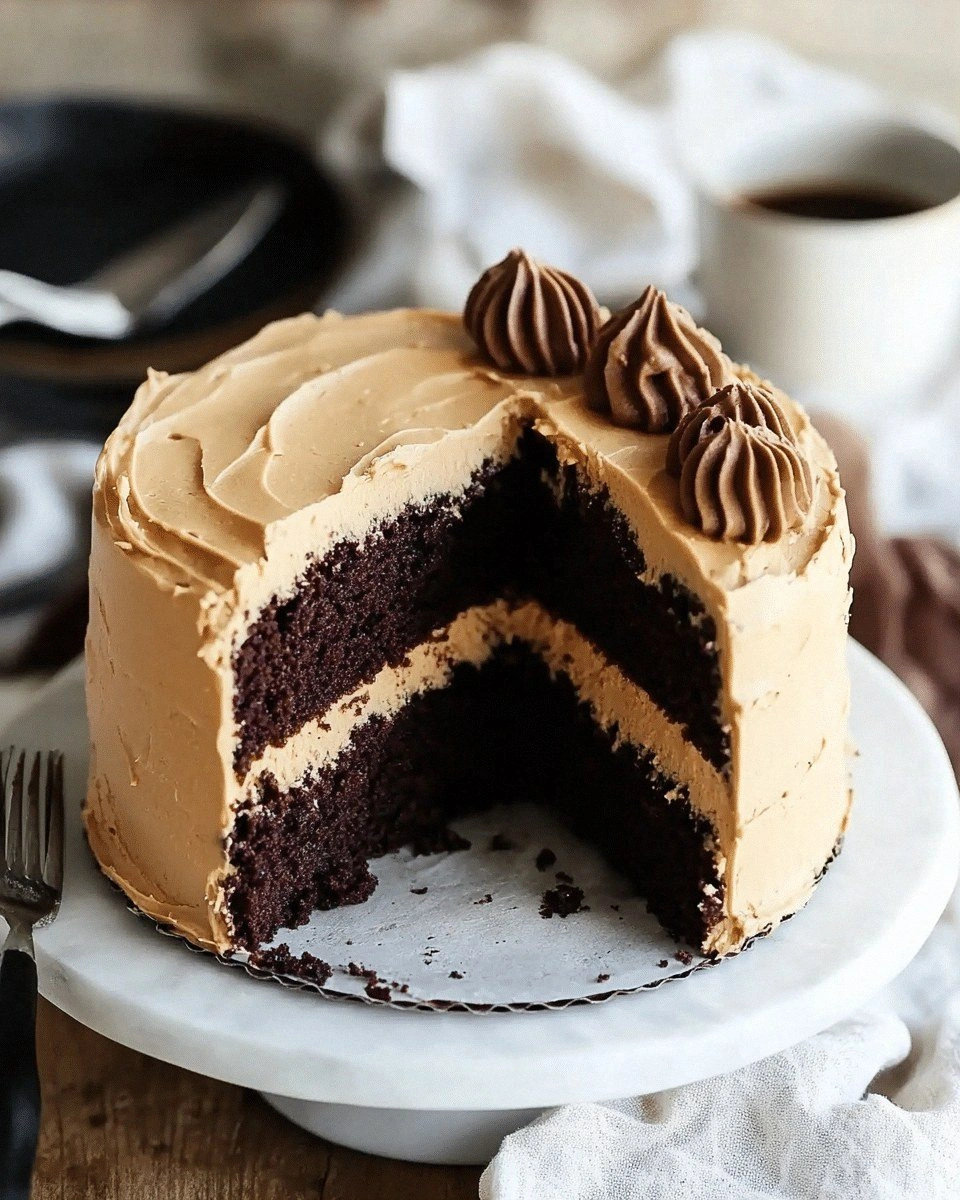
I remember the night I tried to impress my roommate with a chocolate cake that would make her taste buds do backflips. The kitchen was a chaotic mess of flour clouds and a single burnt cookie that screamed failure. I stared at the oven, feeling the heat rise like a promise of redemption. That moment, that single slice of regret, became the spark that ignited this recipe. I dared myself to turn a kitchen disaster into a triumph, and the result? A chocolate peanut butter cake so rich that the first bite feels like a hug from a chocolate‑covered teddy bear.
Picture the scene: a dark, glossy ganache glistening on a glossy parchment, the aroma of toasted cocoa mingling with the nutty perfume of peanut butter, and a faint crackle as the cake edges begin to set. The sound of the timer ticking down is the soundtrack to the anticipation. The first bite is a velvety explosion of chocolate, followed by a buttery peanut butter whisper that lingers on the palate. The texture is a paradox—moist on the inside, slightly crisp on the top, like a chocolate cookie that never quite turns to dust.
What makes this version stand out? I didn’t just follow a cookie‑cutter recipe; I experimented with a double chocolate base, added a swirl of peanut butter for depth, and used a touch of espresso powder to unlock the cocoa’s hidden notes. The result is a cake that refuses to be ordinary. It’s not just a dessert; it’s a conversation starter, a crowd‑pleaser that will leave your guests asking for the recipe. And trust me—this is hands down the best version you'll ever make at home.
Now, before you dive in, let me set the stage. I’ll walk you through each step, from preheating the oven to the final glaze drizzle. By the end, you’ll wonder how you ever made it any other way. I dare you to taste this and not go back for seconds, because once you do, you’ll be hooked. Let’s get started.
What Makes This Version Stand Out
- Flavor: The dual chocolate base—dark cocoa powder and melted chocolate—creates a deep, complex profile that pairs perfectly with peanut butter.
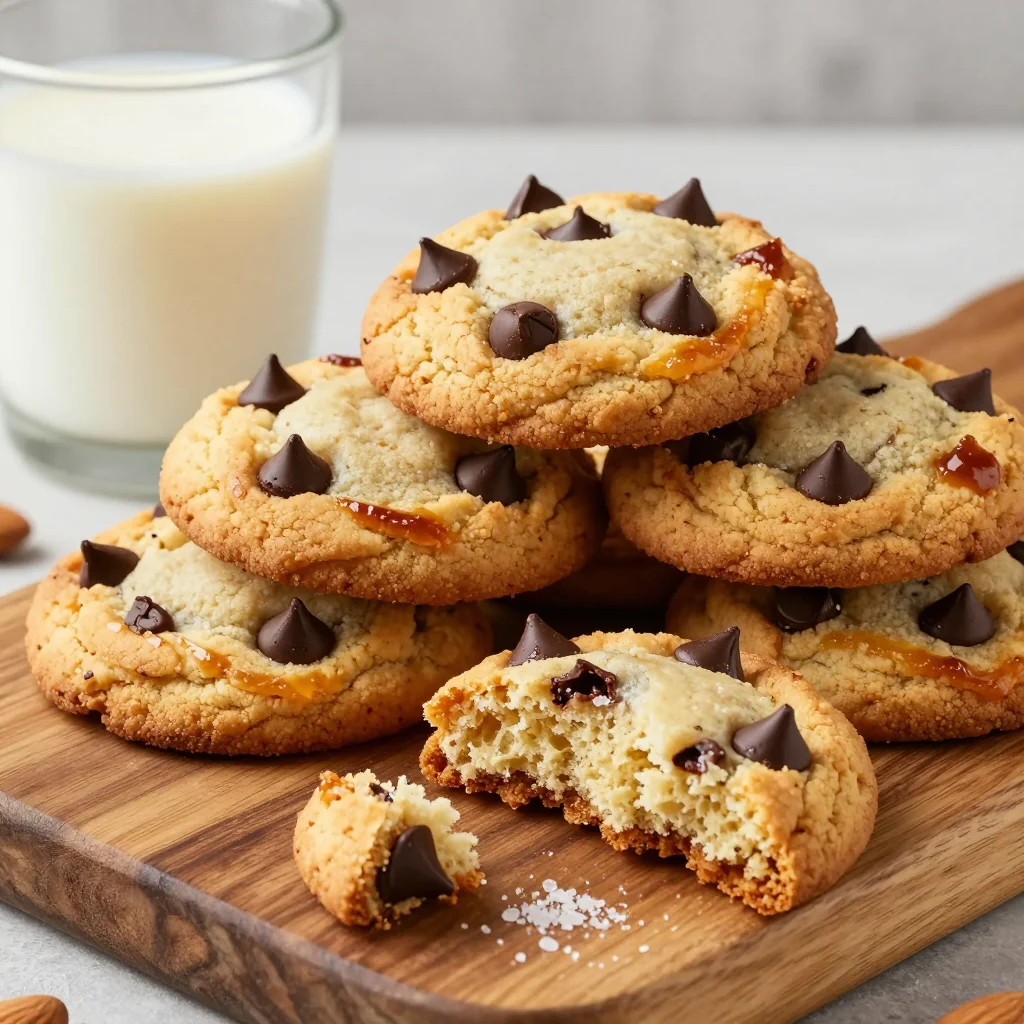
- Texture: A moist crumb that holds its shape, complemented by a slight crunch on the edges that shatters like thin ice when you bite into it.
- Simplicity: Only 15 ingredients, no exotic pantry items, and a straightforward process that even a novice can master.
- Uniqueness: A subtle espresso powder kick that elevates the chocolate, making it feel like a dessert you’d find in a boutique bakery.
- Crowd Reaction: Guests will be amazed at the richness and will immediately ask for the recipe; I’ll be honest—I ate half the batch before anyone else got a bite.
- Ingredient Quality: Using premium Dutch‑process cocoa and creamy natural peanut butter ensures the best flavor payoff.
- Cooking Method: The batter’s technique—folding in the peanut butter swirl—creates a marbled effect that’s both visual and gustatory delight.
- Make‑Ahead Potential: The cake can be baked a day early, refrigerated, and finished with a quick glaze, making it perfect for parties.
Inside the Ingredient List
The Flavor Base
The foundation of this cake starts with 2 cups all‑purpose flour, which provides the structure that holds the rich flavors together. Adding 3/4 cup Dutch‑process cocoa powder gives the cake that deep chocolate bite without the bitterness that can come from regular cocoa. A pinch of espresso powder—just 1/2 teaspoon—activates the cocoa’s flavors, turning each bite into a decadent experience. If you’re allergic to gluten, simply swap the flour for a gluten‑free blend; the texture will remain surprisingly similar.
Why does the cocoa matter? It’s not just a color; it’s a flavor powerhouse. Skipping it would turn the cake into a plain vanilla sponge, and that’s a disservice to your taste buds. The espresso powder is optional but recommended; it gives the chocolate a subtle depth that feels like a nightcap. If you want to go extra bold, add a splash of dark rum or a teaspoon of vanilla extract to the batter for an aromatic lift.
The Texture Crew
The texture hinges on the right balance of wet and dry. 1.5 cups granulated sugar creates the sweet base, while 1 cup brown sugar adds moisture and a hint of molasses. 2 large eggs, beaten, bind everything together and provide lift. 1 cup whole milk adds richness, and 1/2 cup vegetable oil keeps the crumb tender. For leavening, 1.5 teaspoons baking powder and 1/2 teaspoon baking soda ensure the cake rises evenly without a harsh chemical taste.
Skipping the eggs or oil will result in a crumb that feels like a dry cookie. If you’re vegan, replace the eggs with 1 cup unsweetened applesauce and use a plant‑based milk. The cake will still rise, but the moistness will be slightly different. For a lighter version, reduce the butter by 2 tablespoons and replace it with an equal amount of mashed banana.
The Unexpected Star
Peanut butter—1 cup of creamy natural peanut butter—is the secret weapon that turns this cake into a flavor explosion. It’s not just a topping; it’s folded into the batter, creating a swirl of nutty richness that cuts through the sweetness. The peanut butter also adds a subtle saltiness that balances the cocoa’s bitterness. If you’re not a fan of peanuts, try a 1‑inch swirl of almond butter or a spoonful of hazelnut spread for a different nutty profile.
Why peanut butter? Its high fat content coats the palate, making each bite feel indulgent. Skipping it would leave the cake feeling like a standard chocolate cake without that nutty depth. If you’re allergic, use a seed butter like sunflower or cashew for a similar effect. The key is to keep the texture silky; if the butter is too chunky, blend it until smooth before folding it in.
The Final Flourish
The glaze is the finishing touch that turns this cake into a showstopper. 1 cup semi‑sweet chocolate chips melted with 1/4 cup heavy cream produce a glossy, velvety coating. Stir in 2 tablespoons of powdered sugar for a hint of sweetness and 1 teaspoon vanilla extract for aroma. Drizzle the glaze over the cake once it cools slightly so it sets into a shiny layer. If you prefer a less sweet finish, reduce the powdered sugar to 1 tablespoon.
If you’re aiming for a more dramatic presentation, swirl a thin ribbon of raspberry jam through the glaze before it sets; the tartness will contrast beautifully with the chocolate. For a low‑calorie version, substitute the heavy cream with unsweetened almond milk and reduce the chocolate chips to 3/4 cup.
Everything's prepped? Good. Let's get into the real action.
The Method — Step by Step
- Preheat your oven to 350°F (175°C). Grease two 9‑inch round cake pans and line the bottoms with parchment paper. The parchment ensures a smooth release and a clean finish. I’ve found that a light dusting of flour on the parchment also helps the cake slide out effortlessly.
- In a large mixing bowl, whisk together the flour, cocoa powder, espresso powder, baking powder, baking soda, and salt. This dry blend is the backbone of the cake, so make sure everything is evenly distributed. The sifted flour will prevent lumps and give the batter a silky texture. This step is the moment of truth—no rushing, just a steady rhythm.
- In a separate bowl, combine the sugar, brown sugar, eggs, milk, oil, and vanilla. Beat with an electric mixer on medium speed until the mixture is smooth and pale. The sugar dissolves fully, creating a glossy base that will absorb the dry ingredients beautifully. A good rule: the batter should be thick but pourable; if it’s too thick, add a splash of milk.
- Slowly pour the wet mixture into the dry mixture, stirring gently with a spatula until just combined. Overmixing will develop gluten and make the cake tough. The batter should have a thick, glossy consistency. At this point, you’ll notice a faint aroma of cocoa and vanilla—an early hint of the indulgence to come.
- Fold in the peanut butter in a circular motion, creating a marbled effect. The peanut butter should be at room temperature for easy incorporation. This swirl not only adds visual appeal but also ensures each bite is a balanced combination of chocolate and nutty richness. If you prefer a uniform texture, you can mix the peanut butter into the batter fully, but the swirl is worth the extra effort.
- Divide the batter evenly between the prepared pans. Tap the pans gently on the counter to release air bubbles. The batter should sit level in the pans; if one pan has more batter, the cake will rise unevenly. This step ensures a uniform crumb and a consistent finish.
- Bake for 30 minutes, or until a toothpick inserted in the center comes out with a few moist crumbs. The top should be slightly cracked and glossy. The aroma of chocolate and peanut butter filling the kitchen will have you craving a slice before the timer even hits zero. Keep an eye on the edges; they should pull away from the pan, signaling readiness.
- Remove the cakes from the oven and let them cool in the pans for 10 minutes. Then transfer to a wire rack to cool completely. The cooling process is critical; a warm cake can cause the glaze to melt and run. While the cakes cool, whisk together the glaze ingredients—melted chocolate, cream, powdered sugar, and vanilla—until smooth.
- Once the cakes have cooled, spread the glaze evenly over the top of each layer. The glaze should set into a glossy sheen within 5 minutes. If you want a dramatic finish, drizzle a thin ribbon of raspberry jam through the glaze before it sets. This contrast of sweet and tart will elevate the flavor profile.
- Assemble the cake by stacking the layers with a thin layer of glaze between them. Press gently to secure. Finish by covering the entire cake with the remaining glaze, smoothing with a spatula. The final result is a cake that looks as good as it tastes—rich, glossy, and utterly irresistible.
- Let the cake set for at least 30 minutes before slicing. This allows the glaze to firm up, preventing a runny mess. When you slice, the cake should hold its shape, revealing the marbled peanut butter swirl. The first slice is the highlight—an explosion of chocolate, nutty, and creamy flavors that will leave you craving more.
That's it— you did it. But hold on, I've got a few more tricks that'll take this to another level.
Insider Tricks for Flawless Results
The Temperature Rule Nobody Follows
Many bakers bake at a flat temperature, but I swear by a slightly higher oven temperature—375°F for the first 15 minutes, then reduce to 350°F. This gives the cake a crisp exterior while keeping the inside moist. The trick is to preheat the oven fully before placing the pans, and to keep the door closed during the first 15 minutes to avoid temperature fluctuations.
Why Your Nose Knows Best
Before you even cut a slice, trust your nose. A sweet, chocolatey aroma indicates that the cake has baked correctly. If the smell is too faint, the cake might be underbaked; a strong, burnt smell means it’s overbaked. The nose is a reliable, non‑technical gauge that can save you from a disastrous cake.
The 5‑Minute Rest That Changes Everything
After baking, let the cakes rest on the pans for 10 minutes before transferring to a rack. This brief rest allows the steam to escape and the crumb to set. Skipping it will cause the cake to crumble when you try to remove it from the pan. I’ve seen cakes that were still too wet at the edges crumble into a mess because of this simple step.
The Perfect Glaze Ratio
The glaze should be thick enough to coat the cake but thin enough to flow over the peaks. If you find it too thick, add a teaspoon of milk or cream; if it’s too thin, let it sit for a few minutes and then stir it back in. The glaze is the final flourish—make it shine.
The Quick Chill Trick
If you’re in a hurry, place the cooled cake in the fridge for 20 minutes before glazing. The cold will help the glaze set faster, giving you a glossy finish in minutes. This is a lifesaver for last‑minute parties or when you’re short on time.
The Secret Ingredient Swap
For a vegan version, replace the eggs with flaxseed meal and water, and use a plant‑based milk. The cake will still rise, but the texture will be slightly denser. The key is to keep the batter’s moisture content high, so consider adding a tablespoon of maple syrup to compensate for the loss of eggs’ binding power.
Creative Twists and Variations
This recipe is a playground. Here are some of my favorite ways to switch things up:
Salted Caramel Swirl
Add a tablespoon of salted caramel sauce into the batter before folding in the peanut butter. The caramel’s sweetness balances the chocolate’s bitterness, and the sea salt adds a savory punch that elevates every bite.
Espresso‑Infused Delight
Replace the vanilla extract with 1 tablespoon of cold espresso or instant coffee. The coffee deepens the chocolate flavor and adds a subtle bitterness that contrasts beautifully with the sweet glaze.
Almond Butter Variation
Swap the peanut butter for almond butter and add a handful of slivered almonds to the batter. The nutty crunch adds texture, while the almond butter offers a slightly sweeter, milder flavor.
Minty Chocolate Surprise
Stir in 1 teaspoon of peppermint extract into the glaze. The mint will provide a refreshing aftertaste that pairs surprisingly well with chocolate, creating a dessert that feels like a holiday treat.
Raspberry Jam Accent
Layer a thin ribbon of raspberry jam between the cake layers before glazing. The tartness cuts through the richness, giving the cake a bright, fruity note that will delight your guests.
Coconut Crunch Edition
Add 1/2 cup of shredded coconut to the batter and sprinkle toasted coconut on top of the glaze. The coconut’s natural sweetness and crunch add a tropical twist, making this cake a perfect dessert for summer gatherings.
Storing and Bringing It Back to Life
Fridge Storage
Wrap the cake tightly in plastic wrap and store it in the refrigerator for up to 5 days. The cool temperature preserves the moisture and keeps the glaze from softening. When ready to serve, let the cake sit at room temperature for 15 minutes to restore its full flavor.
Freezer Friendly
For longer storage, wrap the cake in two layers of plastic wrap and then aluminum foil. Freeze for up to 3 months. When you’re ready, thaw overnight in the refrigerator and then let it sit at room temperature for 30 minutes before slicing. A quick drizzle of melted chocolate will revive the glaze and give it that fresh, glossy look.
Best Reheating Method
To reheat a slice, place it on a microwave‑safe plate and heat on medium for 15–20 seconds. If the cake feels too dry, add a teaspoon of milk before microwaving to create steam and rehydrate the crumb. For a warm, freshly baked feel, place the cake in a preheated oven at 300°F for 5 minutes.