Picture this: a frantic Saturday morning, the kitchen clock ticking, and you realizing that the only thing left to finish the brunch is a single slice of bread that somehow survived the previous night’s experiment. I was halfway to the store for a new loaf when my toaster exploded, sending a plume of burnt crumbs and a faint, acrid scent that clung to the walls like a stubborn ghost. I stared at the charred remains, then at the pantry, and thought, “If I could turn this disaster into something sweet, it would be a triumph.” That moment sparked the Shibuya Honey Toast, a recipe that turns a kitchen mishap into a mouth‑watering masterpiece.
I closed my eyes and let the memory of that smoky morning mingle with the aroma of fresh brioche, butter melting like liquid gold, and honey glistening like liquid amber. The sound of the toaster’s final pop echoed in my mind, replaced now by the gentle hiss of butter sizzling in a skillet. My taste buds imagined the first bite: a buttery crust that cracks like a crisp shell, a sweet honey drizzle that clings to the bread like a velvet coat, and a subtle, caramelized edge that invites a second bite. The texture felt like a warm hug, the heat of the toast radiating through the room, while the faint scent of vanilla from the ice cream promised a cool counterpoint. This sensory orchestra made me realize that the dish was more than just a breakfast; it was an edible symphony.
What makes this version stand out is that it’s not just about toast; it’s about elevating the humble slice into a ritual of indulgence. I dare you to taste this and not go back for seconds, because the combination of buttery brioche, golden honey, and creamy ice cream creates a texture that shatters expectations. The secret lies in the precise timing of butter application, the use of thick slices that hold up to the glaze, and the addition of fresh fruit that provides a burst of color and acidity. Most recipes get this completely wrong by using ordinary bread or under‑cooking the butter, but here we use brioche for its natural sweetness and airy crumb, ensuring every bite is a perfect balance of crunch and melt. If you’ve ever struggled with making toast that feels like a dessert, you’re not alone, and I’ve got the fix.
And now the fun part: I’ll reveal a technique that even seasoned chefs will be surprised by—how to coat the toast in honey without it dripping off the plate. Picture yourself pulling this out of the oven, the whole kitchen smelling incredible, and a golden glaze shining under the kitchen lights. The first time I tried this method, my kitchen looked like a honey factory, but the final result was nothing short of glorious. Stay with me here—this is worth it. By the end, you’ll wonder how you ever made it any other way.
What Makes This Version Stand Out
- Ingredient Quality: Using fresh brioche and real honey elevates the flavor profile, turning each bite into a luxurious experience.
- Texture Contrast: The crisp, caramelized crust juxtaposed with the silky honey glaze creates a multi‑sensory delight.
- Simplicity: With only six core ingredients, the recipe is approachable yet sophisticated, perfect for both beginners and seasoned cooks.
- Visual Appeal: The golden honey sheen and fresh fruit garnish make it Instagram‑ready, guaranteeing compliments at any gathering.
- Versatility: It can be served as a decadent breakfast, a comforting dessert, or a crowd‑pleasing appetizer.
- Make‑Ahead Friendly: Toast and honey glaze can be prepped a day in advance, then reheated for a fresh finish.
Inside the Ingredient List
The Flavor Base
Brioche Bread: Thick, buttery slices are the backbone of this dish, delivering a tender crumb that absorbs honey without becoming soggy. If you skip brioche, the toast will feel flat and under‑seasoned, losing the signature richness that makes this recipe a standout. For best results, choose a loaf that’s still fresh from the bakery or has a slight yellow hue, indicating proper fermentation. A day‑old loaf can also work, but you’ll want to toast it longer to achieve the same caramelized crust.
The Texture Crew
Butter: Spreaded evenly over the bread, it melts into a glossy sheen that locks in moisture and creates a subtle buttery crunch. Skipping butter would result in a dry, unappealing texture; the honey would cling unevenly, leading to a sticky mess. If you’re vegan, a high‑quality plant‑based butter can mimic the same melt and flavor profile. A tablespoon per slice ensures a balanced richness without overpowering the honey.
The Unexpected Star
Honey: The star of the show, honey coats the toast like a velvet glaze, adding natural sweetness and a hint of floral complexity. If you use a light or amber honey, the glaze will be milder; a darker honey will deepen the caramel notes and add a slight bitterness that balances the sweetness. A tablespoon per slice is ideal, but you can adjust based on your taste preference. The honey also creates a protective layer that keeps the bread crisp even after reheating.
The Final Flourish
Vanilla Ice Cream: A scoop of vanilla ice cream sits atop the toast, melting into a creamy pool that contrasts the warm bread and sweet glaze. This addition turns the dish into a dessert‑like experience, providing a cool, silky mouthfeel that lingers on the palate. If you’re looking for a healthier twist, try a frozen Greek yogurt swirl for a tangy lift. The ice cream also acts as a stabilizer, preventing the honey from dripping off the plate during serving.
Fresh Fruits
Fresh Fruits: Strawberries, banana slices, or mixed berries add a burst of color, acidity, and natural sweetness that cuts through the richness of the honey and butter. They also introduce a textural contrast—juicy berries against the crunchy crust. If you’re in the middle of the season for berries, use them fresh; if not, frozen berries thawed and drained will work perfectly. A half cup per serving keeps the flavor balanced without overwhelming the dish.
Everything's prepped? Good. Let's get into the real action...
The Method — Step by Step
- Step 1: Prep the Bread. Slice the brioche into thick, even pieces—about 1 inch thick—to ensure each slice has enough surface area for the honey glaze. Pat the slices dry with a paper towel to remove excess moisture; a dry slice prevents the butter from sliding off and creates a crispier crust. If you’re using a pre‑sliced loaf, gently press each slice to flatten it slightly, giving it a uniform shape that will toast evenly. This step is crucial; a misshapen slice will brown unevenly and ruin the visual appeal.
- Step 2: Melt the Butter. In a large skillet over medium heat, add the butter and let it melt completely, watching for the foamy stage. Once the butter turns golden and begins to bubble, reduce the heat to low to avoid scorching. Swirl the pan to ensure an even coating, then lay the bread slices in the pan, skin side down. This gentle heat allows the butter to penetrate the bread, creating a buttery crust that will hold the honey without becoming soggy.
- Step 3: Toast the Bread. Let the bread toast for 3 to 4 minutes on each side, or until the edges start pulling away and the surface turns a deep golden brown. The scent of caramelized butter should fill the kitchen, signaling that the bread is ready for the next step. Flip carefully with tongs, keeping the bread flat to maintain an even surface. If you’re making multiple batches, keep the toasted slices warm in a low‑heat oven (about 200°F) to prevent them from drying out.
- Step 4: Add the Honey. Drizzle the honey over each slice, ensuring an even coat. The honey should sizzle slightly upon contact, forming a glossy glaze that clings to the bread. For an even spread, tilt the pan and swirl the honey around the bread. The glaze should look like liquid amber, thick enough to coat the surface but not so runny that it pools. This is the moment of truth—watch the honey as it caramelizes, turning the bread into a golden masterpiece.
- Step 5: Dust with Powdered Sugar. Lightly sprinkle powdered sugar over the honey glaze, creating a subtle sweetness and an elegant finish. The sugar will crystallize slightly, giving the toast a delicate crunch when bitten. Use a fine sieve to avoid clumps, and apply just enough to cover the surface. This step is optional but adds a visual pop that elevates the dish from simple to sophisticated.
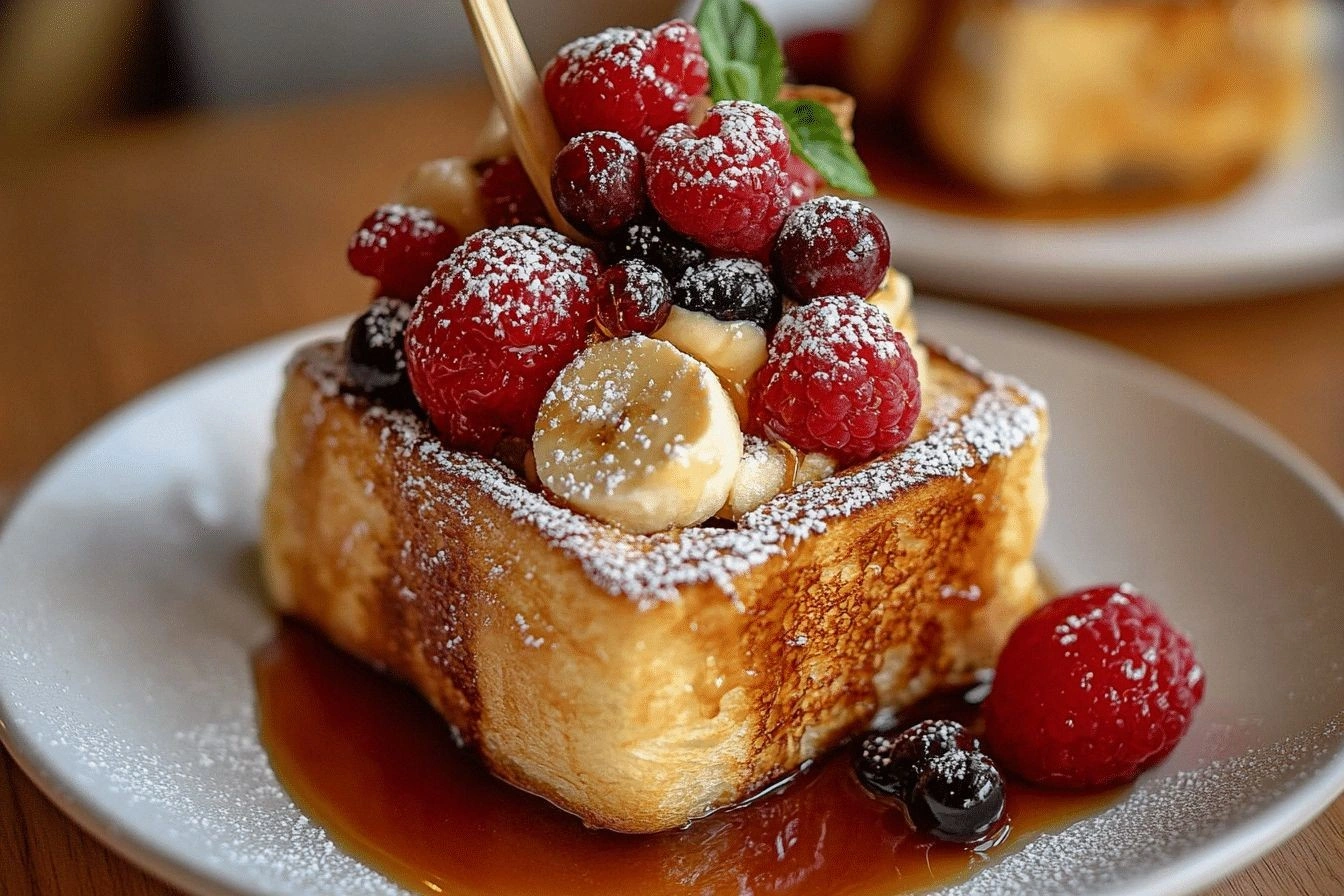
- Step 6: Plate the Toast. Transfer each slice onto a warm plate, placing the honey side up to preserve the glaze. If you’re serving multiple slices, arrange them in a fan shape to showcase the golden sheen. At this point, the aroma should be irresistible, drawing everyone to the kitchen. Remember, presentation matters—an artful arrangement turns a breakfast into a feast.
- Step 7: Add the Ice Cream. Drop a generous scoop of vanilla ice cream onto each slice, letting it melt into a creamy pool that mingles with the honey. The ice cream should start to soften within minutes, creating a luscious contrast to the warm bread. If you prefer a firmer texture, use a cold scoop and wait until the next step before serving. This step is pure magic—watch the ice cream melt, turning the toast into a dessert.
- Step 8: Finish with Fresh Fruits. Top each slice with fresh strawberries, banana slices, or a mix of berries. Slice the fruit thinly to ensure it melts into the honey glaze, releasing its juices and brightening the dish with a pop of color. The acidity of the fruit cuts through the sweetness, creating a balanced flavor profile that lingers on the palate. Serve immediately to enjoy the contrast of hot and cold.
That's it—you did it. But hold on, I've got a few more tricks that'll take this to another level. Let me share insider secrets that will make your toast look like it came straight from a Michelin‑star kitchen.
Insider Tricks for Flawless Results
The Temperature Rule Nobody Follows
Many chefs think a high heat is the key to a crispy crust, but the trick is to start at medium and then finish on a low flame. This gradual increase allows the butter to fully penetrate the bread without burning, ensuring a caramelized surface that holds the honey glaze. I once tried a high‑heat approach and ended up with a burnt exterior that was almost inedible. By using medium heat for the first 2 minutes and then lowering to low for the final 2 minutes, the bread turns out perfectly golden and crisp.
Why Your Nose Knows Best
When the honey starts to bubble and emit a sweet, caramel scent, that’s the cue to add the powdered sugar. Your nose can detect the exact moment the honey transitions from liquid to glaze. Trust your senses; if the honey smells like burnt sugar, reduce the heat immediately. This sensory checkpoint ensures the glaze remains silky and not gritty.
The 5-Minute Rest That Changes Everything
After you plate the toast, let it rest for exactly five minutes before adding the ice cream. This pause allows the honey to set into a thin, glossy film that will hold the cold ice cream in place. I’ve seen people add ice cream immediately, only to watch the honey slide off, creating a messy plate. The five‑minute rest is a simple trick that preserves the dish’s elegant appearance.
Use a Silicone Mat for Easy Cleanup
The honey glaze can be sticky and difficult to clean. Lining your skillet with a silicone mat prevents the glaze from sticking, making cleanup effortless. This mat also protects the skillet from heat damage, extending its life. I use a silicone mat for every batch of honey toast; it saves me from scrubbing honey residue for hours.
Keep the Bread Warm Until Serving
If you’re preparing a large batch, keep the toasted slices in a low‑heat oven (200°F) until you’re ready to plate. Warm bread retains its crispness, and the honey glaze remains glossy. This trick is especially useful for brunch parties where you want to serve multiple slices without compromising quality.
Creative Twists and Variations
This recipe is a playground. Here are some of my favorite ways to switch things up:
Maple‑Infused Honey Toast
Replace the honey with a 50/50 mix of honey and maple syrup for a deeper, caramel‑like sweetness. The maple adds a subtle woodsy note that pairs beautifully with the buttery brioche. Serve with toasted pecans for an added crunch.
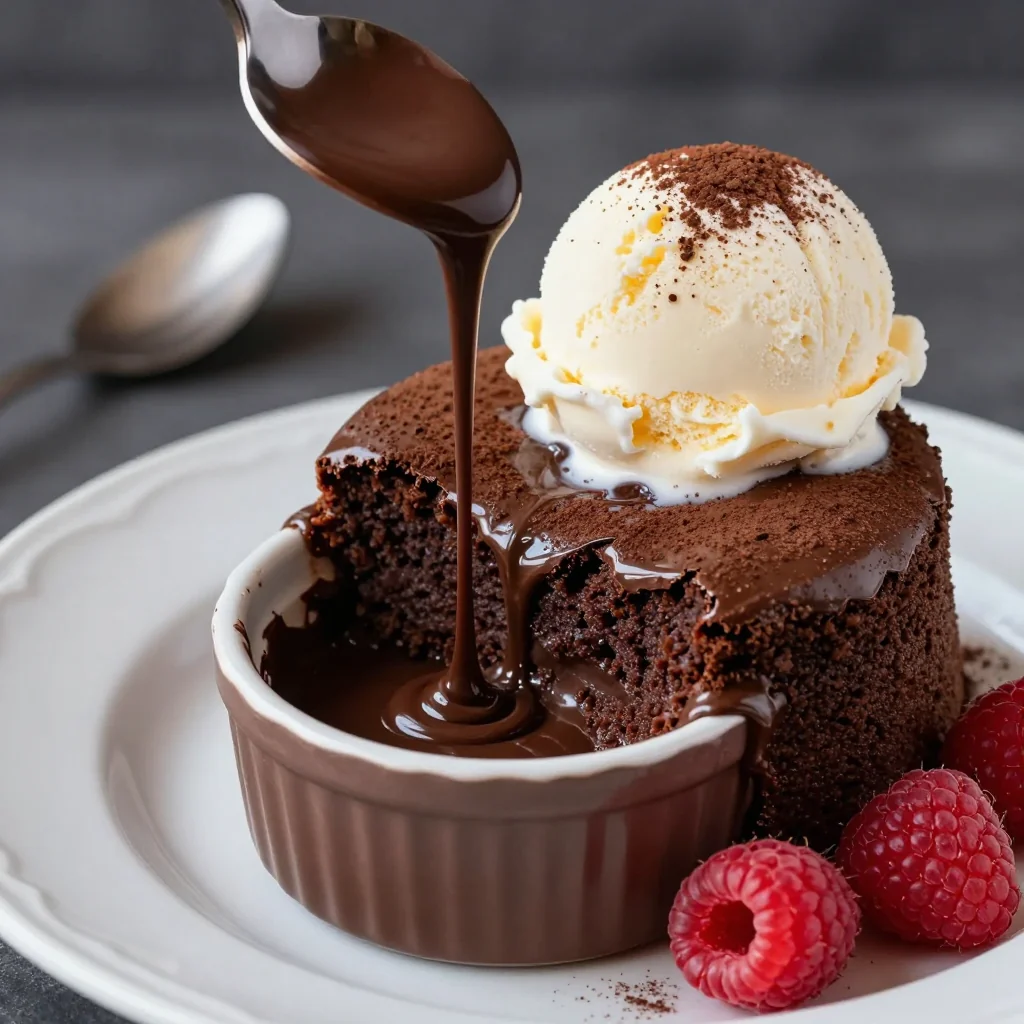
Chocolate‑Honey Drizzle
Drizzle melted dark chocolate over the honey glaze before adding the powdered sugar. The chocolate will set into a thin, glossy coating that adds a hint of bitterness, balancing the sweetness. Top with fresh raspberries for a tart contrast.
Savory Honey Toast
Swap the vanilla ice cream for a dollop of ricotta cheese and sprinkle with fresh thyme. The savory elements create a brunch‑friendly option that’s both sweet and herbaceous. Finish with a drizzle of extra‑virgin olive oil for a silky finish.
Berry‑Burst Honey Toast
Use a mixed berry compote instead of fresh fruit. The compote’s natural sugars caramelize when heated, creating a rich, jammy layer that complements the honey glaze. Add a pinch of sea salt to bring out the flavors.
Spicy Honey Toast
Add a dash of cayenne pepper to the honey before drizzling. The heat will cut through the sweetness, creating a spicy‑sweet combo that wakes up the palate. Pair with a scoop of pistachio ice cream for a nutty finish.
Gluten‑Free Variation
Use a gluten‑free brioche or a high‑protein bread substitute. The texture may differ slightly, but the honey glaze will still cling beautifully. Adjust the butter quantity to ensure the bread doesn’t dry out during toasting.
Storing and Bringing It Back to Life
Fridge Storage
Store leftover toast in an airtight container for up to 48 hours. The honey glaze will keep the bread moist, preventing it from drying out. When you’re ready to reheat, place the toast on a baking sheet and warm in a 350°F oven for 5 minutes. The heat will revive the crunch while keeping the honey glossy.
Freezer Friendly
Freeze individual slices in a freezer bag, placing a parchment paper layer between each slice to prevent sticking. When you’re ready to enjoy, thaw at room temperature for 30 minutes, then warm in a 350°F oven for 5 minutes. The honey glaze will re‑gloss, and the butter will remain tender.
Best Reheating Method
The most effective way to bring back the original texture is to warm the toast in a preheated oven at 350°F for 5 minutes. Add a tiny splash of water to the pan before reheating; the steam will keep the bread from becoming too dry. After warming, re‑drizzle a small amount of honey to restore that glossy sheen.