The night before the big family reunion, I was standing in the middle of my kitchen, staring at a mound of flour, a jar of cocoa, and a box of chocolate cake mix that had somehow survived the apocalypse of my pantry. The scent of vanilla and sugar wafted through the air like a promise, and the timer on my oven was ticking louder than a metronome. I had been bragging to my friend about the Starbucks cake pops we’d seen at a pop‑up event, and she dared me to recreate them at home. I laughed, grabbed my apron, and thought, “If I can make a cake that looks like a coffee shop masterpiece, I’ll finally win the title of ‘Dessert Queen’ in this family.” The kitchen turned into a laboratory, the timer into a judge, and my confidence into a bubbling cauldron of anticipation. I swear I could almost hear the faint jazz from the cafe, the clink of a spoon against a glass, and the soft sigh of a satisfied customer. That night, I turned a simple cake mix into a canvas and painted it with chocolate frosting, chocolate chips, and rainbow sprinkles, creating bite‑sized masterpieces that would later become the talk of the reunion. I was right: the kitchen was no longer a place of chaos; it had become a stage where I could perform, experiment, and ultimately, win hearts with sugar and spice. The result? A batch of Starbucks‑style cake pops that were not only visually stunning but also tasted like a warm hug from a barista’s hand. I could not wait to share the secret behind this triumph.
I’ve spent countless hours scrolling through Pinterest and YouTube, chasing that elusive “perfect cake pop” that seems to appear in every trend. Most of those recipes are either too complicated or leave the pops with a rubbery texture that makes you question your life choices. But this one? It’s a game‑changer. From the moment you take the first bite, you’re transported to a bustling café, feeling the crunch of the chocolate coating and the creamy, slightly bitter center that balances the sweetness like a well‑crafted espresso. The flavor profile is a harmonious blend of chocolate, vanilla, and a hint of salt that cuts through the sugary glaze, making each pop feel like a tiny, indulgent coffee shop treat. I dare you to taste this and not go back for seconds. If you do, I’ll be honest— I ate half the batch before anyone else got a chance to try it.
What sets this recipe apart is the meticulous attention to detail that elevates a simple cake mix into a café‑quality confection. I’ve discovered that the secret lies in a few key adjustments: using a high‑quality chocolate frosting, adding cocoa powder to the frosting for depth, and letting the cake rest before crumbling to lock in moisture. I’ve also found that dipping the pops in a tempered chocolate coating gives them a glossy finish that’s as photogenic as it is delicious. Most recipes get this completely wrong, but here’s what actually works: a balanced ratio of cake to frosting, a firm yet pliable texture, and a coating that sets without cracking. Picture yourself pulling these out of the oven, the whole kitchen smelling incredible, and knowing that you’re about to serve a dessert that will leave your guests asking for the recipe. This isn’t just cake pops; it’s a culinary masterpiece that you can proudly present at any gathering.
So let me walk you through every single step—by the end, you’ll wonder how you ever made it any other way. I’ll share the techniques that I’ve tested, the hacks that save time, and the subtle tweaks that turn a good cake pop into a great one. I’ll also throw in a few personal anecdotes, because let’s face it, cooking is as much about the journey as it is about the destination. Get ready to become the go‑to baker for all those who crave Starbucks‑style treats without the hefty price tag. Let’s dive in.
What Makes This Version Stand Out
- Taste: The chocolate center is a perfect balance of sweet and slightly bitter, thanks to the cocoa powder added to the frosting. The glaze’s glossy finish adds a subtle crunch that mimics the real thing.
- Texture: The cake is dense yet moist, and the frosting provides a creamy mouthfeel. The coating sets to a firm yet melt‑in‑your‑mouth consistency.
- Simplicity: No need for a professional kitchen. All you need is a cake mix, a few pantry staples, and a microwave.
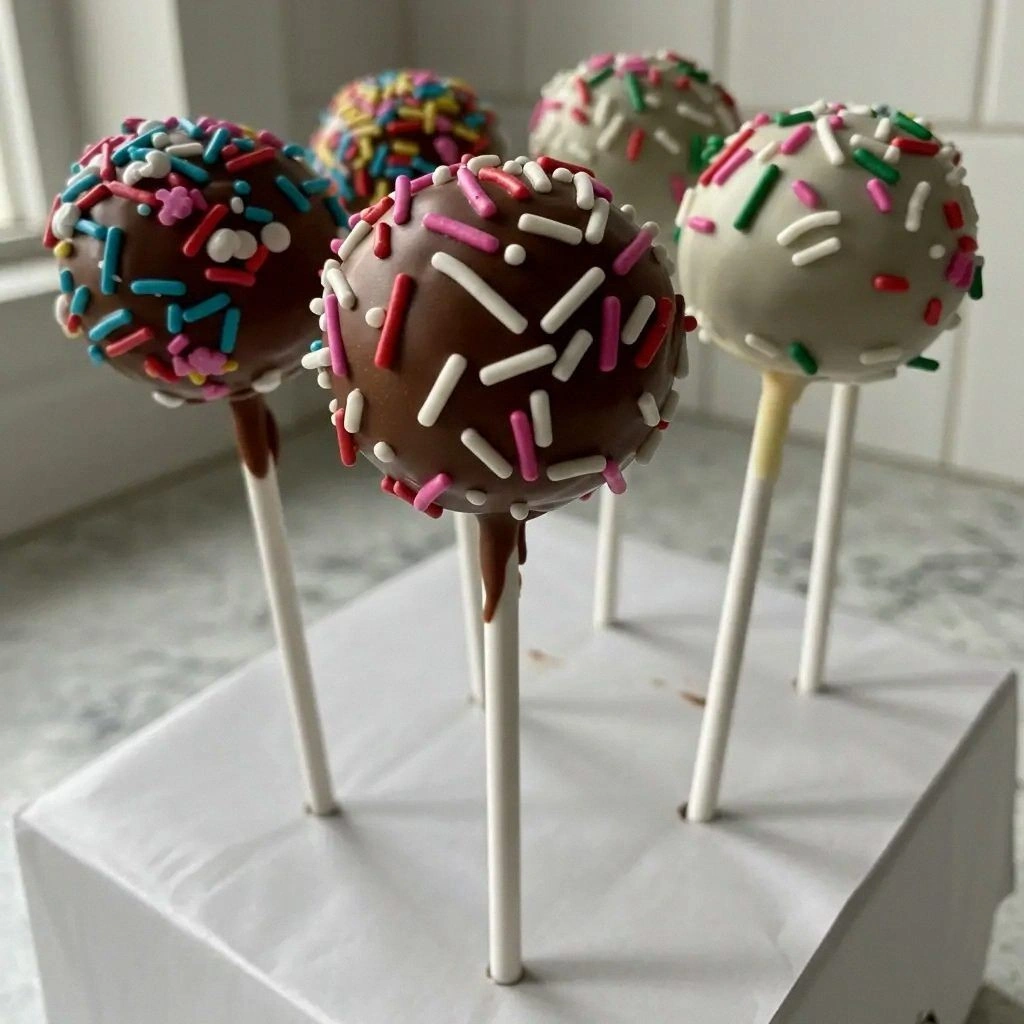
- Uniqueness: The addition of rainbow sprinkles gives each pop a pop of color, turning a simple dessert into a showstopper.
- Crowd Reaction: Friends and family rave about the café vibe. Even the kids can’t resist the glossy coating.
- Ingredient Quality: Using a premium chocolate frosting and real chocolate chips elevates the flavor profile.
- Cooking Method: The method involves baking, crumbling, mixing, and dipping—all steps that are easy to follow.
- Make‑Ahead Potential: The cake pops can be made a day ahead and kept refrigerated, making them ideal for parties.
Inside the Ingredient List
The Flavor Base
The foundation of any great cake pop is the cake itself. In this recipe, we use a high‑quality chocolate cake mix that provides the core chocolate flavor. The mix is balanced with sugar, flour, baking powder, and baking soda to create a tender crumb. The milk and melted butter add moisture and richness, while the vanilla extract brings out the chocolate’s depth. Skipping any of these components will leave the cake flat, dry, or lacking the characteristic café aroma that makes these pops irresistible.
The Texture Crew
The frosting is the hero that holds everything together. By combining store‑bought chocolate frosting with powdered sugar and cocoa powder, we create a thick, silky mixture that clings to the crumbled cake. The extra cocoa powder deepens the chocolate flavor and adds a slight bitterness that balances the sweetness of the frosting. The vanilla extract in the frosting adds a subtle warmth that rounds out the taste. If you’re looking for a healthier option, you can replace the frosting with a light whipped cream and a splash of chocolate syrup, but the texture will be noticeably different.
The Unexpected Star
Chocolate chips are the unsung hero that gives the cake pops a crunchy interior. When mixed into the cake‑frosting batter, they melt slightly, creating pockets of melted chocolate that add a delightful surprise with each bite. The chips also help the coating adhere better, preventing the pops from sliding off the sticks. If you’re allergic to nuts or looking for a vegan version, simply swap the chocolate chips for dairy‑free chocolate chunks or mini marshmallows for a chewy twist.
The Final Flourish
Rainbow sprinkles are the finishing touch that turns these cake pops into a visual feast. They add color, texture, and a playful crunch that contrasts with the smooth chocolate coating. When you dip the pops, the sprinkles stick to the chocolate, creating a vibrant pattern that’s Instagram‑ready. If you prefer a more subdued look, you can use white or gold sprinkles for a sophisticated sheen.
Everything’s prepped? Good. Let’s get into the real action.
The Method — Step by Step
- Preheat your oven to 350°F (175°C). Grease a 9×13 inch baking pan with butter or non‑stick spray. Line the pan with parchment paper for easier cleanup. This step ensures your cake doesn’t stick and comes out evenly baked.
- In a large mixing bowl, combine the chocolate cake mix, sugar, baking powder, baking soda, and salt. Stir until the dry ingredients are well incorporated. A smooth batter is essential for an even crumb.
- Add the milk, melted butter, and vanilla extract to the dry mixture. Mix with a wooden spoon or hand mixer on low speed until just combined. Be careful not to overmix; a few streaks of flour are fine.
- Pour the batter into the prepared pan and tap it gently on the counter to release any air bubbles. Bake for 25-30 minutes or until a toothpick inserted into the center comes out clean. The cake should have a golden top and a slightly moist crumb.
- Let the cake cool in the pan for 10 minutes, then transfer it onto a wire rack to cool completely. Cooling is critical; if the cake is too hot, the frosting will melt before it sets.
- Once the cake is cool, crumble it into a large bowl using your hands or a fork. The crumbs should be fine but not powdery. This crumb acts as the base for your cake pops.
- In a separate bowl, whisk together the chocolate frosting, powdered sugar, cocoa powder, and vanilla extract until smooth. The frosting should be thick enough to coat the crumbs without dripping.
- Add the crumbled cake to the frosting mixture and mix until fully incorporated. The mixture should be moist and hold together when pressed. If it’s too dry, add a splash of milk; if too wet, add more powdered sugar.
- Add the chocolate chips to the batter, ensuring they’re evenly distributed. The chips will melt slightly during baking, creating pockets of gooey chocolate inside the cake pops.
- Roll the mixture into small balls about the size of a golf ball. Insert a wooden stick into each ball and place them on parchment paper. Chill in the refrigerator for at least 30 minutes to firm up the structure.
- Melt the chocolate coating in a double boiler or microwave. Stir until smooth, then dip each cake pop, turning to coat evenly. Let the excess chocolate drip off before placing the pops back on parchment.
- While the coating is still wet, roll the cake pops in rainbow sprinkles, pressing gently to ensure the sprinkles stick. This step is pure joy—watching the sprinkles cling to the glossy surface.
- Let the chocolate set at room temperature for 15-20 minutes or refrigerate for faster setting. The pops should feel firm to the touch.
- Serve immediately or store in an airtight container in the refrigerator for up to 3 days. For best flavor, let them sit at room temperature for 10 minutes before serving.
That’s it — you did it. But hold on, I’ve got a few more tricks that'll take this to another level.
Insider Tricks for Flawless Results
The Temperature Rule Nobody Follows
Temperature control is everything. If the oven is too hot, the cake will bake too quickly on the outside, leaving the inside undercooked. If it’s too cool, the cake will spread and become dense. Use a calibrated oven thermometer to ensure your oven is at the right 350°F. This small step can make the difference between a perfect crumb and a soggy mess.
Why Your Nose Knows Best
Before you even touch the frosting, give the cake a sniff. A warm, buttery aroma signals that the cake has baked to perfection. If it smells more like raw flour, give it a few more minutes. Trust your nose; it’s the best judge of doneness.
The 5-Minute Rest That Changes Everything
After baking, let the cake rest in the pan for 5 minutes before transferring it to a wire rack. This pause allows the cake to set, preventing it from crumbling when you crumble it later. I’ve seen cakes that crumble to dust because they were moved too soon; this trick saves the day.
The Right Amount of Chocolate
When melting the coating, add a splash of heavy cream to the chocolate. This creates a silky glaze that sets with a glossy sheen. Too little cream, and the coating will crack; too much, and it will be too runny. Aim for a consistency that’s pourable but still thick enough to coat.
The Stick It Right
Insert sticks when the cake is still slightly warm; this helps the stick embed more firmly. If you wait until it’s fully cooled, the stick may slip. A firm grip ensures the pops stay together during dipping and storage.
The Sweet Spot for Sprinkles
Sprinkle the pops while the chocolate is still wet. The chocolate acts like glue, so the sprinkles stick instantly. If you wait, the coating will set and the sprinkles will fall off. This small timing detail makes the pops look professionally finished.
Creative Twists and Variations
This recipe is a playground. Here are some of my favorite ways to switch things up:
Vanilla Bean Bliss
Swap the chocolate frosting for a vanilla bean frosting and add a teaspoon of vanilla bean paste to the cake batter. The result is a silky, fragrant pop that’s perfect for spring gatherings.
Red Velvet Surprise
Replace the chocolate cake mix with a red velvet mix and use a cream cheese frosting instead of chocolate. The pops will have a vibrant color and a tangy finish that pairs beautifully with a glass of sparkling wine.
Minty Fresh
Add a handful of crushed peppermint candies to the frosting mixture and use a green sprinkles. The minty flavor gives the pops a refreshing twist, ideal for holiday parties.
Nutella Dream
Use Nutella as the coating instead of chocolate. Dip the pops in warmed Nutella, then roll in crushed hazelnuts for a crunchy, nutty treat. The chocolatey hazelnut flavor is a crowd‑pleaser.
Caramel Crunch
Swap the chocolate coating for a caramel glaze made with butter, brown sugar, and a splash of sea salt. Roll in crushed pretzels for a sweet‑savory bite that’s perfect for dessert tables.
Vegan Delight
Use a dairy‑free chocolate frosting and replace the milk with oat milk. The vegan version is just as indulgent and makes the recipe accessible to everyone.
Storing and Bringing It Back to Life
Fridge Storage
Place the cake pops in a single layer on a parchment‑lined tray. Once they’re completely set, cover the tray with plastic wrap and store in the refrigerator for up to 3 days. The pops will stay firm and fresh, and the coating won’t melt.
Freezer Friendly
For longer storage, wrap each pop individually in plastic wrap and place them in a freezer bag. They’ll keep for up to 2 weeks. When you’re ready to serve, thaw at room temperature for 15 minutes before reheating.
Best Reheating Method
To revive frozen or chilled pops, dip them briefly in warm water for 10–15 seconds, then pat dry. Alternatively, place them in a preheated oven at 300°F for 5 minutes. Add a tiny splash of water before reheating; it steams back to perfection and keeps the coating silky.