Okay, picture this: I was halfway through a frantic Sunday brunch, the kids were demanding chocolate eggs, and my oven decided to throw a tantrum right when the timer hit zero. The smoke alarm sang like a banshee, the batter splattered on the floor, and I swore I’d never attempt a cake again. Yet, that disaster sparked a stubborn curiosity that kept me tinkering late into the night, because the idea of a cake that looked like a fluffy Easter nest – complete with marshmallow “grass” and pretzel “twigs” – was simply too delicious to abandon. I experimented, I over‑mixed, I under‑baked, and after a week of trial and error I finally landed on a version that makes my kitchen smell like a spring meadow and my taste buds do a happy dance.
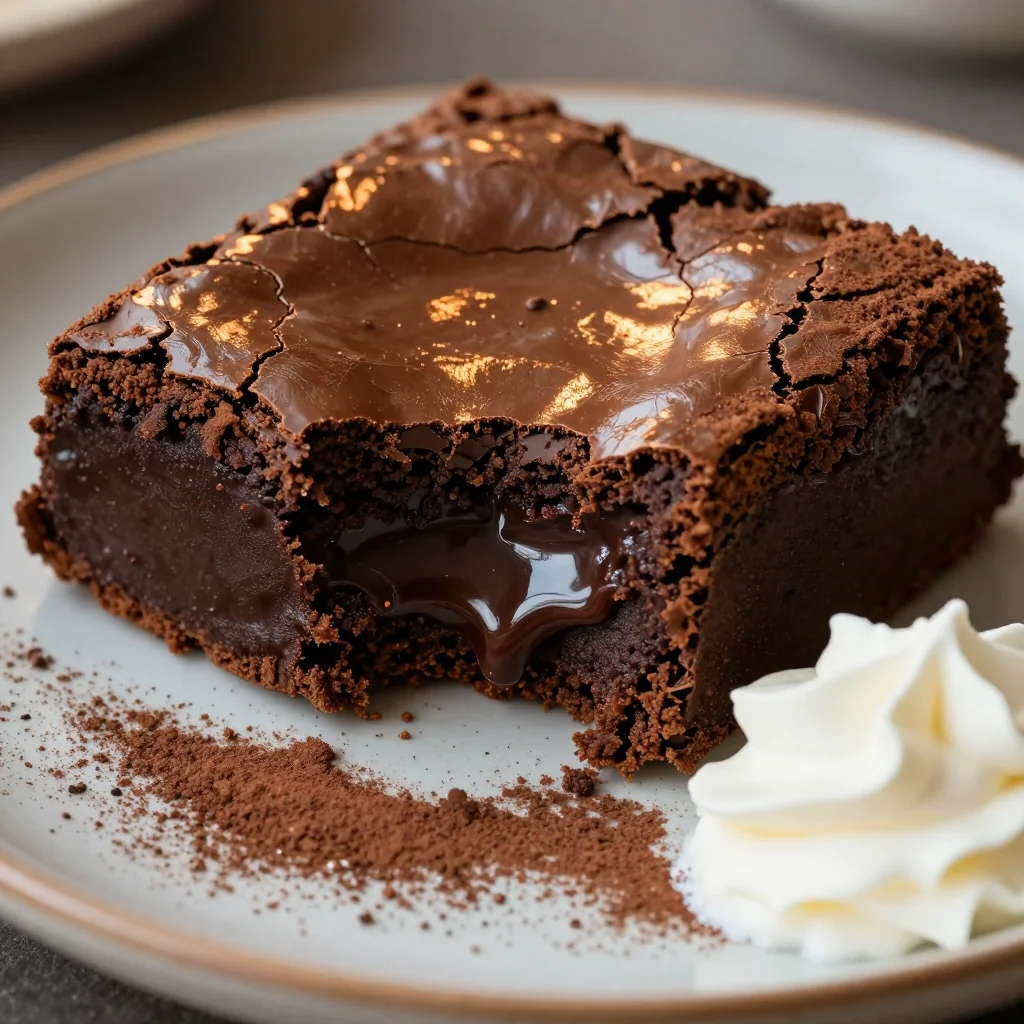
The moment you open the oven and see that golden‑brown dome, you’ll hear the faint crackle of the crust pulling away, a sound that tells you the cake is ready to release its secrets. The scent that wafts out is a heady mix of cocoa, butter, and a whisper of vanilla that makes the whole house feel like a bakery on a sunny Easter morning. When you cut into it, the crumb is as soft as a cloud, yet it holds enough structure to cradle a generous layer of creamy chocolate frosting that spreads like silk. The top is crowned with a “nest” of toasted pretzels, shredded wheat, and melted marshmallows that crackle under your fork like fresh snow under boots.
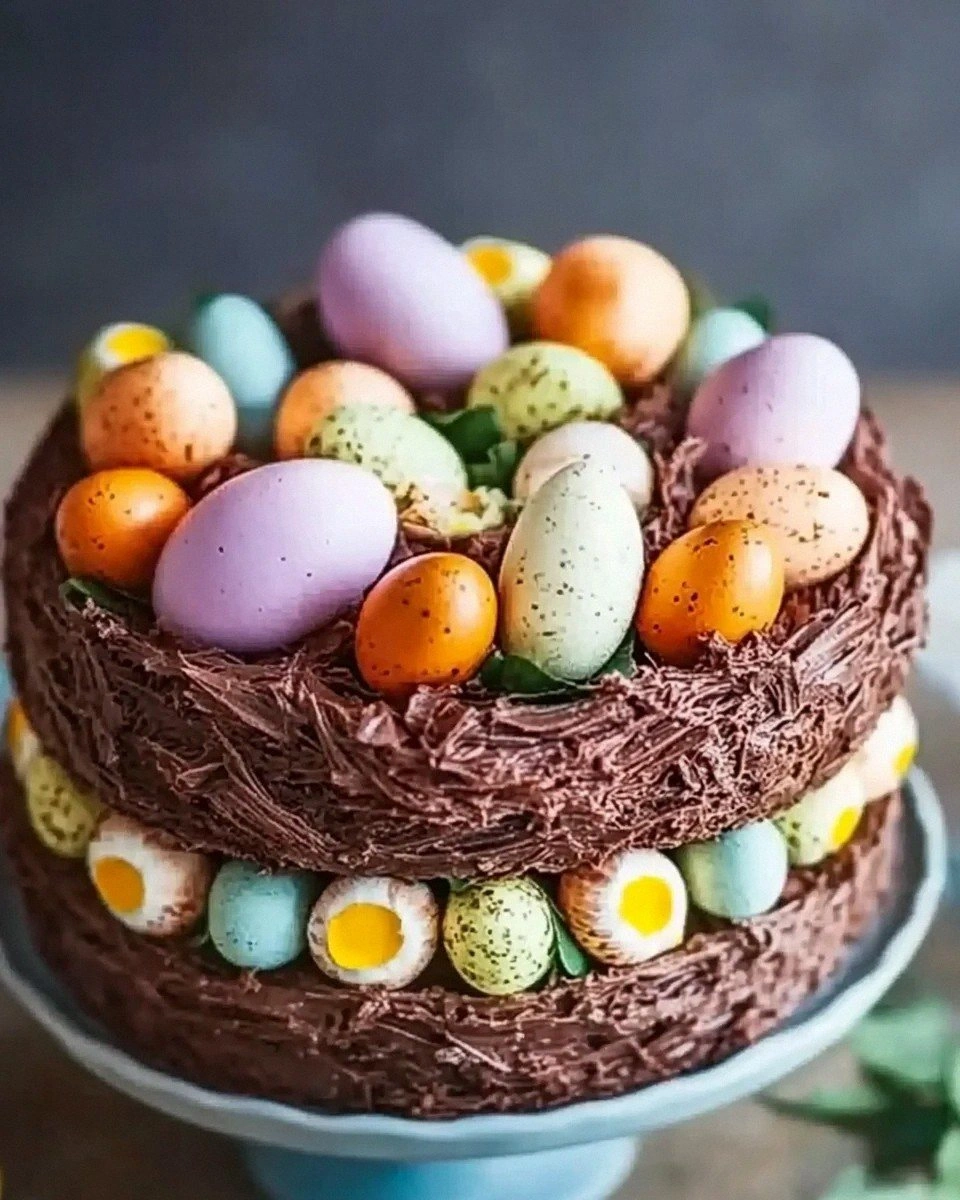
What makes this version truly special is the balance between indulgent decadence and playful texture. Most Easter cakes either drown you in sugar or skimp on flavor, but this one hits the sweet spot – literally – with just the right amount of cocoa and a buttery richness that makes every bite feel like a celebration. I’ve also added a secret ingredient that most recipes overlook: a splash of buttermilk, which reacts with the baking powder and soda to give the cake an airy lift that’s almost ethereal. And let’s not forget the garnish – a nest that looks like it was plucked straight from a storybook, complete with chocolate eggs that invite you to dig in.
I dare you to taste this and not go back for seconds. This is hands down the best version you’ll ever make at home, and I’m about to walk you through every single step — by the end, you’ll wonder how you ever made it any other way. Ready? Let’s dive into the magic.
What Makes This Version Stand Out
- Taste: A deep cocoa flavor balanced by buttery notes and a hint of vanilla, making each bite feel like a luxurious treat.
- Texture: A soft, airy crumb contrasted with crunchy pretzel “twigs” and gooey marshmallow “grass” for a multi‑sensory experience.
- Simplicity: Fewer steps than a traditional layered cake, yet the result looks and tastes far more impressive.
- Uniqueness: The nest garnish turns a simple cake into a conversation‑starter centerpiece that screams Easter without being cliché.
- Crowd Reaction: Guests invariably ask for the recipe, and the chocolate eggs become a delightful surprise that keeps the party going.
- Ingredient Quality: Using real cocoa powder and fresh butter gives a depth of flavor that powdered mixes can’t match.
- Cooking Method: The combination of oil and buttermilk creates a tender crumb while keeping the cake moist for days.
- Make‑Ahead Potential: The cake freezes beautifully, and the nest can be assembled just before serving for maximum crunch.
Inside the Ingredient List
The Flavor Base
200 g plain flour is the backbone of any cake, providing structure while staying neutral enough to let cocoa shine. The 50 g cocoa powder adds that rich, chocolatey depth; choose a high‑quality Dutch‑process cocoa for a smoother, less bitter taste. Baking powder (1 tsp) and bicarbonate of soda (½ tsp) work together as a leavening duo – the acid in the buttermilk activates both, creating tiny air pockets that keep the crumb feather‑light. Caster sugar (200 g) sweetens without adding graininess, and a pinch of salt amplifies every other flavor, turning a bland sweet into a layered symphony.
The Moisture Crew
100 ml vegetable oil replaces butter in the batter, giving the cake a moist, tender texture that stays soft even after a day or two. The 150 ml buttermilk introduces a subtle tang that cuts through the richness, while also reacting with the leaveners for that extra lift. A teaspoon of vanilla extract (1 tsp) adds aromatic warmth, and the two large eggs act as binders, creating a stable matrix that holds the nest together without becoming dense.
The Unexpected Star
Marshmallows (100 g) are the secret to the “grass” that tops the nest – they melt just enough to become sticky, then set into a chewy, sweet canopy. A small pat of butter (25 g) mixed into the marshmallow topping adds richness and helps it adhere to the pretzels. The 1 tbsp of cocoa powder folded into the marshmallow mixture deepens the color, making the nest look like a chocolate‑dusted forest floor. Pretzels (50 g) and shredded wheat (50 g) provide the crunchy “twigs” and “branches” that give the nest its rustic feel.
The Final Flourish
For the frosting, 150 g butter is creamed until light and fluffy, then blended with 50 g cocoa powder for a silky chocolate base. Icing sugar (250 g) is sifted in to avoid lumps, creating a glossy finish that spreads like a dream. A splash of milk (2.5 tbsp) loosens the mixture just enough for a smooth, pipe‑able consistency. Finally, the chocolate eggs – the pièce de résistance – are placed strategically in the nest, inviting guests to hunt for them just like an Easter egg hunt, but with a sweet twist.
Everything's prepped? Good. Let’s get into the real action…

The Method — Step by Step
Preheat your oven to 175 °C (350 °F) and grease a 9‑inch springform pan. I like to line the bottom with parchment paper – it’s a tiny trick that saves you from a stuck cake later. While the oven warms, give the pan a quick dusting of flour; this creates a barrier that helps the cake rise evenly. Pro tip: If you hear a faint pop as the batter hits the pan, that’s the first sign of a good rise.
Kitchen Hack: Use a kitchen scale for the flour and cocoa – it eliminates the “fluff‑and‑scoop” error that can throw off your ratios.In a large mixing bowl, whisk together the plain flour, cocoa powder, baking powder, bicarbonate of soda, and a pinch of salt. The dry ingredients should be thoroughly combined, almost like a fine chocolate sand. This ensures the leavening agents are evenly distributed, preventing any pockets of bitterness. Set this bowl aside while you work on the wet side.
In a separate bowl, combine the caster sugar, vegetable oil, and melted butter (the 25 g from the topping can be saved for later). Beat until the mixture looks glossy and the sugar begins to dissolve – you’ll notice a faint caramel scent. Then add the eggs one at a time, beating well after each addition to incorporate air.
Watch Out: Over‑beating at this stage can cause the batter to become too thin, leading to a flat cake. Stop as soon as the mixture looks smooth.Stir in the vanilla extract and buttermilk, mixing just until everything is combined. The batter will look slightly lumpy – that’s okay. Over‑mixing here will develop gluten, which makes the cake dense. If you’re feeling fancy, fold in a handful of chocolate chips for extra pockets of melt‑in‑your‑mouth goodness.
Gradually add the dry mixture to the wet, using a spatula to fold gently. You’ll see the batter transform from a thick batter to a silky, pourable mixture that holds the sheen of the oil. Scrape the sides of the bowl to ensure no pockets of flour remain. The batter should be thick enough to hold its shape when dropped from a spoon.
Pour the batter into the prepared springform pan, smoothing the top with an offset spatula. Tap the pan lightly on the counter three times – this releases any trapped air bubbles. Place the pan in the oven and bake for 30‑35 minutes, or until a toothpick inserted in the center comes out with just a few moist crumbs.
Kitchen Hack: If the top starts to brown too quickly, loosely cover it with a sheet of aluminum foil to prevent over‑caramelization.While the cake cools in the pan, prepare the frosting. Cream the 150 g butter until pale and fluffy, then sift in the cocoa powder and icing sugar. Add the milk a tablespoon at a time, beating until you achieve a smooth, glossy consistency. The frosting should be spreadable but hold its shape when piped.
Once the cake is completely cool (about 20 minutes), release the springform and place the cake on a serving platter. Spread a generous layer of chocolate frosting over the top and sides, smoothing with an offset spatula. The frosting acts as “glue” for the nest components that follow.
Now for the fun part: the nest. In a small saucepan, melt the remaining 25 g butter with the marshmallows over low heat, stirring constantly until the marshmallows are just melted and glossy. Remove from heat and fold in the 1 tbsp cocoa powder, pretzels, and shredded wheat. Quickly spoon the mixture onto the frosted cake, shaping it into a nest-like mound. Press lightly with the back of a spoon to create a hollow center – this is where the chocolate eggs will nestle.
Finally, arrange the chocolate eggs throughout the nest, tucking some partially into the marshmallow “grass” and others perched on the pretzel “branches.” Step back and admire the masterpiece – you’ve just turned a simple cake into an edible Easter tableau. Serve immediately or store as instructed below.
That's it — you did it. But hold on, I've got a few more tricks that'll take this to another level…
Insider Tricks for Flawless Results
The Temperature Rule Nobody Follows
Never bake a cake straight from the fridge. Let the batter sit at room temperature for 10‑15 minutes before it goes into the oven. This small pause lets the leavening agents activate uniformly, giving you a more even rise. I once tried skipping this step and ended up with a flat, dense center that felt like a sad pancake. Trust me, the extra few minutes are worth the lift.
Why Your Nose Knows Best
Your sense of smell is a better indicator of doneness than a timer. When the cake’s edges start pulling away from the pan and you catch that warm, nutty cocoa aroma, you’re ready to pull it out. If you wait for the timer alone, you risk over‑baking and drying out the crumb. I’ve learned to trust the nose, and the result is a cake that stays moist for days.
The 5‑Minute Rest That Changes Everything
After frosting, let the cake rest for five minutes before adding the nest. This short pause allows the frosting to set just enough so the marshmallow mixture doesn’t slide off. A friend once rushed this step and ended up with a soggy, droopy nest that looked more like a swamp. Patience at this stage is the secret to a crisp, defined nest.
Pretzel Toasting Perfection
Spread pretzels on a baking sheet, drizzle with a tiny bit of melted butter, and toast at 150 °C for 5‑7 minutes. The pretzels become extra crunchy and take on a buttery flavor that pairs beautifully with the sweet marshmallow. If you skip the toast, they stay soft and lose that satisfying snap that makes the nest feel authentic.
Chocolate Egg Placement Strategy
Don’t just dump the chocolate eggs on top; think of them as hidden treasures. Tuck a few under the marshmallow “grass” and others on the outer rim. This creates visual interest and encourages guests to hunt, turning dessert into a playful experience. I’ve seen grown‑ups become kids again, scrambling for the hidden eggs, and it’s pure joy.
Creative Twists and Variations
This recipe is a playground. Here are some of my favorite ways to switch things up:
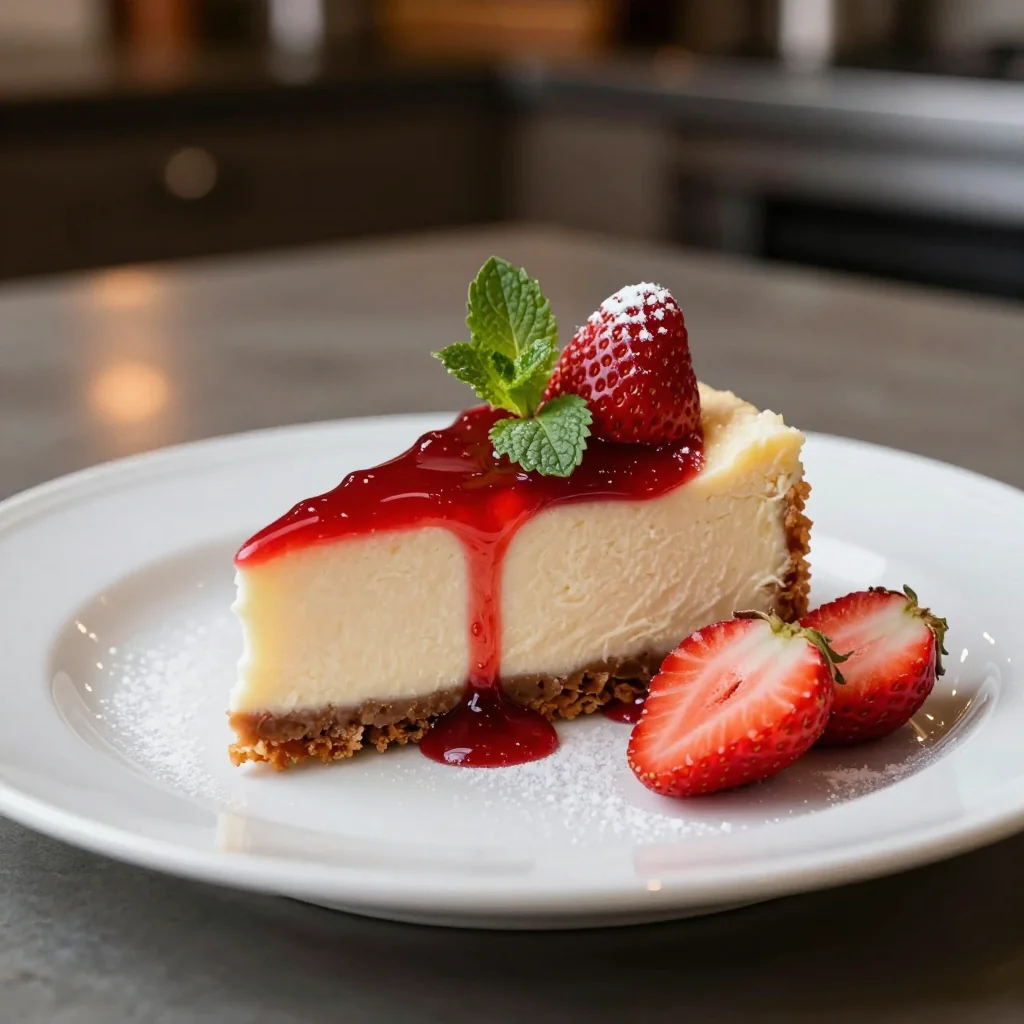
Berry Burst Nest
Swap the chocolate eggs for fresh strawberries and raspberries. Add a handful of freeze‑dried blueberries to the marshmallow mixture for a pop of tartness. The bright colors contrast beautifully with the dark chocolate frosting, making it a perfect spring brunch option.
White Chocolate Wonder
Replace the cocoa powder in the batter with white chocolate chips and use white chocolate frosting. Keep the pretzel “twigs” but drizzle them with melted white chocolate for a sophisticated look. This version is ideal for those who prefer a milder, buttery flavor profile.
Nutty Crunch
Add 50 g chopped toasted almonds or hazelnuts to the pretzel mix. The nuts bring an earthy crunch that balances the sweet marshmallow. Pair it with a drizzle of caramel sauce for an indulgent finish.
Spiced Autumn
Introduce a pinch of cinnamon, nutmeg, and a dash of pumpkin spice to the batter. Swap the chocolate eggs for candied pumpkin seeds. This variation works beautifully for a cozy fall gathering, turning the nest into an autumnal centerpiece.
Vegan Delight
Replace the eggs with a flax‑seed “egg” (1 tbsp ground flax + 3 tbsp water) and use coconut oil instead of vegetable oil. Use a plant‑based butter and dairy‑free chocolate for the frosting. The texture stays just as luscious, and the nest remains just as whimsical.
Storing and Bringing It Back to Life
Fridge Storage
Cover the cake loosely with plastic wrap and store in the refrigerator for up to 4 days. The frosting may firm up a bit, but a quick room‑temperature sit for 20 minutes restores its softness. If the nest looks a little soggy, a brief blast under the broiler (30 seconds) revives the crunch.
Freezer Friendly
Wrap the entire cake (including the nest) in a double layer of foil, then place it in a freezer‑safe bag. It will keep for up to 2 months. When you’re ready to serve, thaw overnight in the fridge, then let it sit at room temperature for an hour. The marshmallow “grass” may become a bit sticky; a quick toss with a fork restores its fluffy texture.
Best Reheating Method
To re‑heat a slice, place it on a microwave‑safe plate, add a tiny splash (about 1 tsp) of water around the edges, and microwave on medium for 15‑20 seconds. The steam generated revives the cake’s moisture without making it soggy. For a whole‑cake reheating, set the oven to 150 °C, cover the cake loosely with foil, and heat for 10‑12 minutes – the nest will stay crisp while the interior becomes warm and inviting.