Love this? Pin it for later! 📌
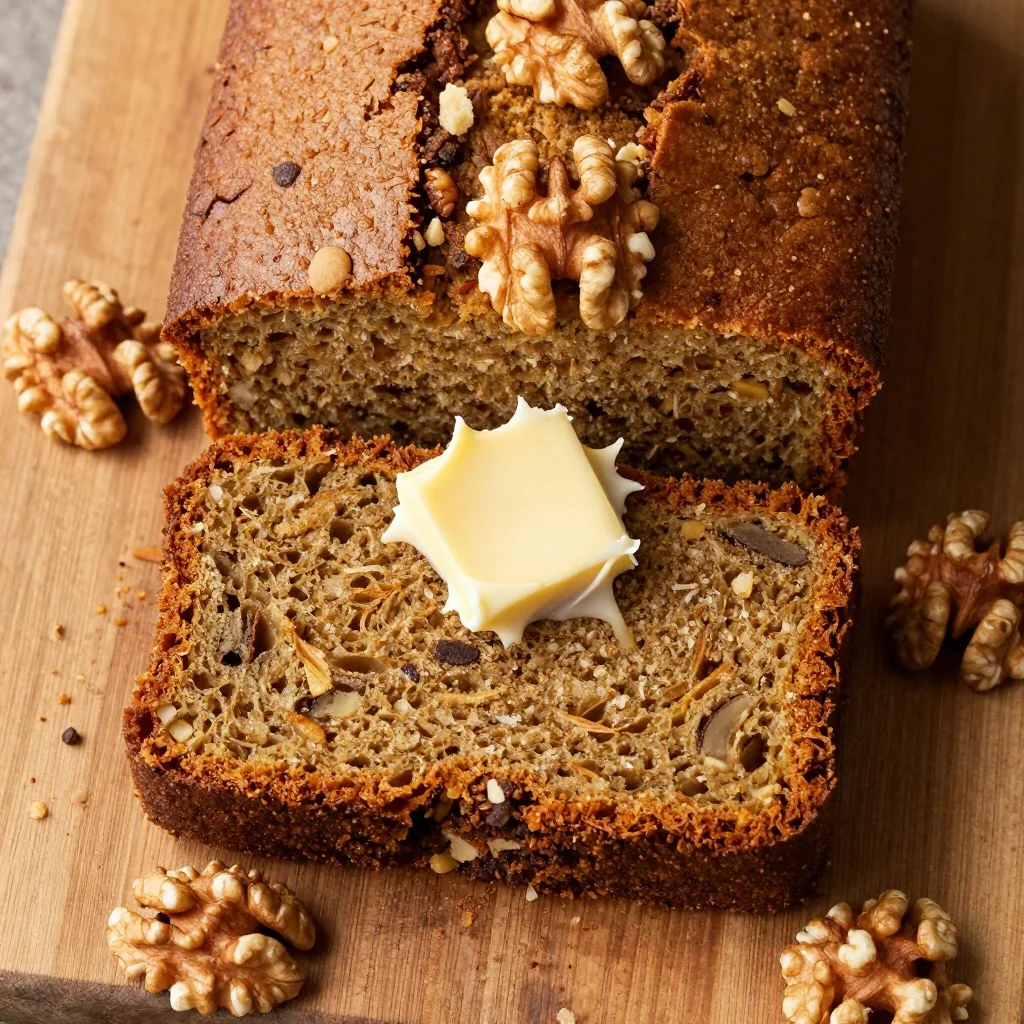
After years of tweaking and perfecting, this banana bread has become my go-to recipe for those moments when you need to clear out the pantry but still want to create something extraordinary. The combination of overripe bananas and toasted walnuts creates a depth of flavor that's simply irresistible. Whether you're baking for a cozy weekend breakfast, preparing snacks for the week ahead, or looking for the perfect companion to your afternoon coffee, this recipe delivers every single time.
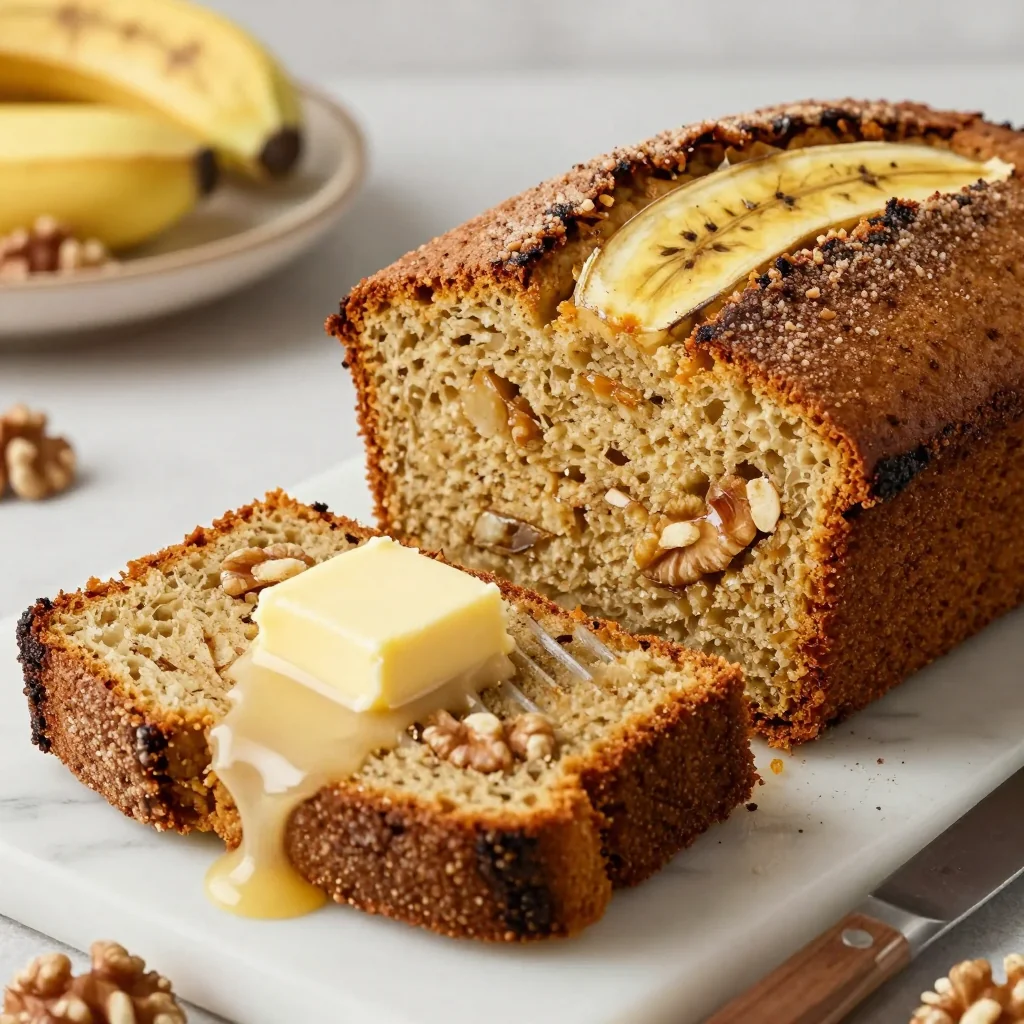
What makes this banana bread special isn't just its incredible taste—it's the way it transforms humble pantry staples into something that feels luxurious. The crispy edges give way to a moist, tender crumb that's studded with crunchy walnuts in every bite. Plus, it's forgiving enough for beginners yet sophisticated enough to impress seasoned bakers. Trust me when I say this will become your new favorite way to use up those bananas that have seen better days.
Why This Recipe Works
- Pantry-Friendly: Uses common ingredients you probably already have on hand, making it perfect for those "I need to go grocery shopping" days
- Foolproof Method: One-bowl mixing means fewer dishes and less chance of overmixing, resulting in tender bread every time
- Customizable Base: Easy to adapt with different nuts, chocolate chips, or spices based on what you have available
- Perfect Texture: The right ratio of bananas to flour creates a moist interior with a slightly crisp exterior
- Make-Ahead Magic: Tastes even better the next day as flavors meld together beautifully
- Freezer-Friendly: Bakes up beautifully whether fresh or frozen, making it perfect for meal prep
Ingredients You'll Need

Before we dive into the mixing bowl, let's talk about each ingredient and why it matters. Understanding your ingredients is the secret to becoming a confident baker who can adapt recipes on the fly.
The Star Players
Overripe Bananas (3 medium): The darker and spottier, the better! Those black bananas you were about to toss are pure gold here. They provide natural sweetness, moisture, and that distinctive banana flavor. If your bananas aren't quite ripe enough, you can speed up the process by baking them at 300°F for 15-20 minutes until the skins turn black.
All-Purpose Flour (2 cups): This provides the structure for your bread. I recommend using a kitchen scale for accuracy—240 grams if you're measuring. Too much flour leads to dense, dry bread, while too little creates a gummy texture. If you need a gluten-free option, substitute with a 1:1 gluten-free flour blend.
Walnuts (1 cup): Toasting these before adding them to the batter makes a world of difference. It brings out their natural oils and creates a deeper, more complex flavor. Roughly chop them so you get nice pieces in every bite. If walnuts aren't your thing, pecans work beautifully too.
The Supporting Cast
Brown Sugar (3/4 cup): The molasses in brown sugar adds moisture and that lovely caramel note that complements bananas perfectly. Dark or light both work—dark will give you a more intense flavor. If you're out of brown sugar, you can make your own by mixing white sugar with a tablespoon of molasses.
Unsalted Butter (1/2 cup): Butter adds richness and flavor that oil simply can't match. Make sure it's softened but not melted—room temperature butter should indent slightly when pressed. If you're dairy-free, substitute with an equal amount of coconut oil.
Eggs (2 large): Eggs bind everything together and add structure. Use room temperature eggs for better incorporation. A quick trick: place cold eggs in warm water for 5-10 minutes to bring them to room temperature quickly.
Vanilla Extract (2 teaspoons): Don't underestimate good vanilla! It enhances all the other flavors. If you have vanilla bean paste, use it here for those beautiful specks throughout your bread.
The Flavor Enhancers
Baking Soda (1 teaspoon): This is your leavening agent, helping the bread rise and creating that perfect texture. Make sure it's fresh—baking soda loses potency over time. Test it by adding a spoonful to vinegar; it should fizz vigorously.
Salt (1/2 teaspoon): Salt is crucial for balancing sweetness and enhancing all the flavors. I use fine sea salt, but table salt works too. If you're using salted butter, reduce the added salt to 1/4 teaspoon.
Cinnamon (1 teaspoon): Optional but highly recommended! It adds warmth and complexity that makes this bread taste like it came from a fancy bakery. You could also add a pinch of nutmeg or cardamom for extra warmth.
How to Make Warm Banana Bread with Walnuts for Pantry Clean Out
Prepare Your Pan and Preheat
Start by positioning your oven rack in the center and preheating to 350°F (175°C). This ensures even baking. Grease a 9×5-inch loaf pan with butter or non-stick spray, then line it with parchment paper, leaving an overhang on the sides. This creates a sling that makes removing the bread effortless. Trust me on the parchment paper—it's a game-changer for clean removal.
Toast Your Walnuts
Spread your walnuts on a baking sheet and toast them in the preheating oven for 8-10 minutes until fragrant and slightly darker. Keep an eye on them—they can go from perfectly toasted to burnt quickly. Once cooled, roughly chop them. This step is crucial for developing their nutty flavor and ensuring they stay crunchy in the bread.
Mash Those Bananas
In a large bowl, mash your bananas until mostly smooth with just a few small chunks remaining. You should have about 1 1/2 cups of mashed banana. The riper your bananas, the easier this will be. If you're working with frozen bananas (thawed, of course), they'll mash even more easily and create a lovely smooth texture.
Mix Wet Ingredients
To your mashed bananas, add the melted butter and whisk until combined. The warmth of the butter will help everything incorporate beautifully. Add the brown sugar and whisk until smooth, breaking up any lumps. Beat in the eggs one at a time, then add the vanilla extract. This gradual mixing ensures each ingredient is fully incorporated before adding the next.
Add Dry Ingredients
Sprinkle the flour, baking soda, salt, and cinnamon over the wet mixture. Use a spatula to gently fold everything together until just combined. Stop mixing as soon as you no longer see dry flour streaks. Overmixing develops gluten, which creates tough, dense bread. A few small lumps are perfectly fine and actually desirable!
Fold in the Walnuts
Reserve about 2 tablespoons of your toasted walnuts for topping, then gently fold the rest into the batter. This ensures even distribution throughout the bread. Save some for the top so you get that beautiful presentation and everyone knows what delicious surprise awaits inside.
Pour and Decorate
Pour the batter into your prepared loaf pan and smooth the top with a spatula. Sprinkle the reserved walnuts over the top, pressing them in slightly so they adhere. This creates a beautiful presentation and ensures every slice has that gorgeous walnut-studded top.
Bake to Perfection
Bake for 55-65 minutes, rotating the pan halfway through for even browning. The bread is done when a toothpick inserted into the center comes out with just a few moist crumbs. If the top is browning too quickly, tent it with foil during the last 15 minutes of baking. The bread should spring back slightly when gently pressed.
Cool and Serve
Let the bread cool in the pan for 10 minutes, then use the parchment paper to lift it out onto a wire rack. Cool completely before slicing—this is crucial! Cutting warm bread causes it to crumble. Once cool, slice with a serrated knife using a gentle sawing motion for clean cuts.
Expert Tips
Room Temperature Matters
All your refrigerated ingredients—eggs, butter, any dairy—should be at room temperature. Cold ingredients don't incorporate as well, leading to uneven texture and longer mixing times that can toughen your bread.
Don't Overmix
Mix just until the ingredients are combined. Overmixing develops gluten, creating tough, dense bread. A few small lumps in the batter are actually a good sign!
Make It the Night Before
This bread tastes even better the next day! Wrap it tightly once completely cooled and let it sit overnight. The flavors meld together beautifully, creating an even more delicious loaf.
Test for Doneness
Ovens vary, so start checking at 50 minutes. The toothpick test is reliable, but also look for the bread pulling slightly away from the sides of the pan and a golden-brown top that springs back when gently pressed.
Freeze Your Bananas
Keep a bag of overripe bananas in your freezer for baking emergencies. Thaw them on the counter for 30 minutes or in the microwave for 30 seconds. They'll be perfectly mushy and sweet.
Add a Streusel Topping
Mix 1/4 cup flour, 1/4 cup brown sugar, 2 tbsp butter, and 1/2 tsp cinnamon for a quick streusel. Sprinkle over the top before baking for an extra-special touch that adds texture and sweetness.
Variations to Try
Chocolate Chip Banana Bread
Replace half the walnuts with chocolate chips for a classic combination. Dark chocolate chips pair beautifully with banana, but milk chocolate or even white chocolate work too. Add them with the nuts to prevent them from sinking to the bottom.
Tropical Twist
Add 1/2 cup unsweetened coconut flakes and replace 1/4 cup of the flour with coconut flour. Swap the walnuts for macadamia nuts and add a teaspoon of rum extract for a tropical vacation in bread form.
Pumpkin Spice Version
Replace the cinnamon with pumpkin pie spice and add 1/4 cup pumpkin puree (reduce bananas to 2). This creates a perfect fall treat that combines the best of both banana bread and pumpkin bread.
Healthy Makeover
Replace half the butter with applesauce, use whole wheat flour for half the all-purpose flour, and swap brown sugar for coconut sugar. Add 2 tablespoons of ground flaxseed for extra nutrition and omega-3s.
Storage Tips
Room Temperature Storage
Wrap your completely cooled banana bread tightly in plastic wrap, then in aluminum foil. It will stay fresh for up to 4 days at room temperature. You can also store it in an airtight container with a piece of bread to help maintain moisture. Never store it while still warm—it creates condensation that leads to soggy bread and potential mold growth.
Refrigerator Storage
If you live in a humid climate or want to extend the shelf life, refrigerate your wrapped bread for up to 1 week. Bring it to room temperature before serving for the best texture, or warm individual slices in the microwave for 10-15 seconds. The cold can dry out the bread, so make sure it's wrapped very well.
Freezer Instructions
This bread freezes beautifully! Wrap individual slices or the whole loaf in plastic wrap, then in foil, and freeze for up to 3 months. For best results, thaw overnight in the refrigerator, then bring to room temperature. Individual slices can go straight from freezer to toaster for a quick breakfast treat.
Frequently Asked Questions
Warm Banana Bread with Walnuts for Pantry Clean Out
Ingredients
Instructions
- Prep: Preheat oven to 350°F (175°C). Grease a 9×5-inch loaf pan and line with parchment paper.
- Toast walnuts: Spread walnuts on a baking sheet and toast in preheating oven for 8-10 minutes until fragrant. Cool and roughly chop.
- Mix wet ingredients: In a large bowl, mash bananas until mostly smooth. Whisk in melted butter, then brown sugar until smooth. Beat in eggs one at a time, then vanilla.
- Add dry ingredients: Sprinkle flour, baking soda, salt, and cinnamon over wet mixture. Fold together until just combined—don't overmix!
- Add walnuts: Reserve 2 tablespoons walnuts for topping, then fold the rest into the batter.
- Bake: Pour batter into prepared pan, smooth top, and sprinkle with reserved walnuts. Bake 55-65 minutes until a toothpick comes out with just a few moist crumbs.
- Cool: Let cool in pan 10 minutes, then transfer to wire rack to cool completely before slicing.
Recipe Notes
For best results, use very ripe bananas with lots of brown spots. The bread tastes even better the next day! Store wrapped at room temperature for up to 4 days or freeze for up to 3 months.